Mastering the Art of Home Maintenance: How to Clean Window Sills
Cleaning often overlooked areas of your home, such as baseboards, window sills, and trails, is crucial for maintaining a truly clean and healthy living environment. These spaces tend to accumulate dust, dirt, and allergens over time, contributing to indoor air pollution and diminishing the overall aesthetics of your space.
Over time, window sills tend to accumulate dust, dirt, and grime, which can not only be unsightly but can also harbor allergens and pollutants.
Regular cleaning not only preserves the aesthetic appeal of your windows but also prolongs their lifespan. So, whether you are preparing your home for a special occasion or just ensuring a hygienic living space for your family, don’t forget to clean the baseboards and window sills.
The purpose of this article is to guide you through a comprehensive guide on how to clean window sills.
By following the step-by-step instructions provided, you can effectively remove dirt, stains, and even mold from your window sills. Not only will this contribute to a cleaner indoor atmosphere, but it will also prevent potential damage to the window frames and sills. The techniques outlined here will empower you to maintain spotless and well-maintained window sills effortlessly.
Step 1: Gather Supplies while Cleaning Window Sills
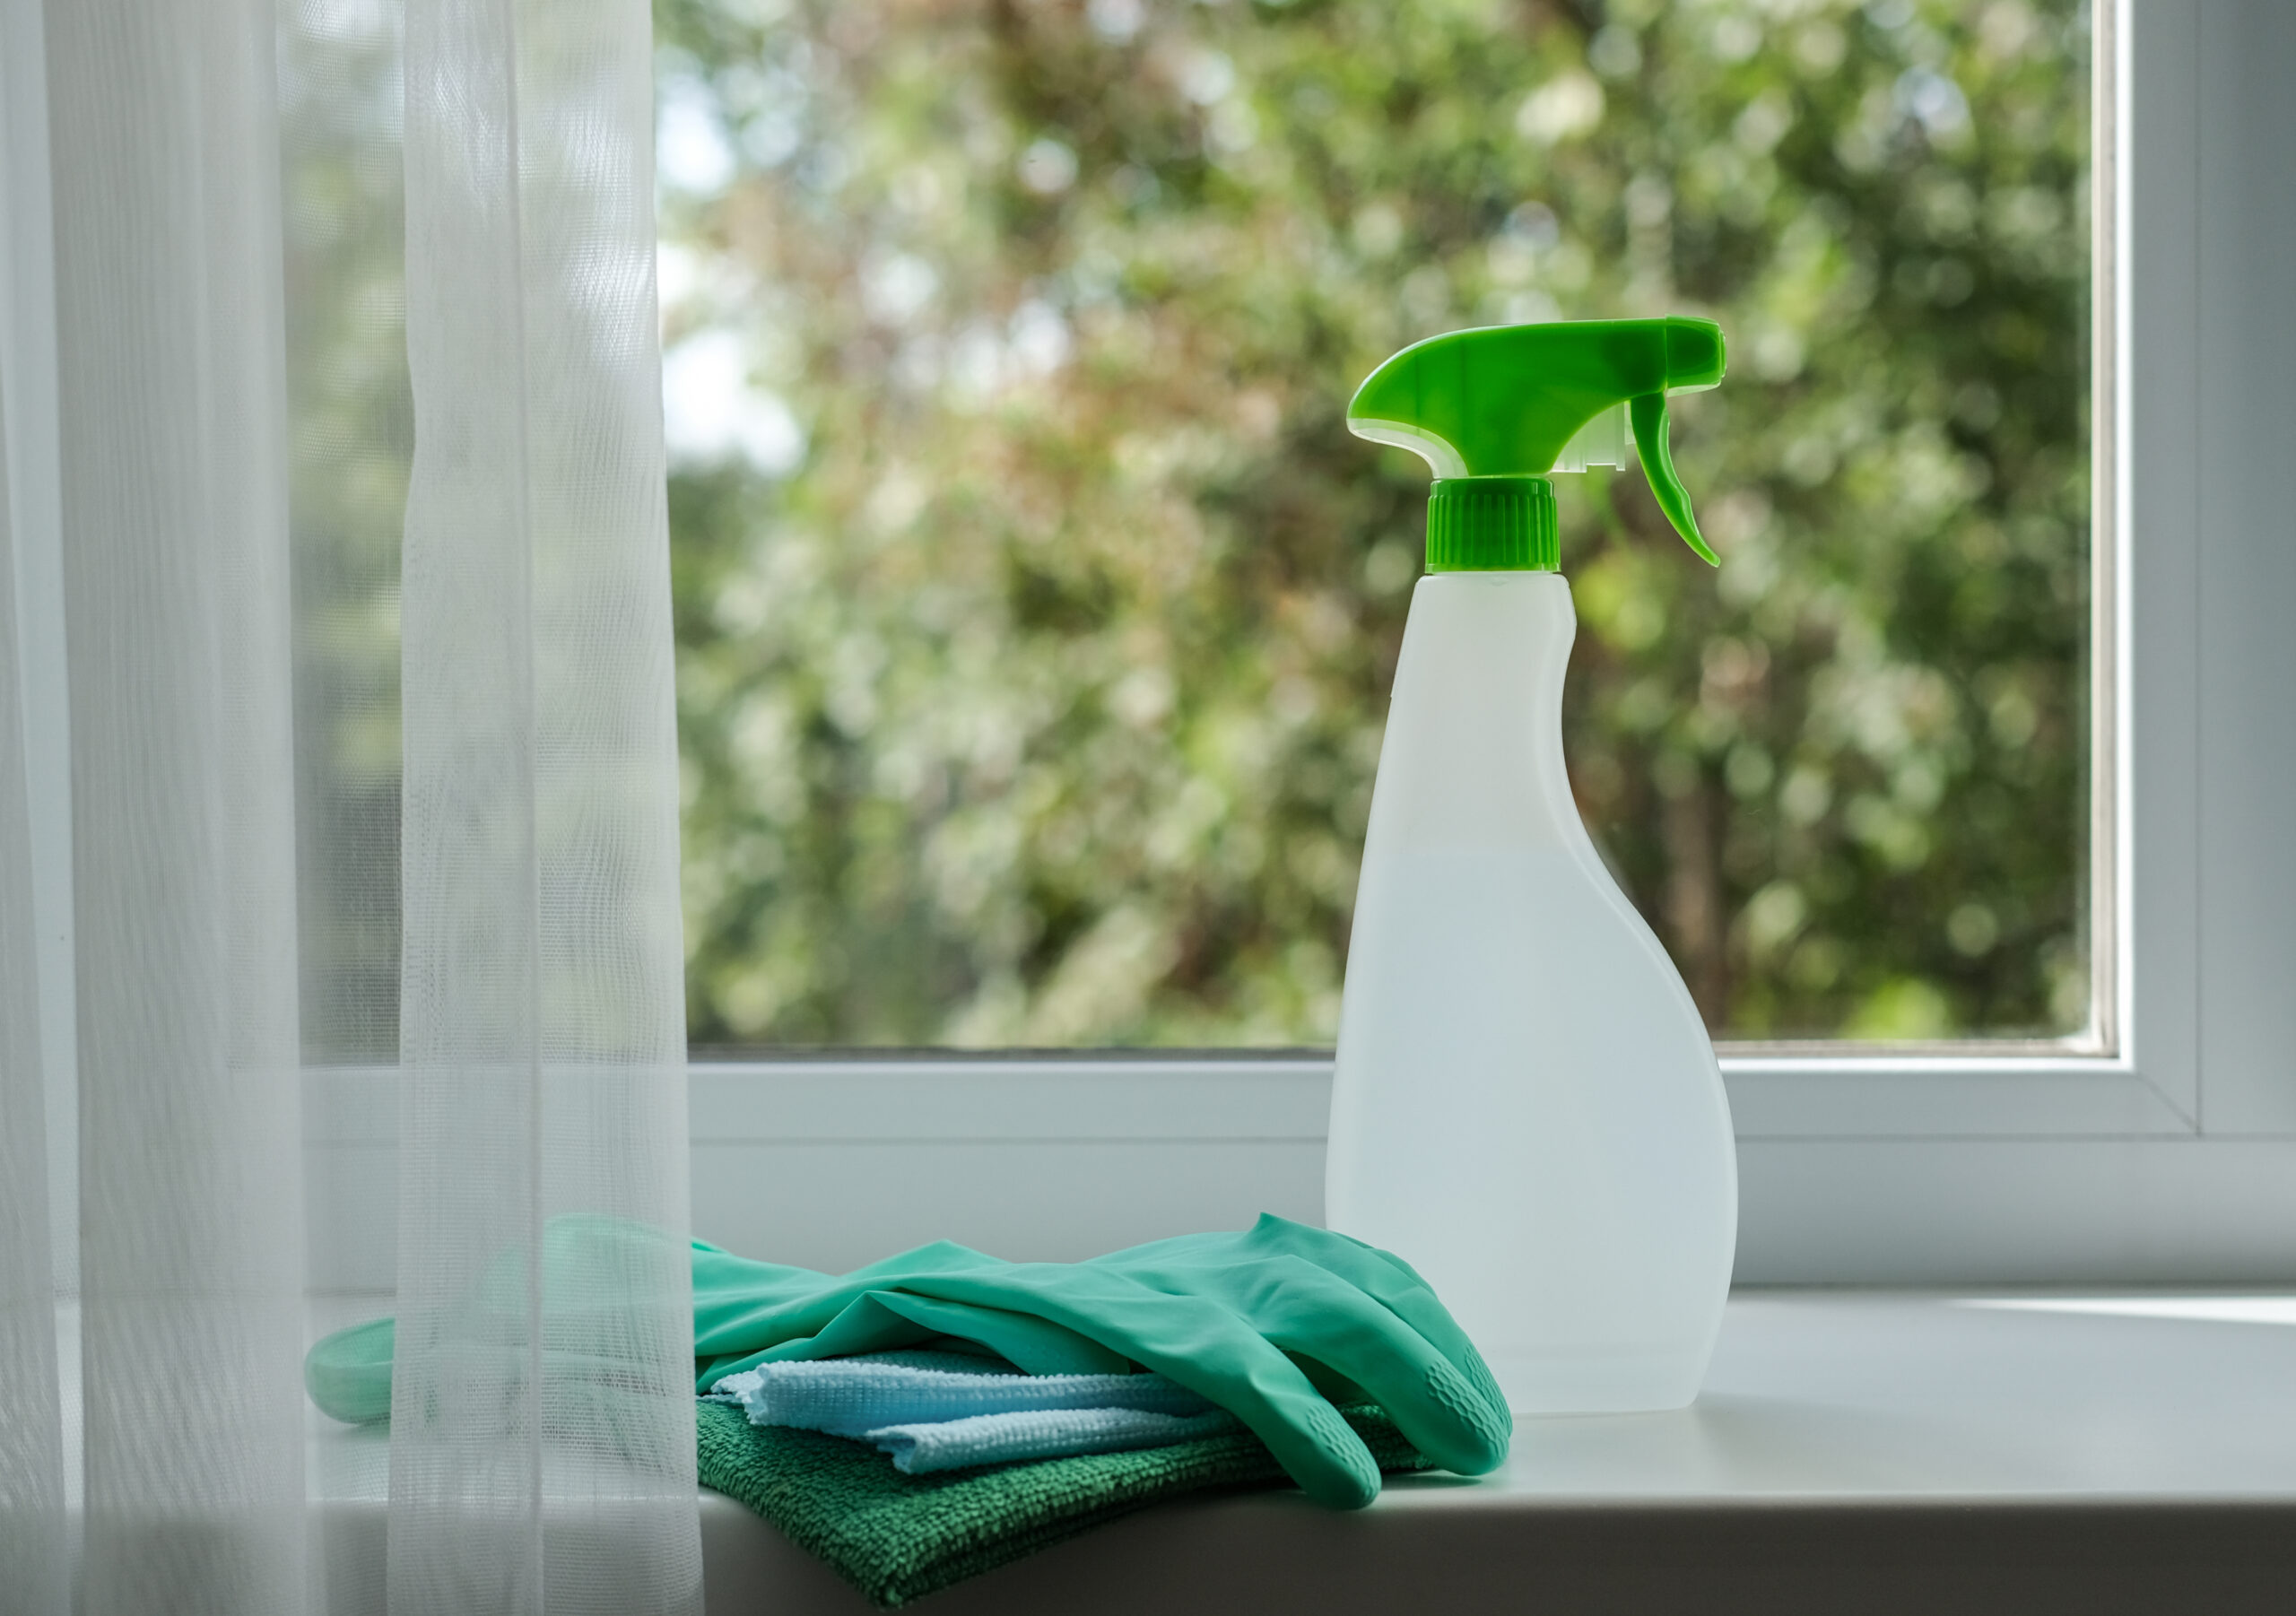
When embarking on the mission of cleaning your window sills, the first step is gathering the essential supplies. Properly equipping yourself ensures that the cleaning process is efficient and effective.
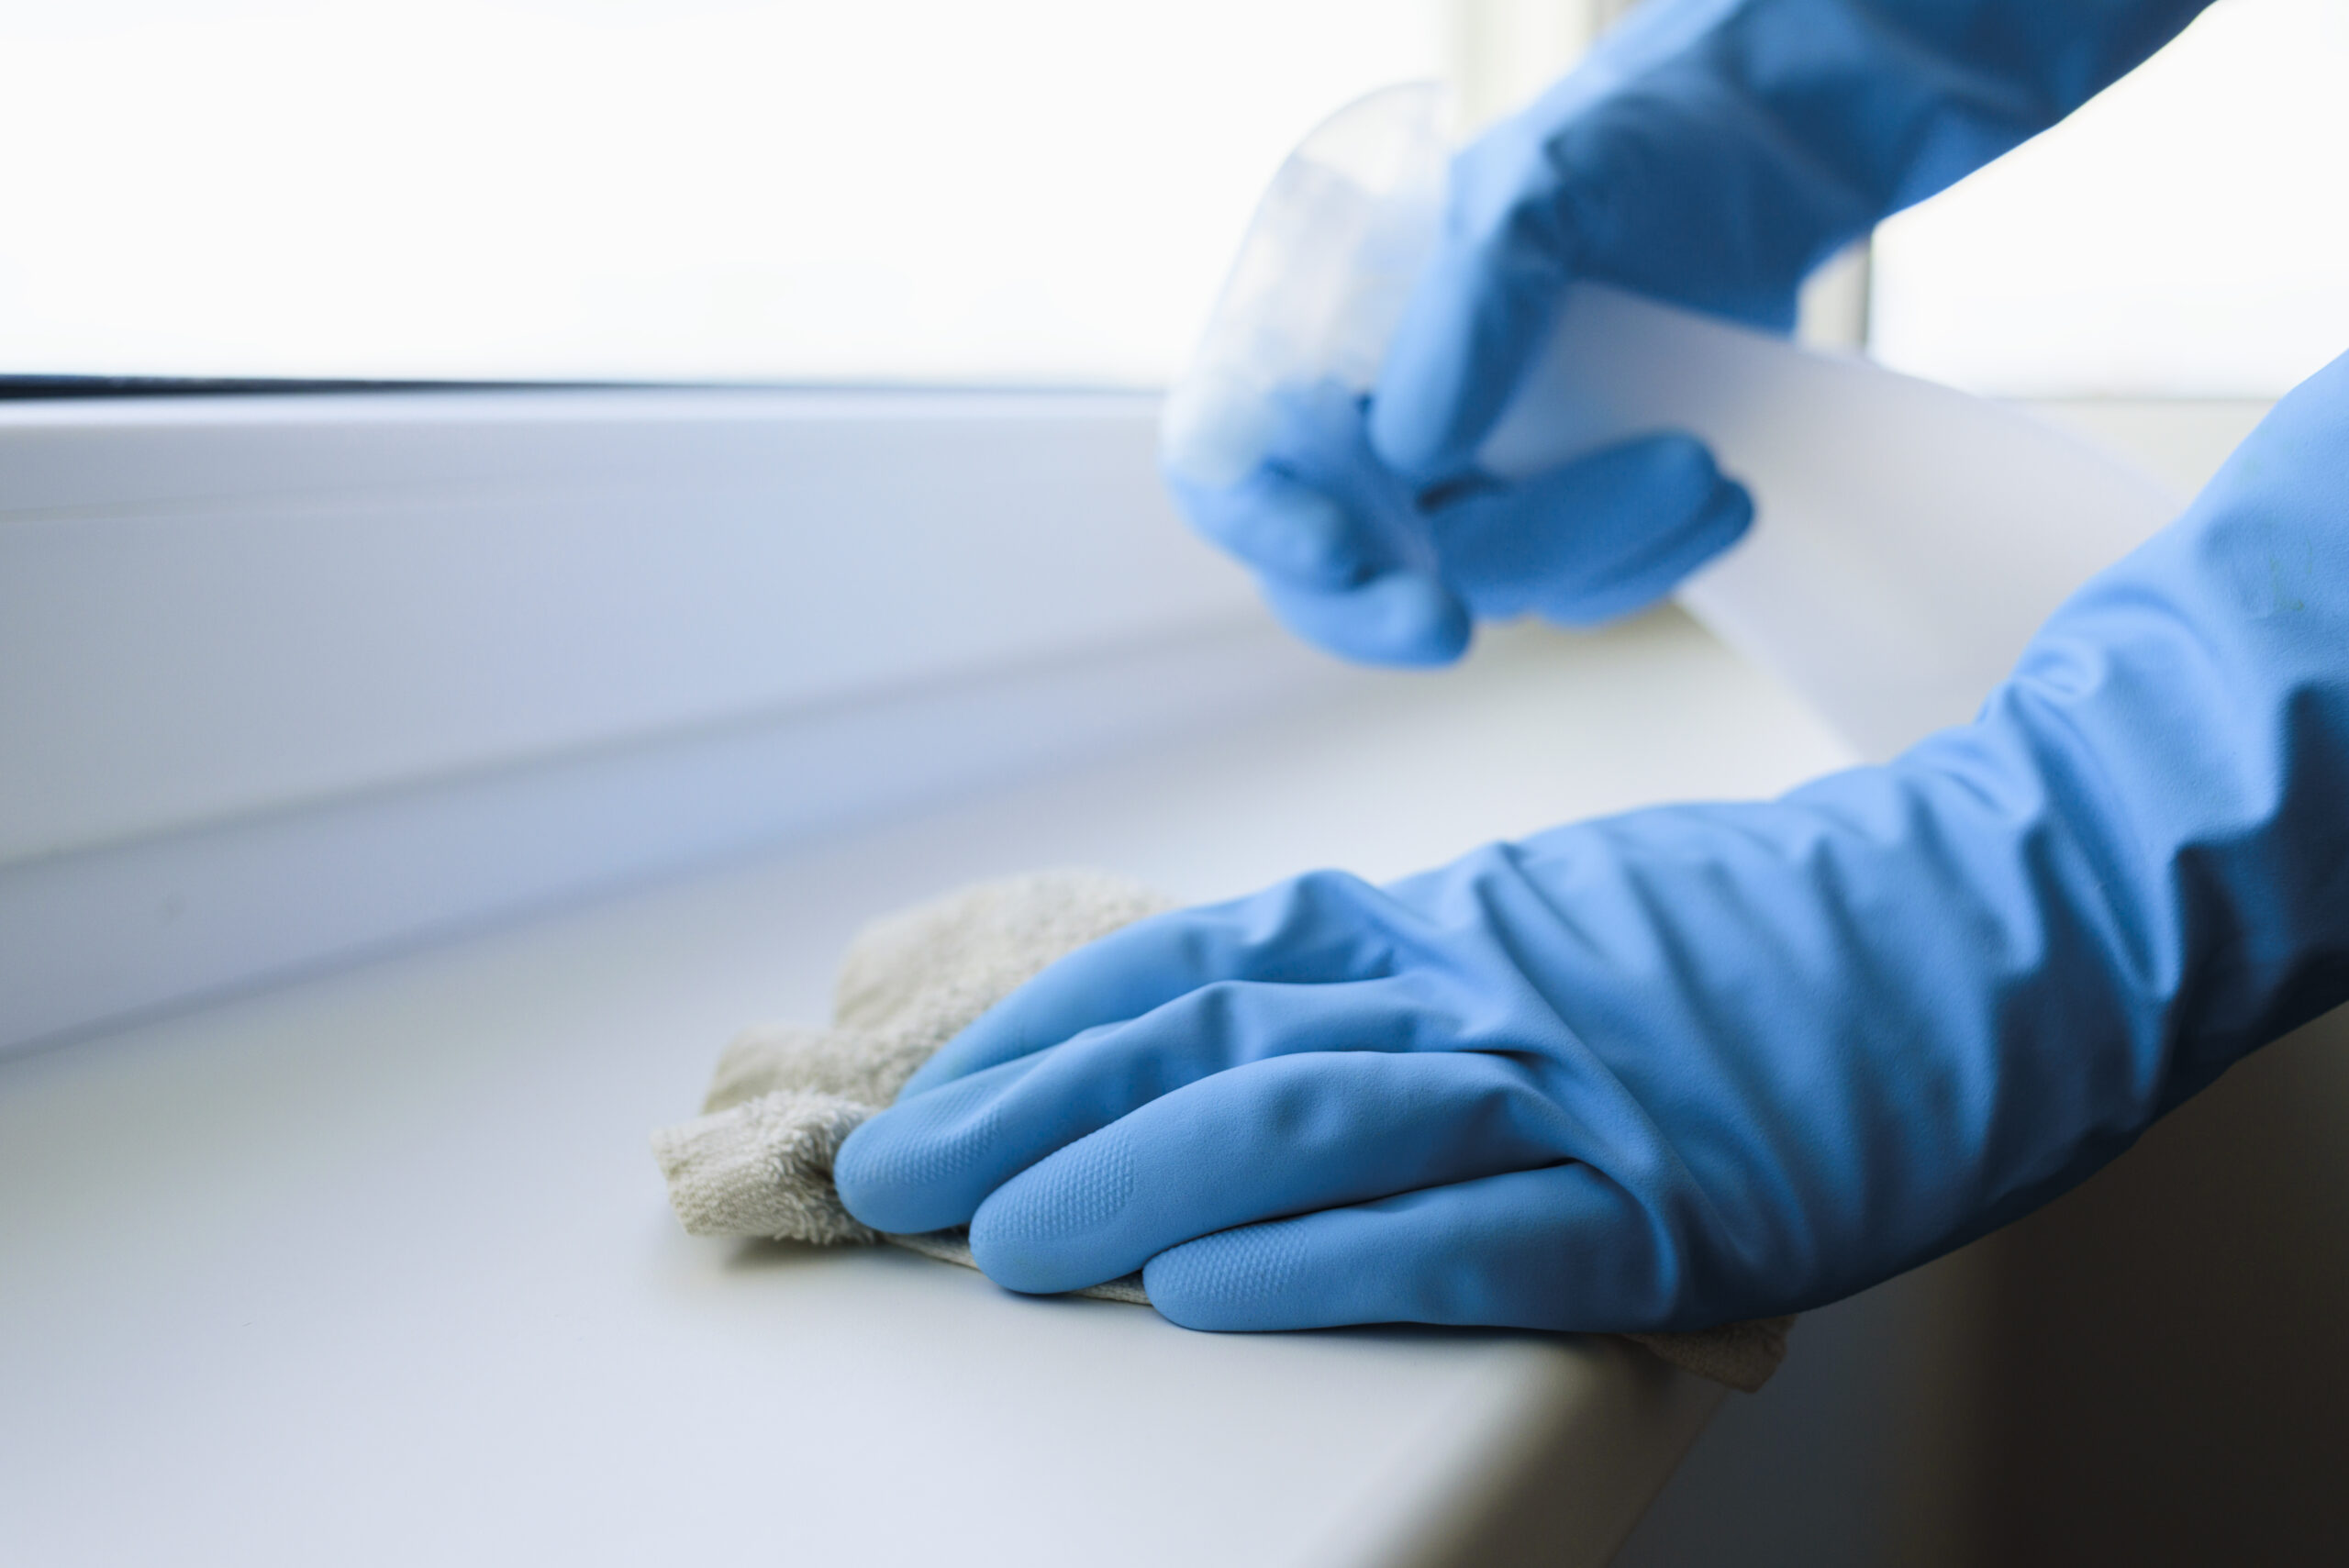
To get started, here’s a comprehensive list of cleaning supplies you’ll need:
- Microfiber Cloths: These are your trusty companions when it comes to wiping down window sills. Microfiber cloths are highly effective at trapping dust and dirt, leaving surfaces clean and streak-free.
- All-Purpose Cleaner: Choose a reputable all-purpose cleaner (Check out on Amazon) or prepare a homemade solution using water and mild dish soap. Ensure it’s safe for the material of your window sills, be it wood, vinyl, metal, or stone.
- Vacuum Cleaner: A vacuum cleaner with a hose attachment or a handheld vacuum is indispensable for removing loose dirt, cobwebs, and debris from hard-to-reach corners.
- Soft Brush: A soft-bristle brush, like a paintbrush or a specialized dusting brush, is essential for gently sweeping away dust and grime without scratching the surface.
- Cotton Swabs: These are handy for precision cleaning, especially in tight corners and crevices.
- Rubber Gloves: Protect your hands from cleaning solutions and potential allergens with a pair of rubber gloves.
- Safety Glasses: While not mandatory, safety glasses can provide added protection for your eyes when working with cleaning solutions and dust.
Step 2: Prepare the Area
Before you start your window sill cleaning adventure, it’s crucial to set the stage properly. Imagine you’re creating a little cleaning sanctuary around your windows. First things first, move any furniture or items near the windows. You want a clear, open workspace where you can move freely without any obstacles.
Now, let’s talk about your floor, because nobody wants their freshly cleaned window sills to leave a mess below. Lay down some old newspapers or use drop cloths. These unsung heroes will protect your floor from cleaning solutions and the inevitable dust bunnies that might escape during the cleaning process. Trust me; your floor will thank you later.
Step 3: Clean The Window Sills
Now the wait is over. Once you have done all the preliminary steps, let’s dive deep into the cleaning steps of how to clean the window sills
Dry Cleaning Steps
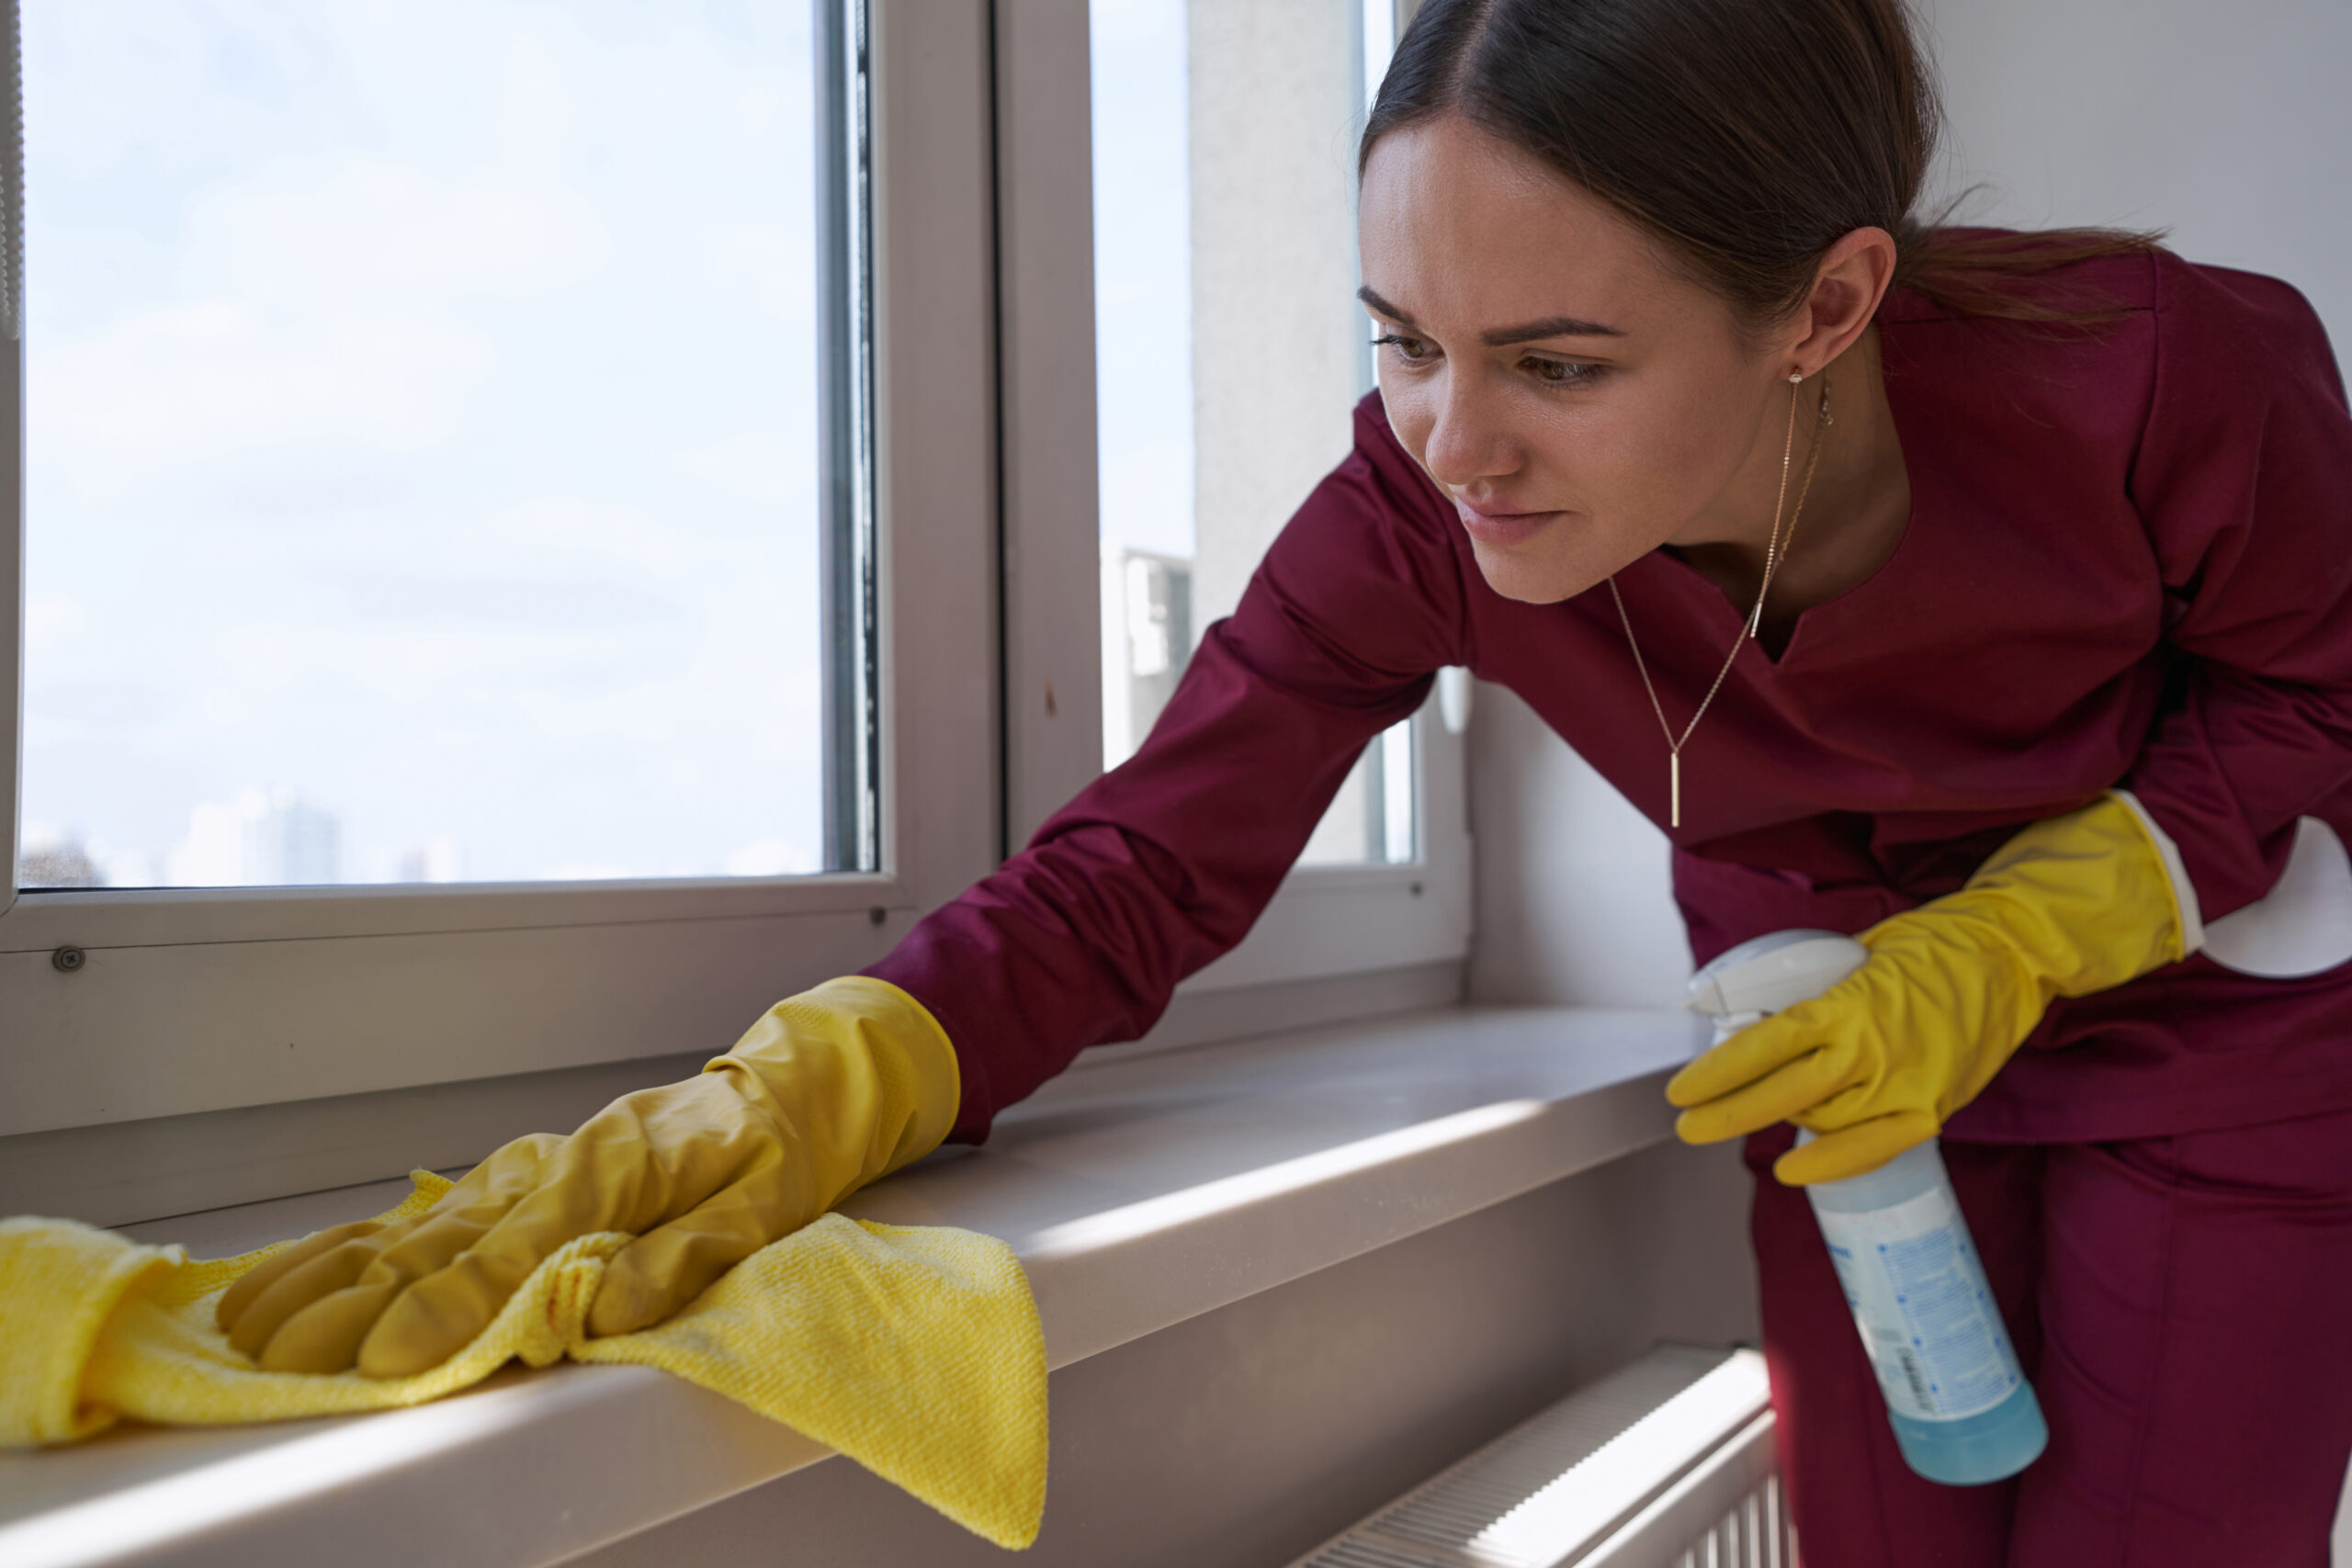
Alright, so your workspace is clear, and your floor is protected. Now, let’s tackle the dry cleaning steps. Grab yourself a soft brush or a vacuum cleaner. It’s like giving your window sills a little massage to loosen up and let go of all the grime they’ve been holding onto.
Remember, gentle cleaning is the key here. You don’t want to scratch or damage your window sills. Treat them like the delicate gems they are, and they’ll shine brightly in return.
Wet Cleaning Steps
Now, let’s add a touch of moisture to the cleaning equation. You can create your own cleaning solution right at home. One easy method is warm water and a bit of mild dish soap. It’s like preparing a spa bath for your window sills. If you prefer ready-made solutions, there are fantastic options available in the market too.
DIY Solutions:
- Baking Soda: Ah, baking soda, the multitasking champion of the household. Mix it with water, and voilà, you have a paste that can defeat even the most stubborn stains on your window sills. It’s like a magic potion for grime.
- Vinegar: White vinegar is your natural cleaning sidekick. It dissolves mineral deposits and stains without breaking a sweat. Plus, it’s eco-friendly, so you’re not just cleaning your home; you’re also being kind to the environment.
- Hydrogen Peroxide: When it comes to battling mold or mildew, hydrogen peroxide mixed with water is your superhero solution. It’s tough on the nasty stuff but gentle on your window sills.
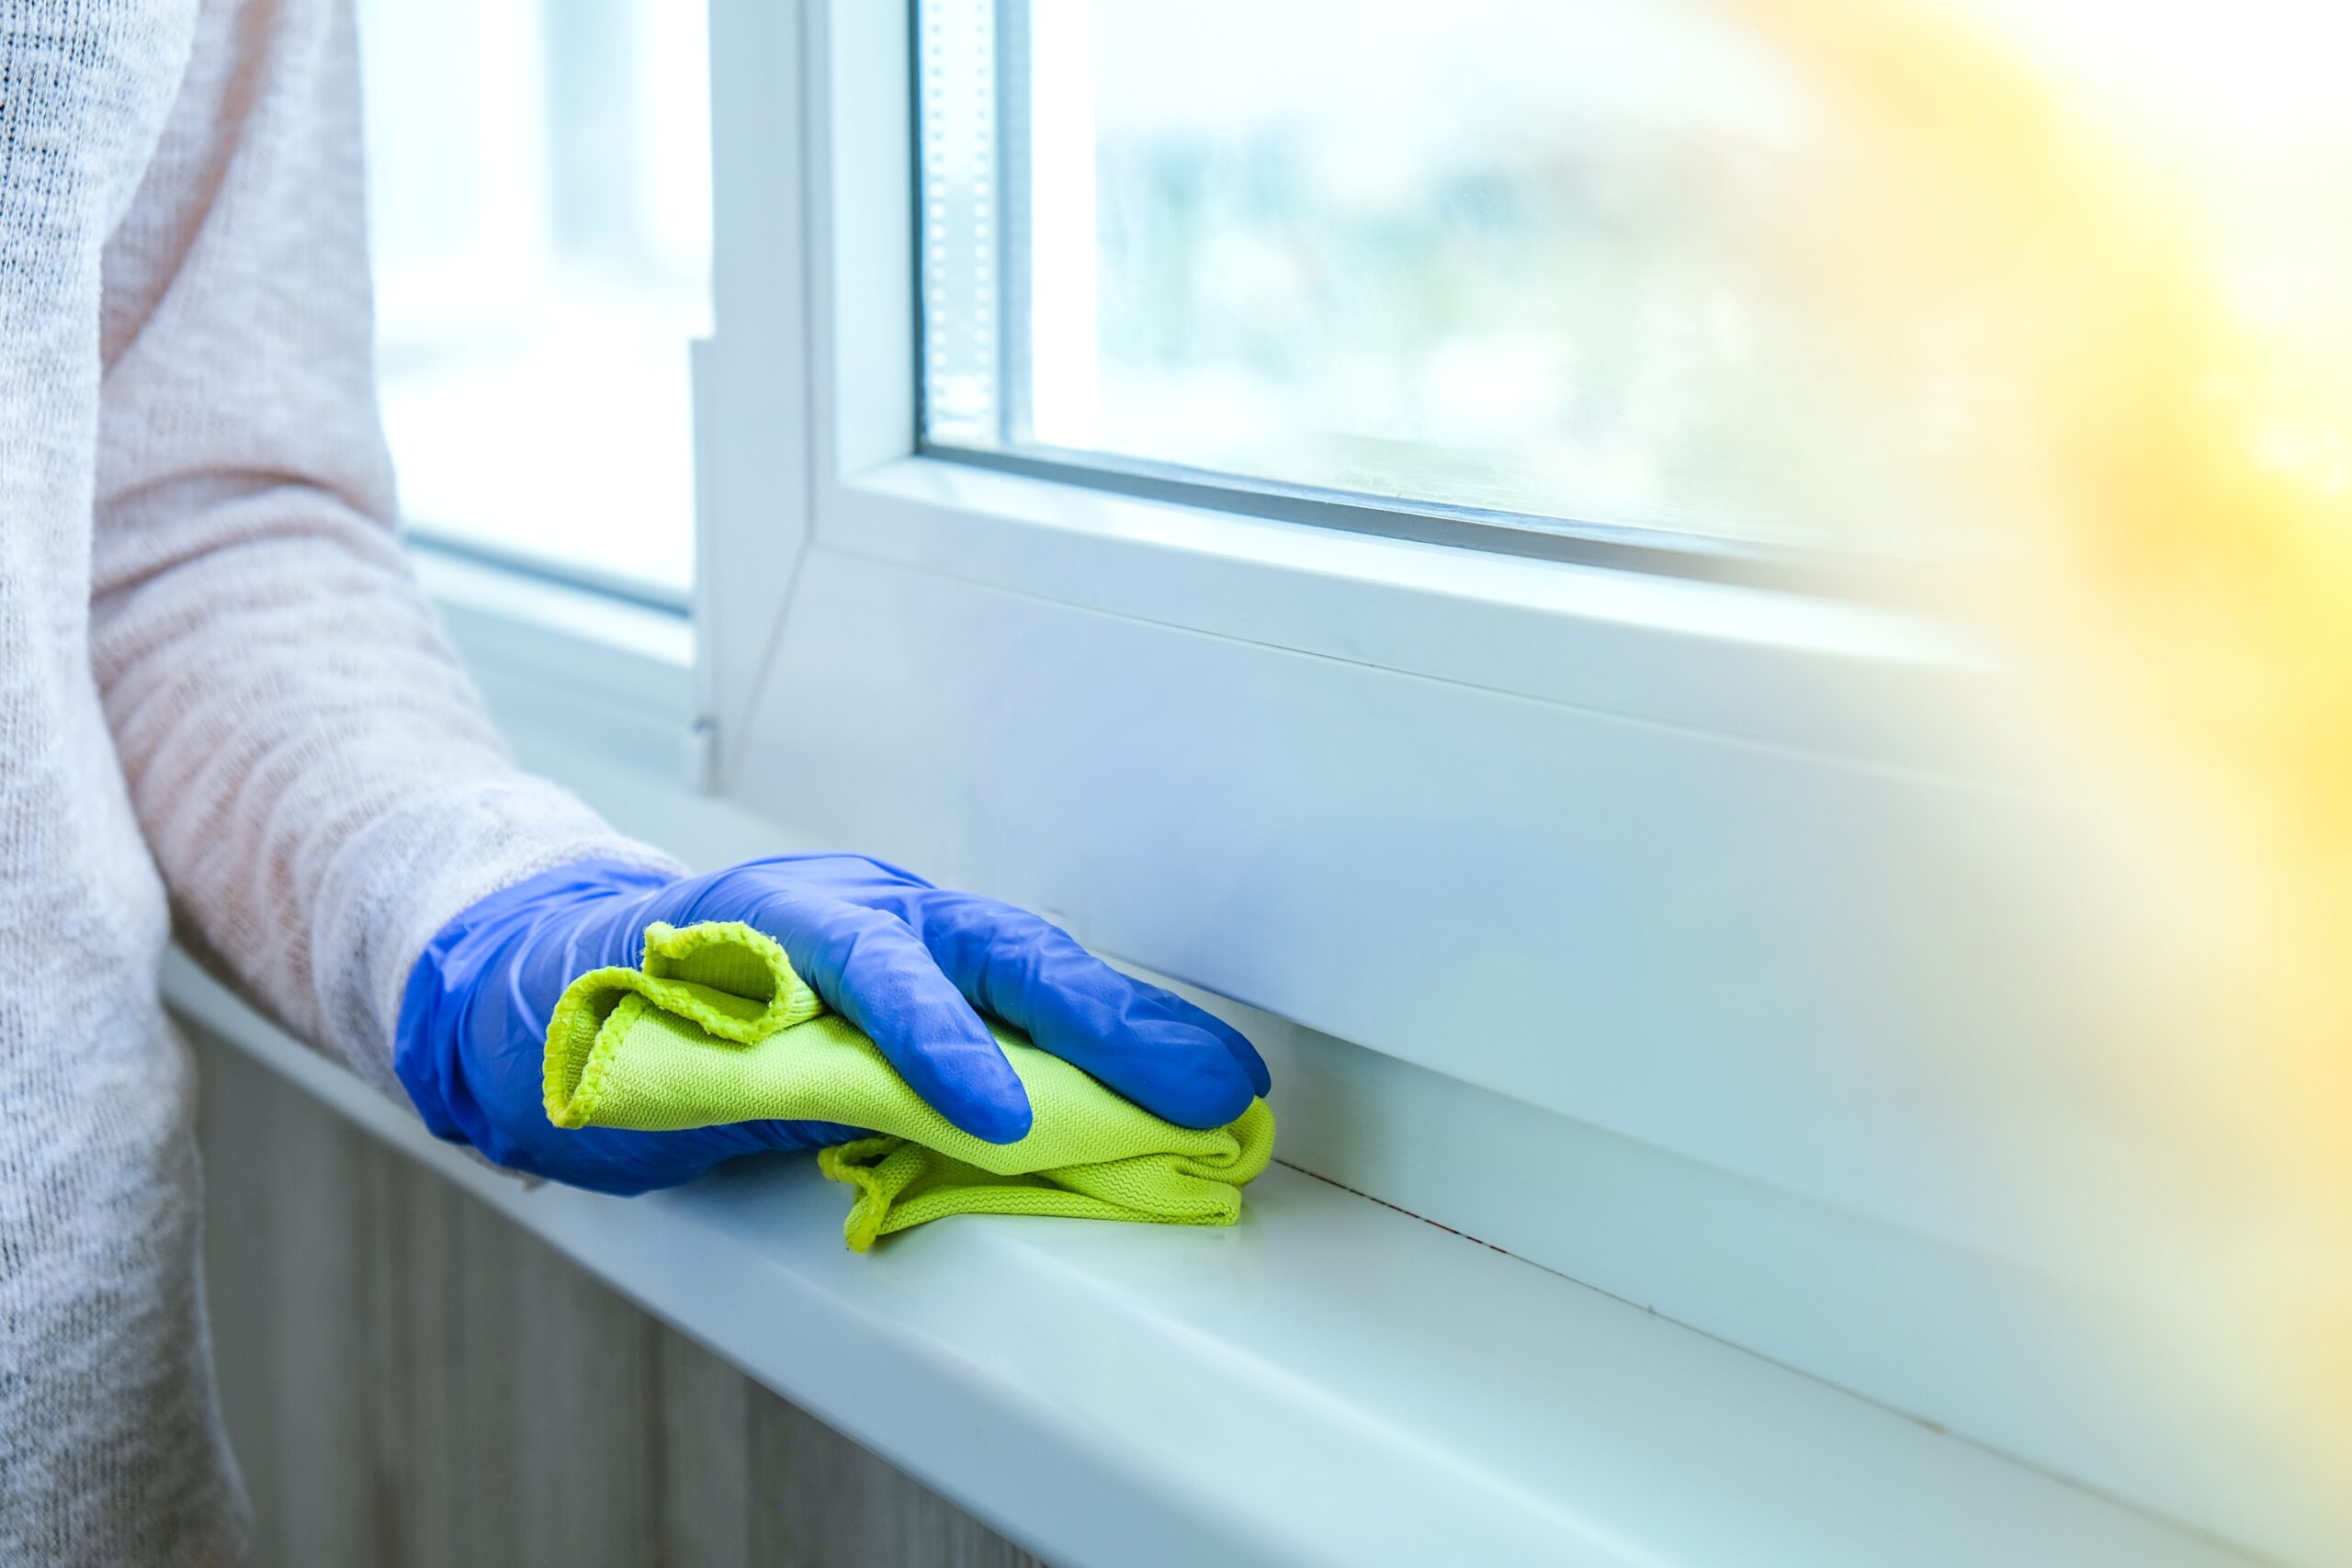
Now, armed with your chosen solution, dampen a microfiber cloth. Pay extra attention to those corners and crevices. Dirt loves to hide there, but with your thorough approach, there’s no place for it to escape.
And there you have it! With a clear workspace, the right cleaning solutions, and a gentle touch, your window sills will be gleaming and thanking you for the spa day they never knew they needed.
Recommended Reads: How to Clean Hardwood Floors?
Cleaning Different Types of Window Sills
When it comes to cleaning your window sills, the material they’re made of plays a big role in determining the best approach. Let’s break down how to tackle wooden, vinyl, metal, and stone window sills, each with its unique characteristics.
Wooden Window Sills:
Wooden sills add a touch of warmth to any room, but they require some extra TLC. Begin by dusting off loose dirt and grime with a soft brush or vacuum cleaner. For cleaning, a mild dish soap and water solution works wonders. Avoid harsh chemicals that can damage the wood. After cleaning, consider applying a protective coating or wood polish to keep them looking fresh and prevent moisture damage window sills

Vinyl Window Sills
Vinyl sills are known for their durability and low maintenance. To clean them, start by removing loose debris with a soft brush or vacuum. Then, use a mixture of warm water and mild detergent to wipe them down. Vinyl is forgiving, so you can scrub gently if needed. Rinse thoroughly with clean water to remove any residue.
Metal Window Sills:
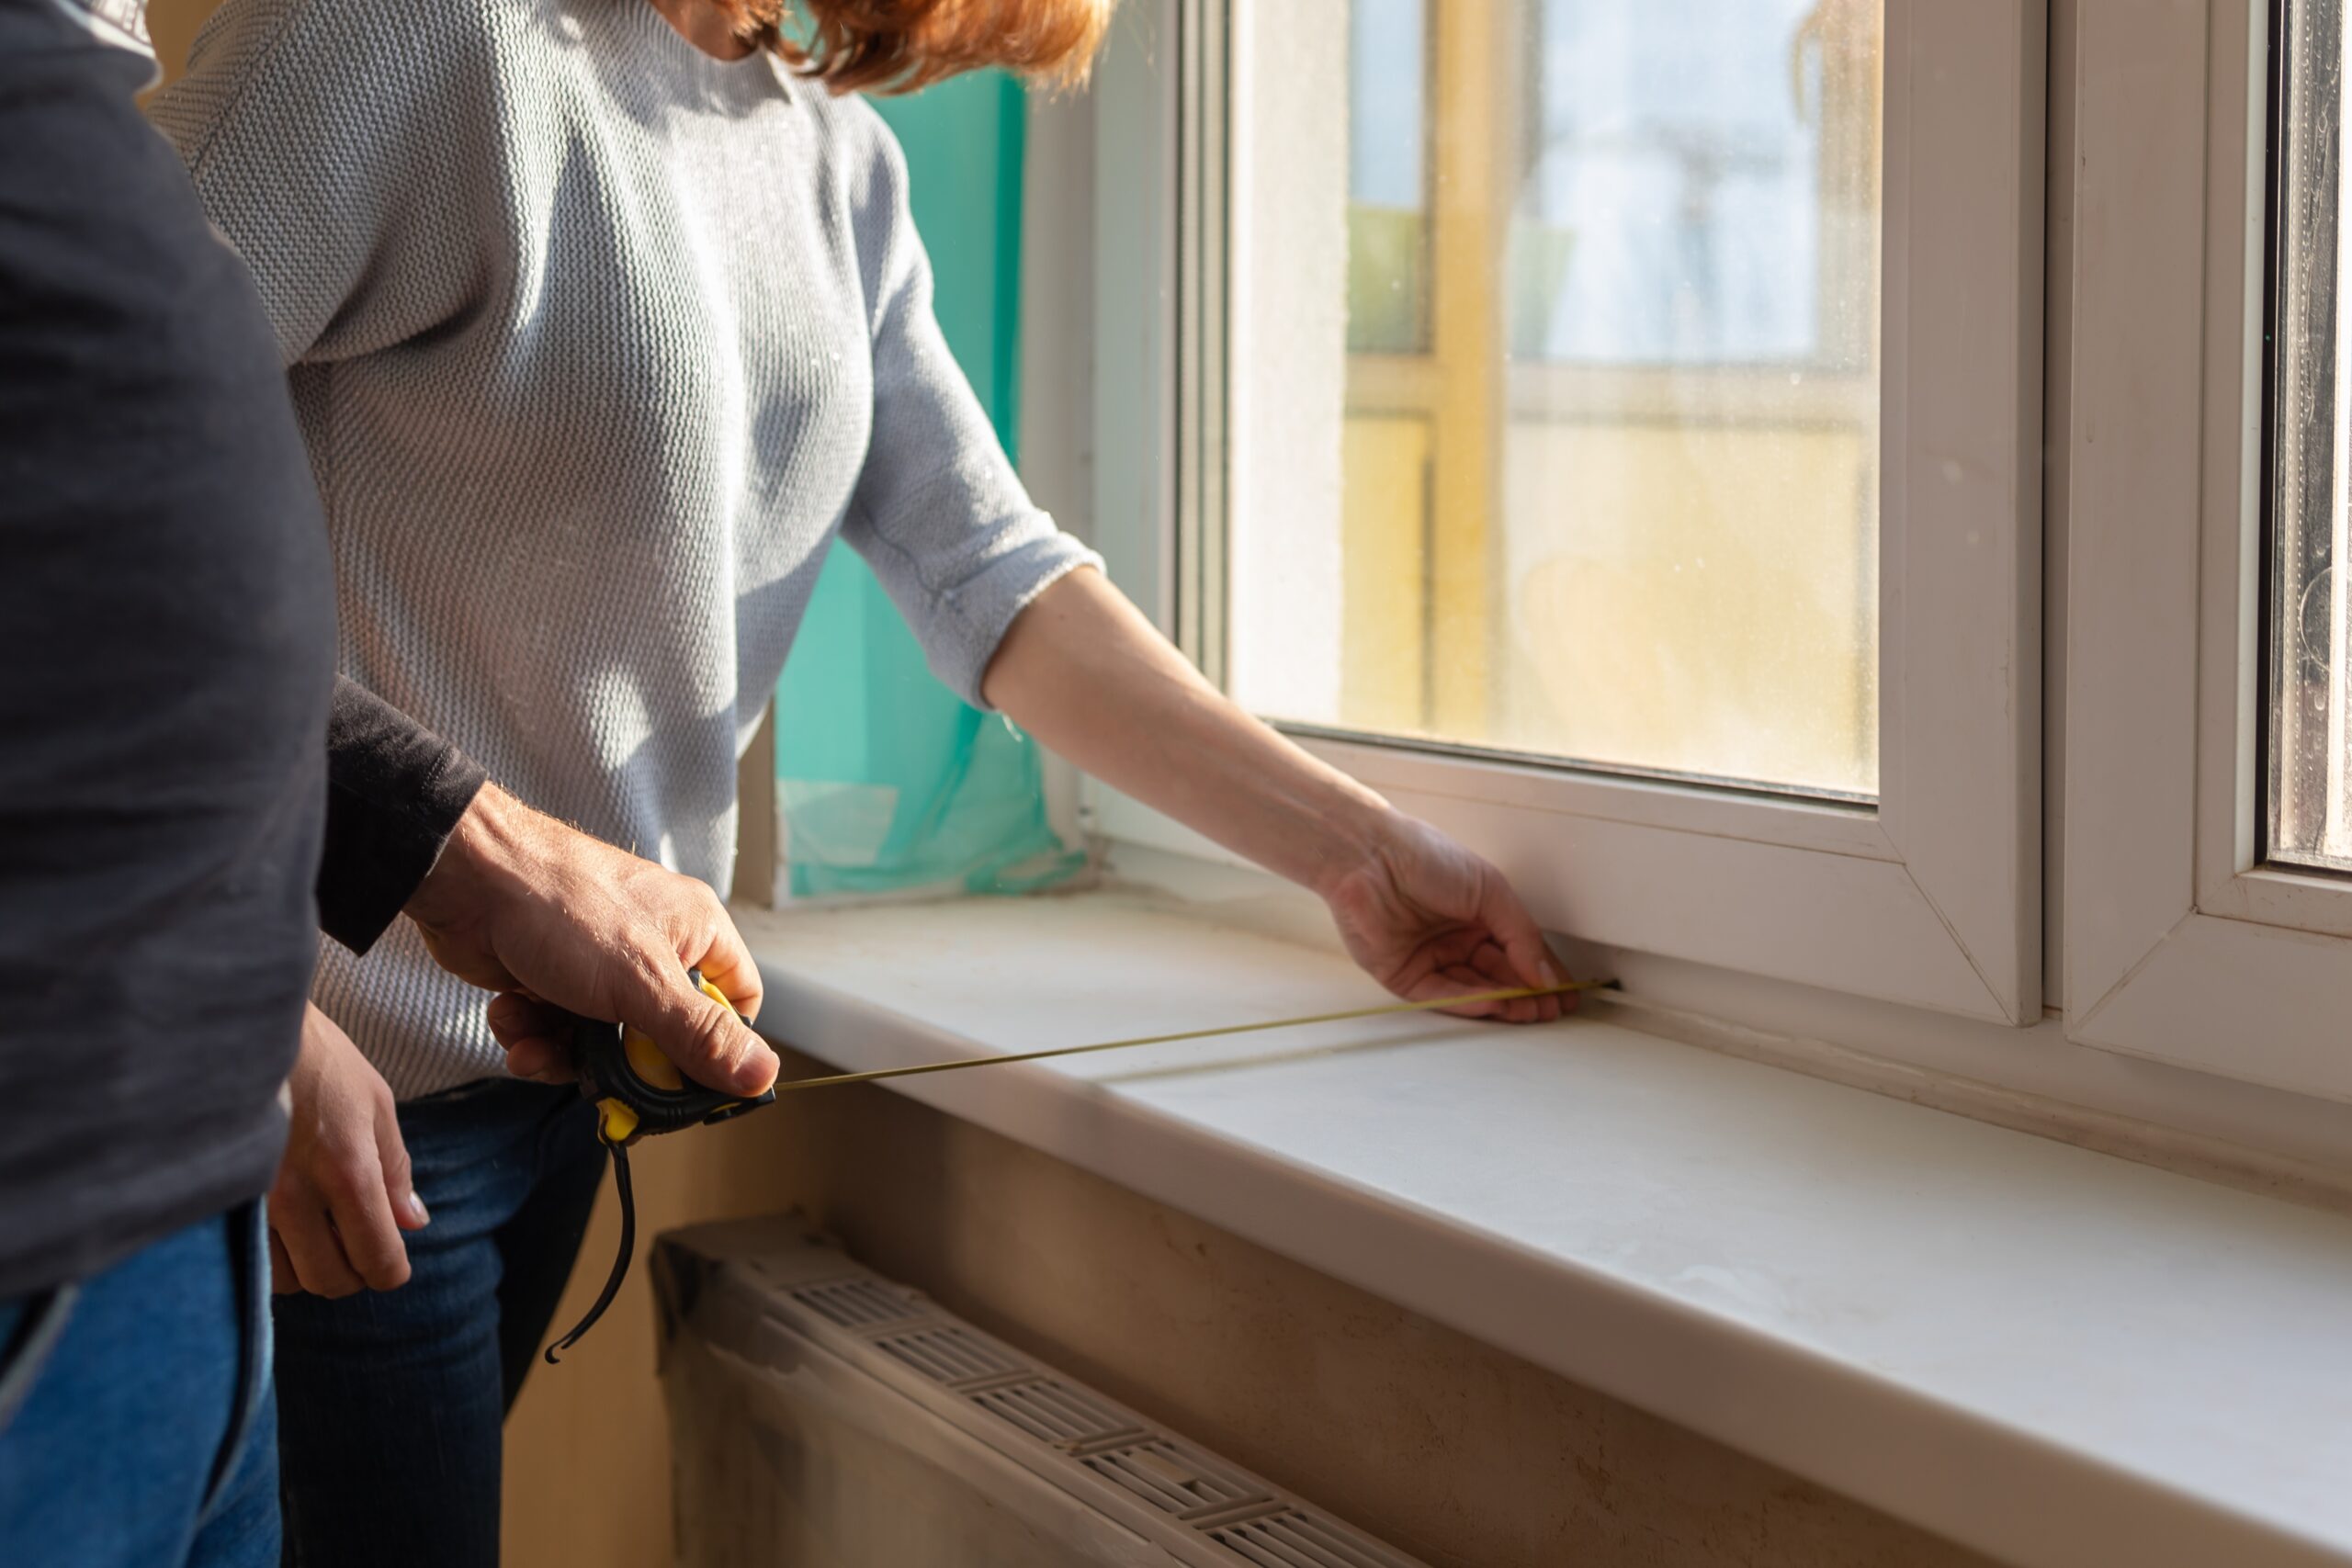
Metal window sills, often made of aluminum, are common in modern homes. They’re relatively easy to clean. Begin by removing dust and dirt with a soft brush or cloth. Next, use a mixture of water and mild detergent to clean the surface. Be sure to dry the sill thoroughly to prevent water spots or rust.
Stone Window Sills
Stone sills, like granite or marble, can add an elegant touch to your windows. Cleaning them requires a bit more care. First, remove loose dirt and debris with a soft brush or cloth. For cleaning, use a pH-neutral stone cleaner to avoid damaging the stone’s surface. Avoid acidic or abrasive cleaners. After cleaning, consider applying a stone sealer to protect the surface and keep it looking stunning.

Maintenance Tips for your Window Sills

Now that you’ve got your window sills sparkling clean, let’s talk about how to maintain that fresh look and keep them in top-notch condition.
Regular Cleaning Schedule:
The key to preventing heavy dirt buildup is setting a regular cleaning schedule. Aim for at least once a month, depending on your environment. Regular cleaning prevents grime from becoming stubborn and difficult to remove, saving you time and effort in the long run.
Weather Stripping:
Weather stripping is a simple yet effective way to minimize dust and debris from entering your home. Install weather stripping around your windows to create a seal that keeps unwanted particles at bay. It’s not just good for your window sills; it also helps with energy efficiency.
Protective Coatings for Wooden Sills:
If you have wooden window sills, consider applying protective coatings or sealants. These products act as a shield, preventing moisture damage and making it easier to clean spills and stains. Reapply the coating as needed, typically every year or two, depending on the product’s instructions.
Taking care of your window sills isn’t just about aesthetics; it’s about preserving the integrity of your home and ensuring a healthy living environment. With the right cleaning techniques and maintenance tips, you can enjoy clean and beautiful window sills year-round.
Cleaning Your Window Sills: DIY vs. Professional Cleaning Service
In today’s fast-paced world, where time is a precious commodity, maintaining a pristine home often requires careful consideration. When it comes to cleaning your window sills, the choice between a DIY approach and hiring a professional cleaning service can significantly impact the outcome.
Opting for a professional service, such as Canes Cleaners Services, offers numerous advantages. Professional cleaners bring expertise and specialized tools to ensure thorough cleaning, addressing even the trickiest corners and diverse materials with finesse. With their experience, they handle various challenges, such as stubborn stains or delicate surfaces, effectively.
Moreover, professional services save you time and effort, allowing you to focus on other essential aspects of your life. Canes Cleaners Services, with its commitment to excellence, guarantees not just clean window sills, but a home that gleams with a refreshing ambiance. Choose convenience, efficiency, and impeccable cleanliness – choose Canes Cleaners Services for a home that truly shines. Call us today and experience the difference!
Check Out More: How to Clean Toilet?
