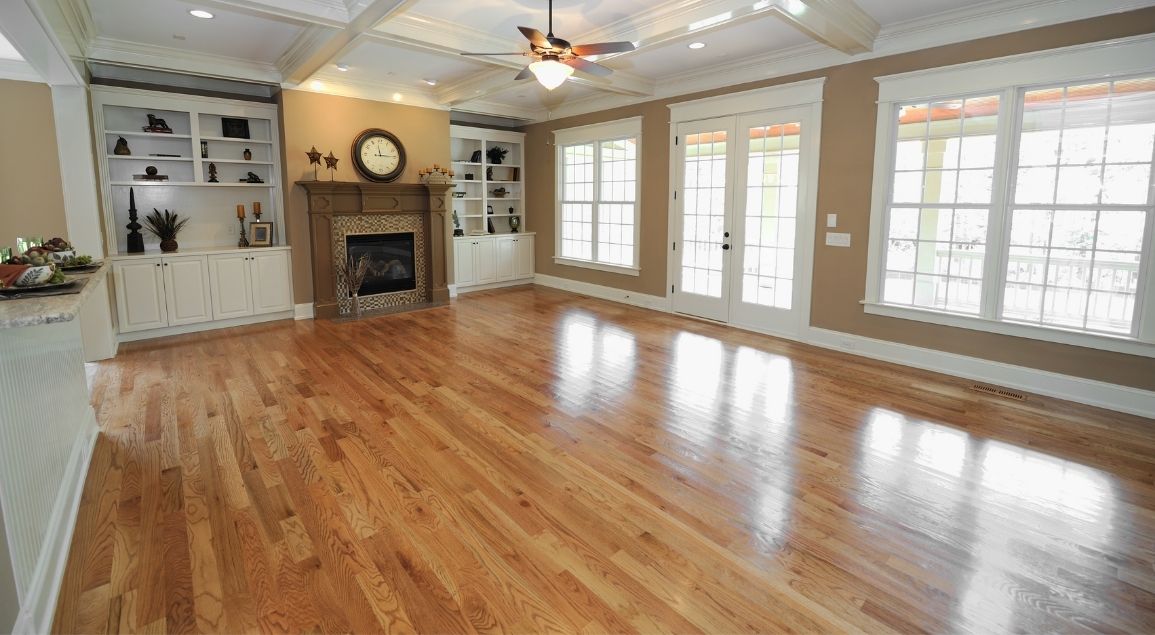
Walking into a room with gleaming hardwood floors can instantly elevate your home’s aesthetics and create a warm, inviting atmosphere. But over time, daily foot traffic, spills, and dust can take their toll, leaving your beautiful floors looking dull and worn.
The good news is that learning how to clean hardwood floors doesn’t have to be a daunting task. In fact, with the right knowledge and a little effort, you can keep your hardwood floors looking pristine for years to come. So, let’s dive into some simple yet effective techniques and tips that will help you restore the natural beauty of your hardwood floors without breaking a sweat.
Types of Hardwood Floors
Ever wondered why some homes exude a timeless charm while others feel like a fleeting trend? It all boils down to the foundation, quite literally.Picture this: you’ve just moved into your dream home, and amidst the excitement, you suddenly realize you’re not entirely sure how to maintain the elegant hardwood floors that grace your living space. But worry not, because before diving into the nuances of cleaning, it’s crucial to understand the different types of hardwood floors available.
Solid Hardwood:
Think of this as the classic choice, made from a single piece of wood. It’s timeless and durable, adding warmth to any room.
Engineered Hardwood:
A modern marvel, engineered hardwood is crafted from multiple layers, offering excellent stability and resistance to humidity and temperature fluctuations.
Laminate Hardwood:
Not real wood, but it mimics the appearance superbly. It’s budget-friendly and easy to maintain, making it a popular choice for many homeowners.
How to Clean Hardwood Floors Using Liquid Cleaner.
Hardwood floor deep cleaning is made easy with this procedure. Your home will determine how frequently to do it. Once a week or more might make sense if you have young children or animals; otherwise, bimonthly or even once a month might be more practical. If at all feasible, sweep your floors every day to get rid of any dirt and debris that can scratch them.
Step One: Sweep Dirt or Debris
The first step in cleaning your beautiful hardwood floors is to give them a good sweep. This might seem like an obvious step, but it’s crucial to remove any loose dirt and debris before you start the deeper cleaning process. Here’s what you’ll need:
Broom with soft bristles or a microfiber dust mop
Sweeping is like giving your hardwood floors a little warm-up exercise before the main event. It gets rid of the easy stuff and makes the rest of the cleaning process more effective.Start by gently sweeping or using a microfiber dust mop to collect dirt, dust, pet hair, and crumbs from the floor’s surface. Make sure to get into all the nooks and crannies, especially along baseboards and in corners. Sweep in the direction of the wood grain to avoid pushing dirt into the crevices.
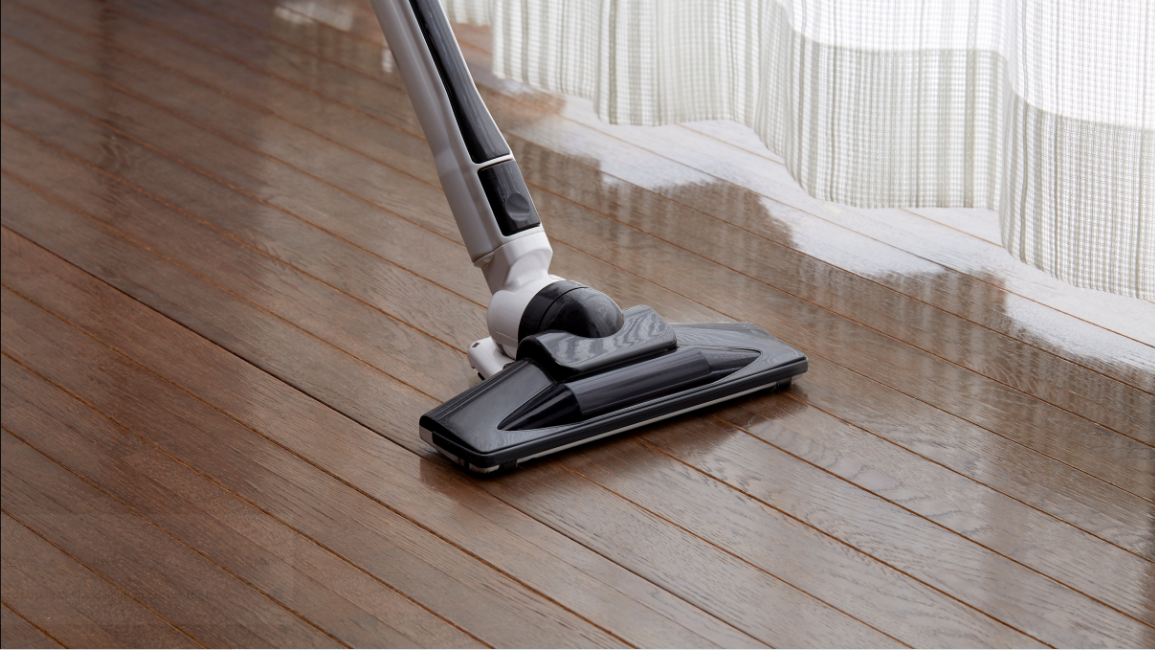
Step Two: Vacuum
Now that you’ve swept up the loose stuff, it’s time to break out the vacuum cleaner. Vacuuming not only picks up smaller particles that sweeping might have missed but also helps to get rid of fine dust that can scratch your hardwood floors. Here’s what you’ll need:
- Vacuum cleaner with a floor attachment or a canister vacuum
Before you start vacuuming, ensure that your vacuum cleaner’s brush roll or beater bar is suitable for hardwood floors. If it has a setting for hard surfaces, use that. If not, you can simply turn off the brush roll to avoid scratching the wood.Run the vacuum over the entire floor, making sure to get into those corners and edges. Take your time, and don’t rush through this step. Vacuuming not only cleans but also preps the surface for the final mop.
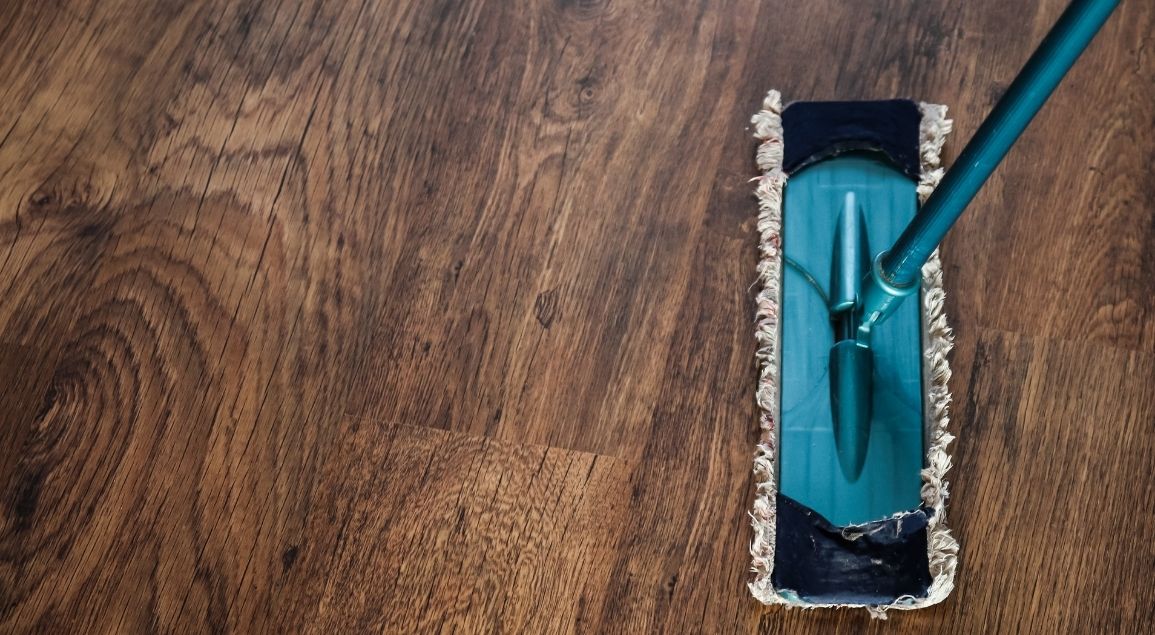
Step Three: Mop With Floor Cleaner or Vinegar
Now that your hardwood floor is free from loose dirt and dust, it’s time to give it a thorough cleaning with a mop. For this step, you’ll need:
- A mop designed for hardwood floors
- A hardwood floor cleaner
- A bucket
- Warm water
Before you start, check the manufacturer’s recommendations for your hardwood floor cleaner. Some cleaners require dilution with water, so be sure to follow the instructions on the label. Here’s how to proceed:
1. Fill the bucket with warm water.
2. Add the recommended amount of hardwood floor cleaner to the water.
3. Dip your mop into the bucket, wring it out so it’s damp but not soaking wet.
4. Start mopping the floor, working your way across the room. Be sure to mop with the grain of the wood.
5. If you come across any stubborn spots or spills, don’t use excessive force. Instead, apply a bit of the cleaner directly to the spot and gently scrub it with a soft cloth or the mop.
6. Continue mopping until you’ve covered the entire floor.
Remember, less is more when it comes to water. Excess moisture can seep into the seams of your hardwood and cause damage, so always wring out your mop well and mop with a light touch.
Cleaning the Hardwood Floor With Vinegar:
Certainly! If you find yourself out of your usual hardwood floor cleaner, vinegar can be your go-to savior. It’s surprisingly versatile and effective. Just grab a bucket, mix equal parts of water and white vinegar – it’s that simple! The natural acidity of vinegar helps to dissolve grime and dirt without damaging your precious hardwood. Grab a soft cloth, dampen it in the vinegar solution (make sure it’s not soaking wet), and gently clean your floors. The best part? Vinegar also acts as a disinfectant, leaving your floors not only clean but also germ-free. Plus, it’s a budget-friendly alternative that doesn’t compromise on cleanliness. Happy cleaning!
Step Four: Dry the Floor
After you’ve mopped your hardwood floors, it’s crucial to ensure they’re completely dry to prevent any water damage. Here’s what you’ll need:
- Clean, dry microfiber cloths or towels
Follow these steps to dry your hardwood floors effectively:
1. Take a clean, dry microfiber cloth or towel and attach it to your mop head or simply walk around the room, using the cloth under your foot to dry the floor as you go.
2. Pay special attention to corners and edges where water might collect.
3. If you used a lot of water while mopping or if your floors still feel damp, consider using a floor fan or opening windows to help speed up the drying process.
And there you have it, your hardwood floors are now clean, shiny, and ready to show off their natural beauty!
Remember, the key to maintaining the luster and longevity of your hardwood floors is regular cleaning and gentle care. By following these simple steps, you can keep your floors looking fantastic for years to come. So, go ahead and enjoy your spotless, gleaming hardwood floors!
Once you’ve polished your hardwood floors to perfection, remember to elevate the entire aesthetic by giving attention to the often-overlooked details – ensure a flawless finish by cleaning baseboards for a truly polished space
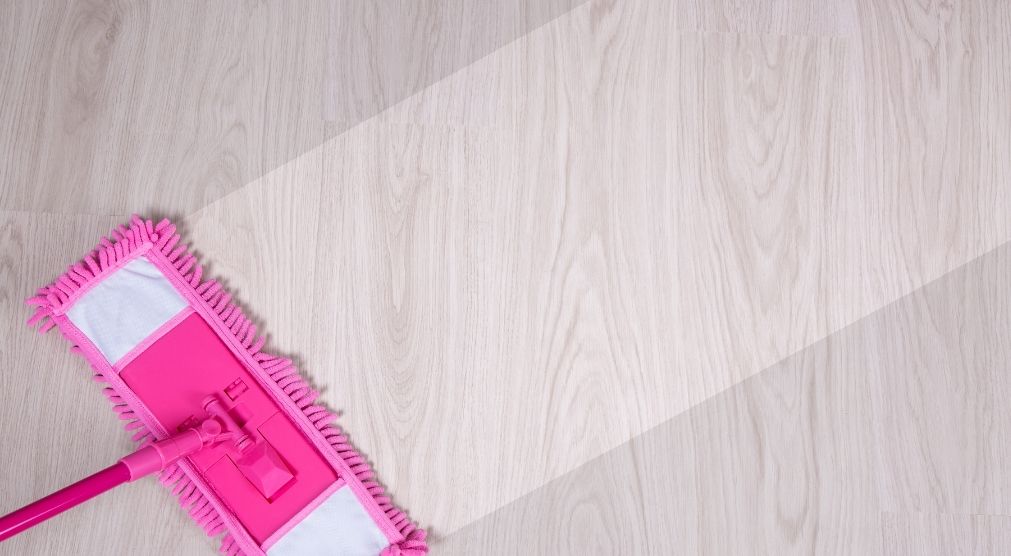
Clean Hardwood Floors With Water Proof Alternatives
Ready to give your hardwood floors a makeover? Let’s talk about using a water-proof alternative to clean them up and make them shine like new.
So, why a water-proof alternative, you ask? Well, it’s fantastic because it adds that extra layer of protection to your precious hardwood. It shields your floors from moisture, ensuring they remain gorgeous for years. Plus, it’s super easy to do!
Here’s how you can get started:
Step 1: Gather Your Supplies
First things first, let’s gather what you need. For this waterproof alternative, you’ll require a microfiber mop, a water-proof hardwood floor cleaner, and a bucket.
Step 2: Prep Your Floor
Before you start, clear the floor of any furniture or obstacles. This makes it easier to move around and clean every nook and cranny of your beautiful hardwood floor.
Step 3: Dilute the Cleaner
Now, let’s prepare the cleaning solution. Check the instructions on your water-proof hardwood floor cleaner for the right dilution ratio. Usually, it’s a mix of the cleaner and water. Get your bucket and mix the solution following the guidelines provided.
Step 4: Dampen the Mop
Dip your microfiber mop into the solution. You don’t want it sopping wet; just damp enough to clean the floor effectively without over-saturating it. Wring out excess liquid to prevent puddles.
Step 5: Start Mopping
Begin mopping your hardwood floor, starting from one corner and working your way towards the exit. The key here is to go with the grain of the wood. This not only cleans better but also keeps the natural texture of the wood intact.
Step 6: Tackle Stubborn Spots
For stubborn spots or spills, you can apply a bit of the undiluted cleaner directly onto the spot. Let it sit for a minute to break down the dirt, then gently wipe it away with your damp microfiber mop.
Step 7: Dry Thoroughly
Once you’ve mopped the entire floor, it’s time to ensure it’s completely dry. Take a clean, dry microfiber cloth and go over the floor, wiping away any excess moisture. This step is crucial to prevent any potential water damage.
How to Clean Hardwood Floor Cracks?
Ah, those pesky hardwood floor cracks – they can really be a pain, can’t they? But fear not, because I’ve got some nifty tricks up my sleeve to help you tackle this issue and restore your beautiful hardwood floors to their former glory. Let’s dive in, shall we?
Step One: Collect Your Supplies
Wood Filler: This is your magical potion that will fill in those cracks seamlessly.
Putty Knife: Think of this as your trusty sidekick, helping you apply the wood filler neatly.
Fine-grit Sandpaper: You’ll use this to smooth out the filled cracks.
Soft Cloth: For wiping away excess filler and ensuring a smooth finish.
Stain or Finish (Optional): If your floor has a specific finish or stain, you might need this to match the repaired area with the rest of the floor.
Step Two: Clean the Cracks
Before you start filling, make sure the cracks are clean and free of dust and debris. You don’t want anything getting in the way of that perfect fill!
Step Three: Fill ‘Em Up
Here comes the fun part! Take your wood filler and start filling the cracks. Think of it as filling in a coloring book – you want to stay inside the lines. Use the putty knife to apply the filler, pressing it down gently to ensure it fills the cracks completely. Don’t worry if it’s a bit excessive; we’ll fix that in the next step.
Step Four: Smooth It Out
Once the cracks are filled, it’s time to make everything nice and smooth. Take your fine-grit sandpaper and gently sand the filled areas. This will not only level the filler with the floor but also give it a polished look. Be gentle, we don’t want any scratches!
Step Five: Wipe Away Excess
After sanding, take a soft cloth and wipe away any excess filler. Your goal is to have a seamless, natural look. Imagine you’re giving your floor a little spa day – wiping away the excess is like a soothing massage.
Step Six: Optional – Apply Stain or Finish
If your floor has a specific stain or finish, you might want to apply a bit to the repaired area to match the rest of the floor seamlessly. Think of it as giving your repaired spot a new outfit to blend in with the crowd.
And there you have it! Remember, tackling these little home challenges can be oddly satisfying, and with the right tools and a bit of patience, you can turn your living space into the haven you’ve always dreamed of.
Discover the Ease with Cane’s Cleaners: Let the Experts Transform Your Hardwood Floors!
We know you take pride in your beautiful hardwood floors, and maintaining them can sometimes feel like a daunting task. Now, while it’s great to dive into some DIY cleaning adventures, we want to introduce you to a game-changer – Canes Cleaners Services.
Why stress about cleaning when you can leave it to the pros and enjoy the remarkable benefits of our services? Imagine more free time, impeccable floors, and the peace of mind knowing your cherished space is in expert hands. Still on the fence? Well, let us sweeten the deal with some enticing benefits:
- Expertise and Experience: Our team of professionals knows hardwood floors inside out, ensuring a thorough and meticulous cleaning that enhances the natural beauty of your flooring.
- Time-Saving Convenience: By outsourcing the cleaning task to us, you free up your precious time, allowing you to focus on things that truly matter – be it spending quality moments with family or indulging in personal hobbies.
- Preservation of Quality: Regular professional cleaning not only keeps your floors looking pristine but also extends their lifespan. Our services ensure your hardwood retains its elegance for years to come.
- Tailored Solutions: Each hardwood floor is unique, and our services are customized to suit your specific needs. Whether it’s a deep clean or regular maintenance, we’ve got you covered.
So, why break a sweat when you can simply relax and enjoy your spotless, gleaming floors? Let Canes Cleaners take care of your hardwood floors – because you deserve a home that radiates beauty effortlessl
Faqs
Absolutely, you can mop hardwood floors! Just make sure to use a damp, not soaking wet, mop to avoid excessive moisture, and your floors will shine bright
Absolutely! To clean wood floors naturally, mix equal parts of water and vinegar for a gentle yet effective solution. Just mop, and voilà, your floors will shine naturally, without any harsh chemicals!
After removing the carpet, sweep away debris and dust. Then, mop the hardwood floors gently using a damp cloth or a mild cleaner for a fresh, clean finish!
To clean old hardwood floors, start by dusting and sweeping to remove debris, then use a damp mop with a gentle hardwood floor cleaner. Avoid excess moisture, and your old floors will shine like new!
To clean hardwood floors without streaks, use a damp, not soaking, microfiber mop and a pH-neutral cleaner. Wipe gently, and voilà, streak-free shine!
Final Remarks: How To Clean Hardwood Floors
In conclusion, maintaining the timeless elegance of hardwood floors is not only a matter of cleanliness but also a testament to the dedication one puts into preserving the beauty of their living space. By following the comprehensive guide on how to clean hardwood floors, we embark on a journey of not just surface-level hygiene but a commitment to the longevity and aesthetic appeal of our homes. With the right techniques, products, and regular care, hardwood floors can stand the test of time, offering a warm and inviting ambiance that reflects the pride we take in our living spaces. Embrace the art of hardwood floor maintenance, and let the natural allure of these timeless surfaces enhance the overall charm of your home.
You may find helpful: How to Clean Window Sills?