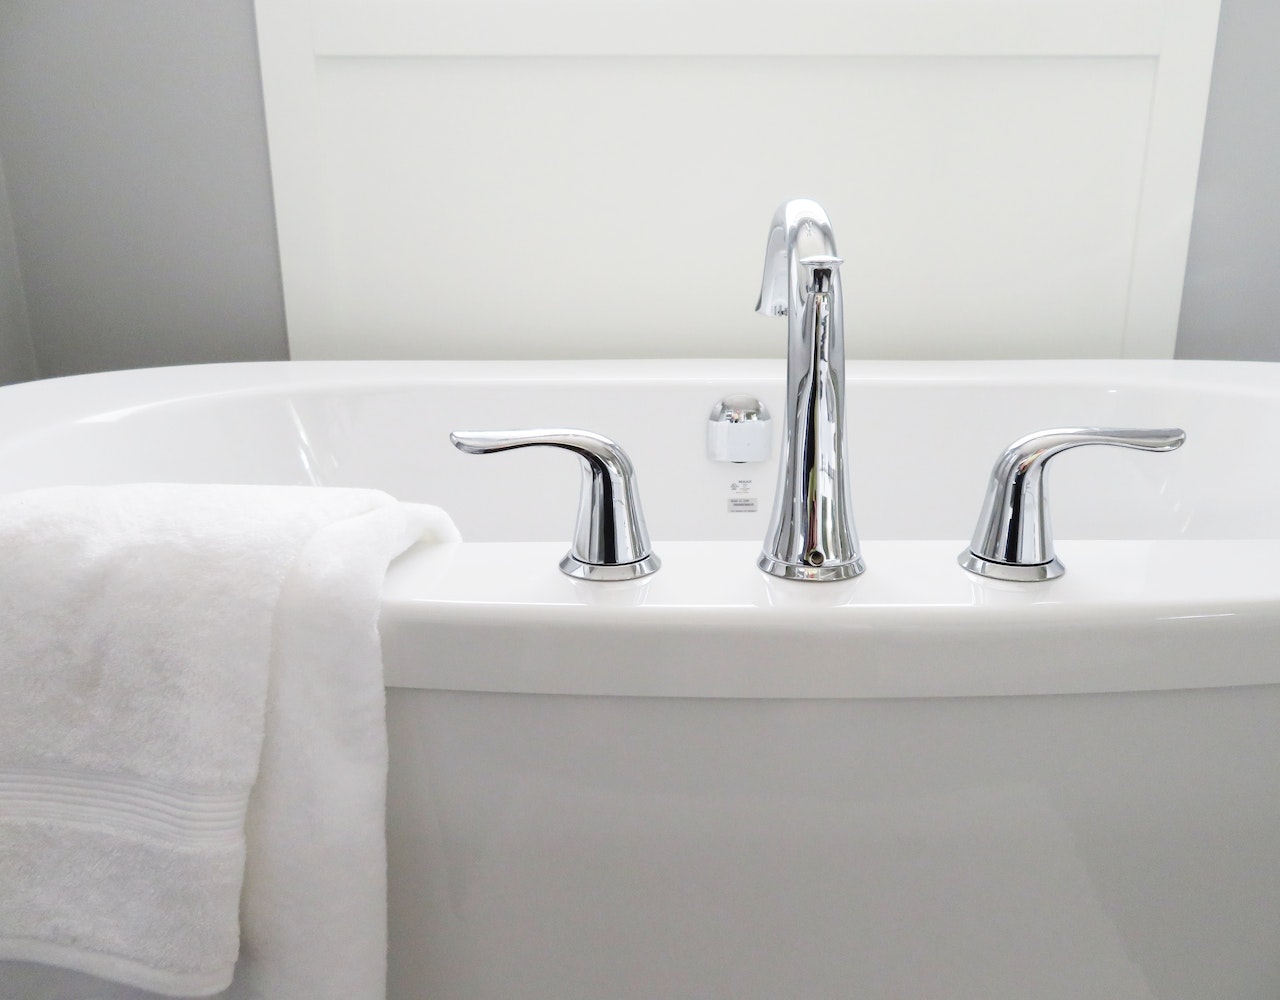
Soaking Away the Grime: A Step-by-Step Guide on How to Clean a Bathtub
Picture this: you step into your bathroom, ready to indulge in a long, relaxing soak in your bathtub. As you gaze at the gleaming, spotless surface, you can’t help but smile. A clean and sparkling bathtub can transform your bathroom into a haven of relaxation and hygiene, making your bathing experience all the more enjoyable. Whether you’re preparing for a soothing bubble bath or ensuring your bathroom remains a welcoming space for guests, regular bathtub cleaning is essential.
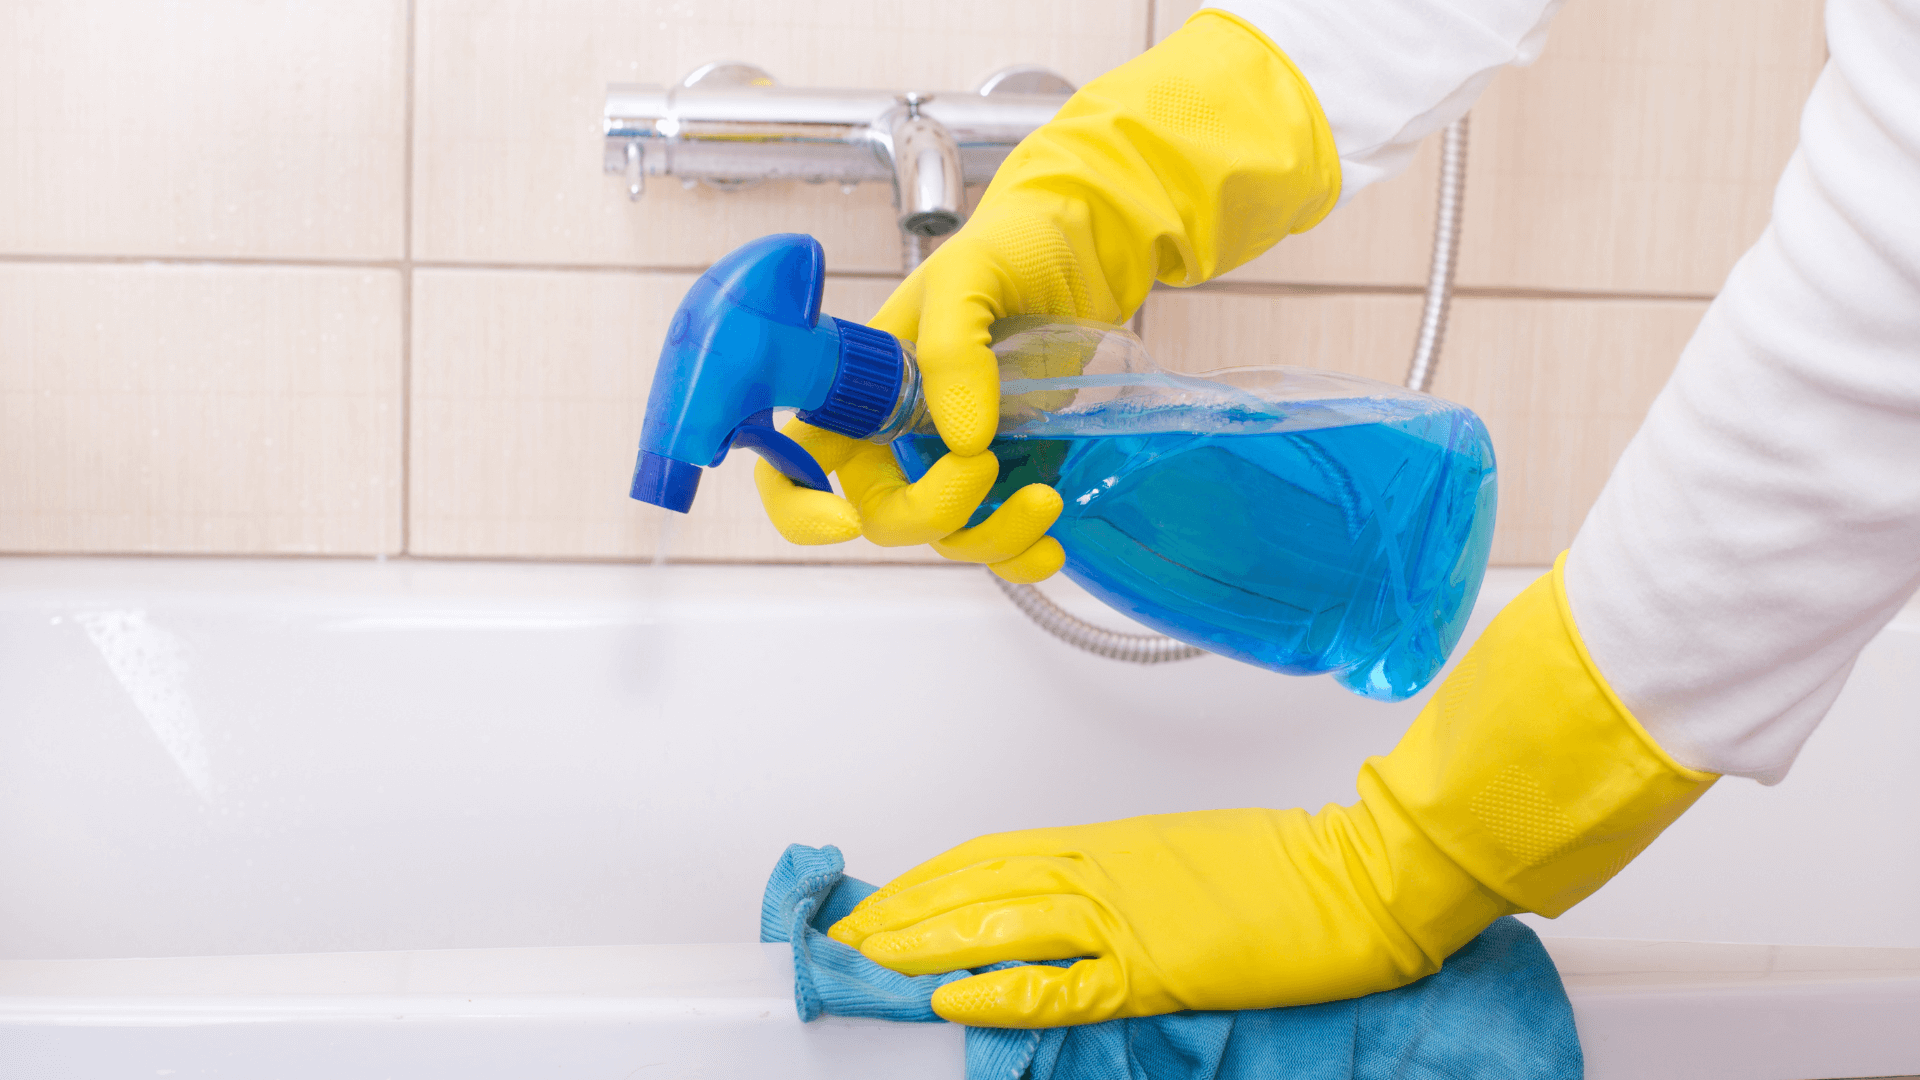
In this comprehensive guide, we’ll dive deep on how to clean a bathtub. We’ll walk you through the steps and provide valuable tips to help you achieve a spotless, inviting bathtub that shines like new. So, roll up your sleeves, put on your cleaning gloves, and let’s get started on this journey to a cleaner, more comfortable bathroom.
Complete your bathroom cleaning with our guide on how to clean the toilet.
Chapter 1: Gathering Your Supplies
Before we dive headfirst into the world of bathtub cleaning, let’s make sure you’re armed with the right tools and supplies. As a seasoned professional cleaner, I can attest to the importance of having the following items on hand:
- Rubber Gloves:
Your hands deserve protection from harsh cleaning chemicals.
- Scrubbing Brush:
A medium to stiff brush is your trusty companion for scrubbing away grime.
- Baking Soda:
This natural, non-abrasive cleaner is a powerhouse against stains.
- Vinegar:
An eco-friendly and versatile cleaner that tackles soap scum and more.
- Dish Soap:
Ideal for breaking down grease and grime on your bathtub’s surface.
- Spray Bottle:
To mix and apply your customized cleaning solutions.
- Old Toothbrush:
Perfect for those hard-to-reach corners and grout lines.
- Microfiber Cloth or Sponge:
For that final touch of wiping and polishing.
Chapter 2: Preparing the Bathtub
Before we launch into the cleaning process, it’s important to set the stage for success. As a professional cleaner, I’ve learned that preparation is half the battle. Here’s what you need to do:
Remove Personal Items:
Take out any soap, shampoo, or other personal items from the bathtub area. This clears the stage for a thorough cleaning.
Rinse Thoroughly:
Give your bathtub a good rinse with warm water to eliminate loose dirt and debris. This simple step can make the cleaning process more effective.
Ventilate the Area:
Ensure proper ventilation by opening a window or using an exhaust fan. This helps minimize fumes from cleaning products and promotes a fresher atmosphere.
Chapter 3: Cleaning the Bathtub Surface

Now, it’s time to tackle the main event: cleaning the bathtub surface. As a professional cleaner, I can vouch for these tried-and-true methods:
Baking Soda Scrub:
1. Create a paste by mixing baking soda with water. It should have the consistency of toothpaste.
2. Apply the paste to the bathtub’s surface, paying special attention to stained or soiled areas.
3. Let it sit for a glorious 10-15 minutes while you prepare to take on the grime.
4. With your trusty scrubbing brush or sponge, work the paste into the surface, using circular motions.
5. Rinse thoroughly with warm water to reveal a noticeably cleaner bathtub.
Vinegar Solution:
1. Fill a spray bottle with equal parts water and white vinegar—a solution that packs a powerful punch against soap scum and stains.
2. Generously spray this solution over the entire bathtub surface.
3. Let it work its magic for approximately 10 minutes, breaking down soap scum and stains.
4. Armed with your scrubbing brush or sponge, give the surface another round of cleaning.
5. Finish with a thorough rinse using warm water.
Stubborn Stains:
For those stubborn stains that refuse to budge, especially rust or hard water deposits, here’s a secret recipe:
1. Create a paste by combining cream of tartar and hydrogen peroxide. This dynamic duo is a formidable stain-fighting force.
2. Apply the paste to the offending stains and let it sit for a few minutes. You’ll feel a sense of anticipation building.
3. Gently scrub the stained areas, being careful not to damage the surface.
4. Rinse well, and watch those stubborn stains retreat into oblivion.
Chapter 4: Dealing with Grout and Tile Surround
Cleaning the grout and tile surround is where the true challenge lies, but fear not—professional cleaners like myself have a few tricks up our sleeves:
Grout Cleaning:
1. Mix equal parts of baking soda and water to form a paste—a homemade grout superhero.
2. Apply this paste to the grout lines, letting it sit for a good 10-15 minutes. This gives it time to break down the grime.
3. Equip yourself with an old toothbrush or a specialized grout brush. These are your weapons of choice against grout grime.
4. With determination and a bit of elbow grease, scrub away the dirt and stains from the grout lines.
5. Don’t forget the final step—rinse thoroughly with water to reveal those beautifully clean grout lines.
Tile Surround:
1. Remember the trusty vinegar solution we used earlier? It’s equally effective on tile surfaces.
2. Spray the vinegar solution generously over the tile surround, making sure to reach the corners and edges.
3. Rinse thoroughly, ensuring there’s no residue left behind.
Chapter 5: Finishing Touches
With the bulk of the cleaning complete, it’s time for the finishing touches—the final steps that elevate your bathtub from clean to sparkling:
Rinse Thoroughly: The importance of thorough rinsing cannot be overstated. Ensure that you’ve washed away all traces of cleaning products, leaving behind a pristine surface.
Dry with a Clean Cloth: Grab a microfiber cloth or a clean, dry towel. Wipe down the bathtub’s surface to leave it streak-free and gleaming. This step is your grand finale, the moment when your hard work truly shines through.
Polish Fixtures: While you’re in cleaning mode, don’t forget to clean and polish the fixtures—the faucets, handles, and any other metal or chrome elements. A gentle cleaner or a mixture of water and vinegar can work wonders.
Chapter 6: Maintaining a Clean Bathtub
Now that your bathtub has been restored to its former glory, it’s time to talk about maintenance. Keeping your bathtub consistently clean requires a bit of effort, but the results are worth it:
Regular Cleaning: Make it a habit to clean your bathtub regularly. A weekly once-over can prevent the buildup of grime and stains, making the task less daunting in the long run.
Use a Shower Curtain or Mat: To protect your newly cleaned tub’s surface from potential scratches and stains caused by soap and shampoo bottles, consider using a shower curtain or a bath mat.
Wipe Down After Use: After each use, make a quick habit of wiping down the bathtub’s surface with a squeegee or a dry towel. This simple step can prevent water spots and soap scum buildup.
Avoid Harsh Chemicals: Stay away from abrasive or acidic cleaners, as they can damage the finish of your bathtub. Opt for gentler alternatives that will protect the surface.
Chapter 7: Natural Alternatives for Bathtub Cleaning
If you’re a fan of natural cleaning alternatives, you’re in good company. Here are some options that bring both cleaning power and eco-friendliness to your bathtub:
Lemon Juice: Combine lemon juice with baking soda to create a paste. Not only does it clean effectively, but it also leaves behind a refreshing citrus scent.
Salt: Salt is a versatile cleaner and can serve as a mild abrasive for tackling tough stains.
Olive Oil: To give your bathtub a polished and gleaming appearance, mix a few drops of olive oil with vinegar. This simple trick can elevate your bathtub’s shine to a whole new level.
Chapter 8: Tips for Deep Cleaning
Occasionally, your bathtub may need more than just regular cleaning. When it’s time for a deep clean, consider these expert tips:
Remove the Drain: If your bathtub allows for it, remove the drain cover. You’ll be amazed at the accumulated gunk you can clean out, improving drainage and preventing potential blockages.
Clean the Overflow Drain: The overflow drain opening can be a hidden source of dirt and soap residue. Make sure to give it a thorough cleaning during your deep cleaning sessions.
Recaulk the Seams: Over time, caulk can deteriorate, leading to water leakage and unsightly gaps. Re-caulk the seams around your bathtub to maintain a watertight seal and a polished appearance.
Replace Grout: If your grout is severely discolored or damaged, consider replacing it to restore the appearance of your tile surround. Fresh grout can make a world of difference.
Chapter 9: Bathtub Materials and Maintenance
Different types of bathtubs require specific care and maintenance to keep them in top shape. Here are some tips tailored to different bathtub materials:
Acrylic Tubs: Acrylic tubs are sleek and modern but are susceptible to scratching. Avoid abrasive cleaners that can damage the surface. Instead, use a mild, non-abrasive cleaner to preserve their glossy finish.
Porcelain Tubs: Porcelain tubs are known for their durability but can chip if not handled carefully. If you spot any chips, address them promptly to prevent rusting.
Fiberglass Tubs: Fiberglass tubs are lightweight and affordable but can be vulnerable to scratching. Use a soft cloth or sponge for cleaning to avoid damaging the surface.
Chapter 10: Troubleshooting Common Issues
Despite your best efforts, common bathtub cleaning issues can crop up. Here’s how to tackle them like a pro:
Mold and Mildew: Mold and mildew can be persistent problems in bathrooms. Combat them with a solution of bleach and water, ensuring proper ventilation to prevent their return.
Hard Water Stains: For those stubborn hard water stains that seem immune to regular cleaning, consider using a commercial lime scale remover. Alternatively, create a mixture of vinegar and water for an eco-friendly solution.
Rust Stains: Rust stains can be particularly frustrating. To banish them from your bathtub’s surface, try a rust remover or create a paste using cream of tartar and lemon juice.
Chapter 11: Bathtub Safety and Maintenance
Ensuring the safety and longevity of your bathtub is paramount. Here are some essential tips for maintaining a safe and well-preserved bathtub:
Anti-Slip Mats: Consider using anti-slip mats or decals inside the bathtub. These simple additions can prevent accidental slips and falls, especially if you have young children or seniors in your household.
Regular Inspections: Periodically inspect your bathtub for any signs of wear, cracks, or damage. Catching issues early can prevent further deterioration and costly repairs.
Drain Maintenance: Don’t overlook the importance of drain maintenance. Regularly clean the bathtub drain to prevent clogs and maintain efficient drainage.
Resealing Caulk: Check the caulk around the edges of your bathtub. If you notice cracks or gaps, reseal them promptly to prevent water leaks that can lead to hidden damage.
Chapter 12: Bathtub Upgrades and Renovation
If your bathtub has seen better days or you’re looking to transform your bathroom, consider these upgrade and renovation options:
Bathtub Refinishing: Sometimes, your existing bathtub just needs a facelift. Bathtub refinishing can breathe new life into your tub, giving it a fresh, glossy appearance without the cost of replacement.
Bathtub Replacement: When your bathtub is beyond repair or you’re aiming for a complete bathroom makeover, replacing it with a new one can be a game-changer. Explore the wide range of bathtub options, from classic to contemporary.
Jetted Tubs: If you crave the luxury of a spa-like experience in the comfort of your home, jetted or whirlpool bathtubs offer therapeutic relaxation like no other.
Freestanding Tubs: Freestanding tubs are a trend that never goes out of style. These elegant and timeless designs can become the centerpiece of your bathroom, adding a touch of luxury.
Chapter 13: Bathtub Cleaning and Health
A clean bathtub isn’t just about aesthetics; it’s also about health and well-being. Here’s why maintaining a hygienic bathtub is essential:
Bacteria and Germs: Regular cleaning eliminates bacteria and germs that can thrive in a dirty bathtub. This is particularly crucial if you have young children or individuals with compromised immune systems in your household.
Allergen Control: A clean bathtub contributes to better indoor air quality by reducing allergens like mold and dust mites. This can make a significant difference in the comfort of your home, especially if you or your family members have allergies or asthma.
Relaxation and Stress Reduction: A pristine bathtub provides an inviting and relaxing environment for unwinding after a long day. It’s not just about cleanliness; it’s also about creating a space for self-care and relaxation.
Chapter 14: The Environmental Impact
As environmentally conscious consumers, it’s important to consider the environmental impact of our cleaning practices. Here’s how you can be eco-friendly while cleaning your bathtub:
Eco-Friendly Cleaning Solutions: Opt for eco-friendly cleaning products that are biodegradable and less harmful to aquatic life. Many eco-friendly options are effective at cleaning and kinder to the planet.
Water Conservation: Be mindful of water usage during bathtub cleaning. Consider using a low-flow showerhead to conserve water, reducing both your water bills and environmental footprint.
Chapter 15: Frequently Asked Questions (FAQs)
Let’s address some common questions and concerns that often arise when it comes to bathtub cleaning:
A: Bleach can be effective for cleaning, but it should be used sparingly and with caution. Ensure thorough rinsing to prevent skin irritation and fumes.
A: By Martha Stewart, regular cleaning, at least once a week, can help prevent the buildup of grime and stains. Deep cleaning can be done every month or as needed, depending on use.
A: Avoid abrasive cleaners on delicate surfaces like acrylic and fiberglass, as they can cause scratches. Stick to non-abrasive cleaners or explore natural alternatives for gentler cleaning.
How to Clean a Bathtub: Final Thoughts
Mastering the art of cleaning a bathtub is not just about achieving a gleaming surface but cultivating a space that embodies cleanliness, comfort, and well-being. The use of effective cleaning methods and procedures not only removes unsightly stains and grime but also safeguards against the accumulation of harmful bacteria, promoting a hygienic environment. As we revel in the satisfaction of a sparkling bathtub, it becomes apparent that this ritual is not merely a chore but a ritual that contributes to the overall ambiance of our homes. To continue your journey towards a pristine bathroom haven, clean shower heads, along with curtains, and liners – the trifecta to maintaining a refreshing and inviting bathing space.
Related Articles: How to Clean Shower Curtain and Liner?