How to Organize Your Closet? Organize Closet in 30 Minutes

An organized closet is more than just a tidy arrangement of clothes; it is a sanctuary of efficiency and peace. The importance of having a well-organized closet extends far beyond aesthetics. It can significantly impact our daily lives, saving time, reducing stress, and enhancing our overall well-being. A clutter-free closet makes it easier to find and select outfits, streamlining our morning routines and allowing us to start our day with a calm mind.
Furthermore, a well-organized closet promotes mindful consumption, encouraging us to appreciate and use what we have rather than constantly chasing after the next fashion trend or impulse buy. In this article, we will explore the numerous benefits of maintaining an organized closet and provide you with practical steps to transform your chaotic wardrobe into an oasis of order and simplicity.
Before You Begin: Essential Tools for Closet Organization
1.) Shopping Bags, Boxes, and Bins: Ensure you have sturdy bags for transporting items to the donation center, tailor, or dry cleaner. If bags are unavailable, boxes and bins work as great alternatives to keep things organized.
2.)Tape Measure and Notebook: Before diving into organizing, measure your shelving and hanging space. Keep a notebook handy to jot down these measurements. Having accurate measurements ensures that everything fits perfectly in your closet.
3.) Full-Length Mirror: A full-length mirror is your best friend during this process. Use it to assess your outfits and decide what to keep and what to let go. Make sure the mirror can accommodate your entire image for a thorough evaluation.
4.) Catch-All Basket: Avoid interruptions in your organization flow by using a catch-all basket. As you empty pockets, collect change, papers, rubber bands, hair clips, and any surprising discoveries like forgotten cash. Don’t get sidetracked by putting these items away immediately; instead, place them in the catch-all basket for sorting later.
Having these tools at your disposal ensures a smooth and efficient closet organization process, helping you declutter with ease and precision.
Step-by-Step Closet Organization Procedure
Step 1: Empty Your Closet Completely
Begin by removing all items from your closet. This step may seem counterintuitive, but it provides a clear visual of your space and sets the foundation for an organized closet. Make sure to gather the tools and supplies mentioned in the “Before You Begin” section.
Step 2: Sort into Toss, Keep, and Donate Piles
Often, the challenge with decluttering lies in our attachment to items we believe we might need someday or those nostalgic pieces we used to adore. Simplifying the process and mastering the art of closet organization, you can adopt the renowned KonMari Method, as advocated by Marie Kondo. Instead of fixating on what you’re discarding, shift your focus to what you genuinely want to keep. Ask yourself a few key questions:
• Do you have a deep affection for it?
• Does it see the light of day in your daily wardrobe rotation?
• Does it convey the image you aspire to project?
If the answer is a resounding “yes” to all three, confidently designate it as a keeper. However, if an item has collected dust, no longer fits your frame, or simply doesn’t align with your current style preferences, it’s time to release it from your closet’s embrace.
For those items that leave you in doubt, consider establishing a “maybe” bin. Revisit this bin after one, three, or six months. If any of these items haven’t crossed your mind or seen the light of day during that time, you can safely conclude that they’re better off being donated or consigned, allowing someone else to give them the love and use they deserve. In this way, you’ll not only declutter your closet but also create a wardrobe that truly reflects your style and brings joy every time you open its doors.

Step 3: Categorize Your Belongings
Once you’ve decided on the items you want to keep from your initial sorting process, the next step is to categorize these belongings. This means grouping similar items together. For example, gather all your shoes in one place, collect your undergarments in another section, group swimwear together, and do the same for workout gear and other categories of clothing and accessories you may have.
By organizing your items in this manner, you’re creating clear categories based on their type or use.
The purpose of this categorization is twofold.
First, it helps you visually assess how many items you have in each category. This awareness can be valuable for two reasons: it allows you to understand the volume of each type of item you own and helps you recognize if you have an excessive amount of certain items.
Second, categorizing your belongings assists in planning the physical layout of your closet. When you know how many categories you have and the items within each category, you can determine the specific space requirements for each. This step essentially provides you with a clear roadmap for organizing your closet effectively.
By categorizing your clothes and accessories, you create a structured approach to organizing your closet, ensuring that each type of item has its designated space and making it easier to find what you need when you’re getting dressed.
Step 4: Take Inventory and Measurements
This step involves carefully assessing and recording the items you intend to keep in your closet. It’s not just about counting them but also measuring their dimensions. For example, you need to measure the height of your shoes, the width of your hats, and any other specific measurements for items that will be stored in your closet.
Additionally, it’s crucial to measure the actual space inside your closet. This includes measuring the length of hanging rods, the dimensions of shelves, and the space available inside drawers. By taking these measurements, you gain a clear understanding of the storage capacity your closet offers and the dimensions of the items you plan to store.
This information becomes invaluable when you move on to the next steps of organizing your closet. Knowing the dimensions of your belongings and the available space allows you to plan the layout effectively. It helps you decide where to place different items, ensuring they fit comfortably and are easily accessible. Proper measurements also aid in maximizing the use of your closet space, making the organization process more efficient and tailored to your specific storage needs.
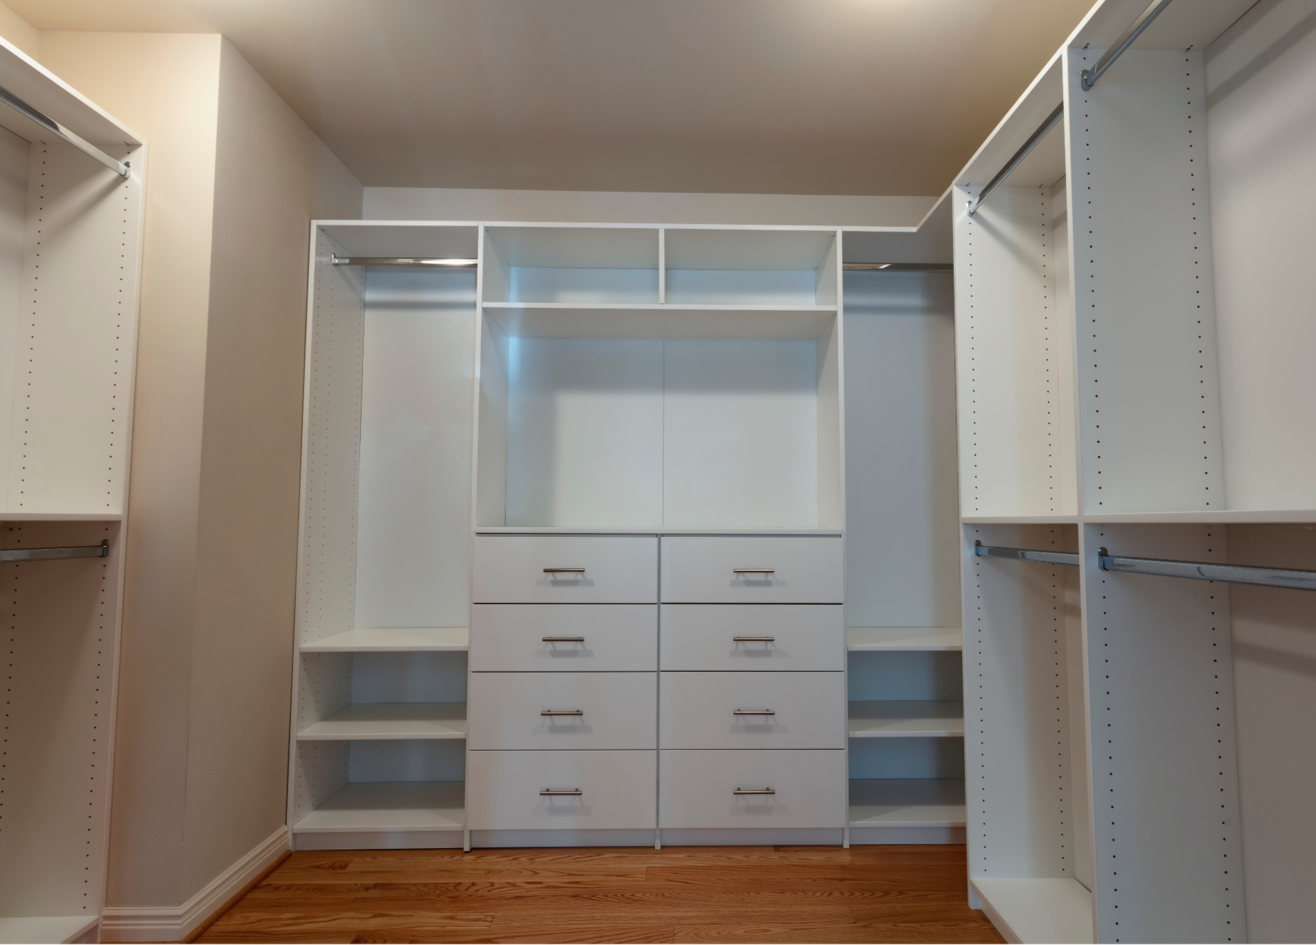
Step 5: Customize Your Closet Layout
This customization involves adjusting the height of hanging rods and shoe shelves to accommodate the different lengths of your clothes and the sizes of your shoes. For instance, dresses might need more vertical space, while shirts can be hung at a lower level. Similarly, high heels and boots require different shelf heights. By tailoring the closet’s components to fit your items, you maximize the use of space and make everything easily accessible.
Additionally, you should consider moving the existing shelves and rods within the closet to optimize the available space. Sometimes, a simple rearrangement can create more room or make better use of awkward corners and angles.
It would be a great idea to invest in storage solutions such as bins, baskets, dressers, or trays. These additional storage items can be placed on shelves or the closet floor to organize smaller items like accessories, socks, or folded clothes. By using these storage solutions, you can ensure that everything has its designated place, making it easier to find items and maintain order in your closet. Overall, the customization of your closet layout ensures that all your belongings fit well, are easily accessible, and the closet space is utilized efficiently.
Step 6: Organize Your Closet
Now, it’s time to put everything back in your closet. Consider accessibility as you arrange your items. Keep frequently used items in easy-to-reach places and place less frequently used items in higher or less accessible spaces. You can choose to organize your closet by item type, color, formality, or designer—whatever suits your preferences.
By following these six steps, you’ll transform your cluttered closet into an efficiently organized oasis. Remember to maintain your system to ensure a consistently organized closet space, bringing satisfaction and efficiency to your daily routine. Enjoy your clutter-free and stress-free wardrobe space!
How to Maximize Your Closet Space
Maximizing your closet space is essential for keeping your belongings organized and easily accessible. Here are some effective strategies to make the most out of your closet space:
• Declutter Regularly: The first step to maximizing your closet space is to declutter. Go through your clothes, shoes, and accessories and donate or sell items you no longer wear or need. Be honest with yourself about what you use and love.
• Use Slim Hangers: Invest in slim, non-slip hangers. They not only save space but also prevent clothes from slipping off. Consider using the same type of hangers for a uniform look.
• Utilize Vertical Space: Install double hanging rods to create more space for shorter items like shirts and skirts. Use the upper space for items you don’t need to access frequently or for seasonal storage.
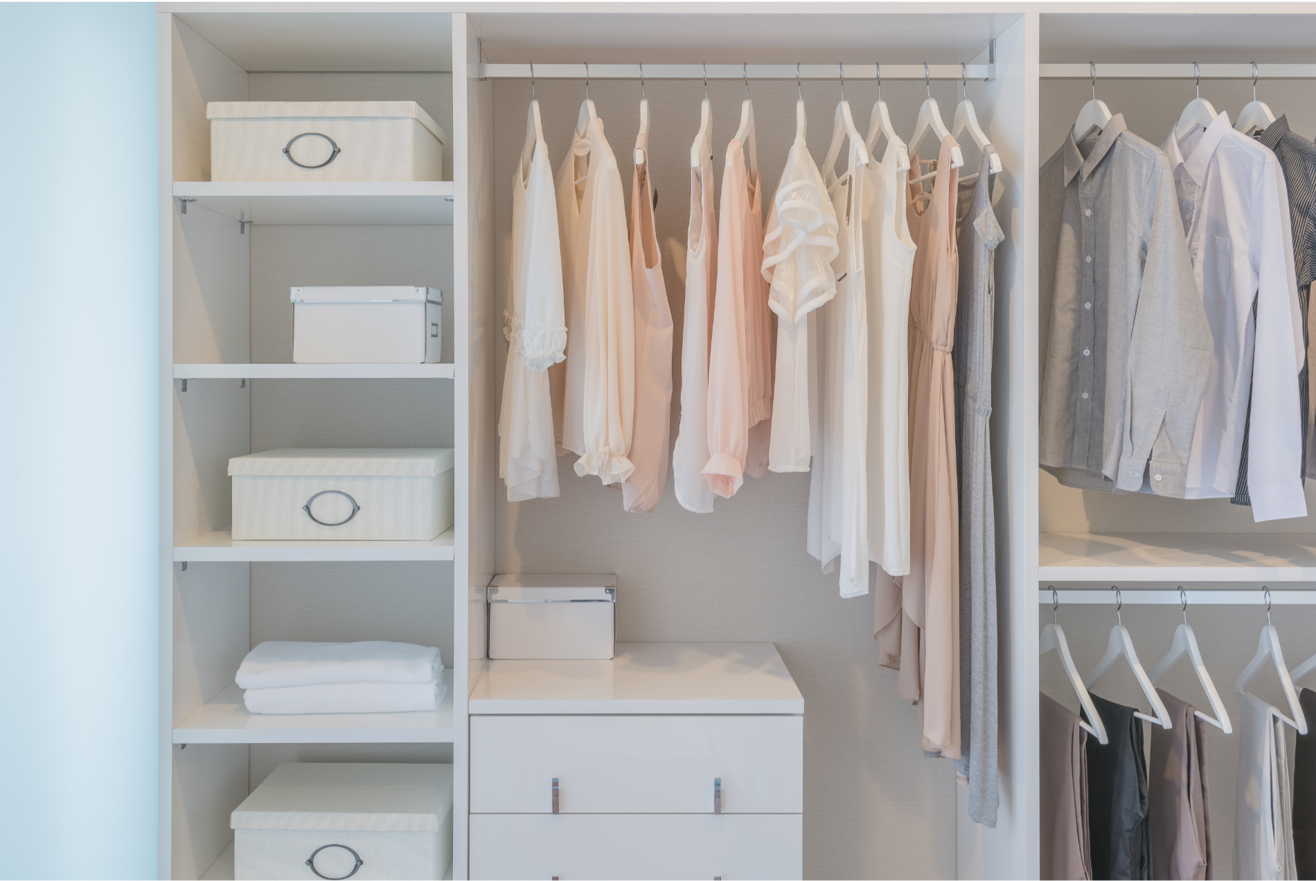
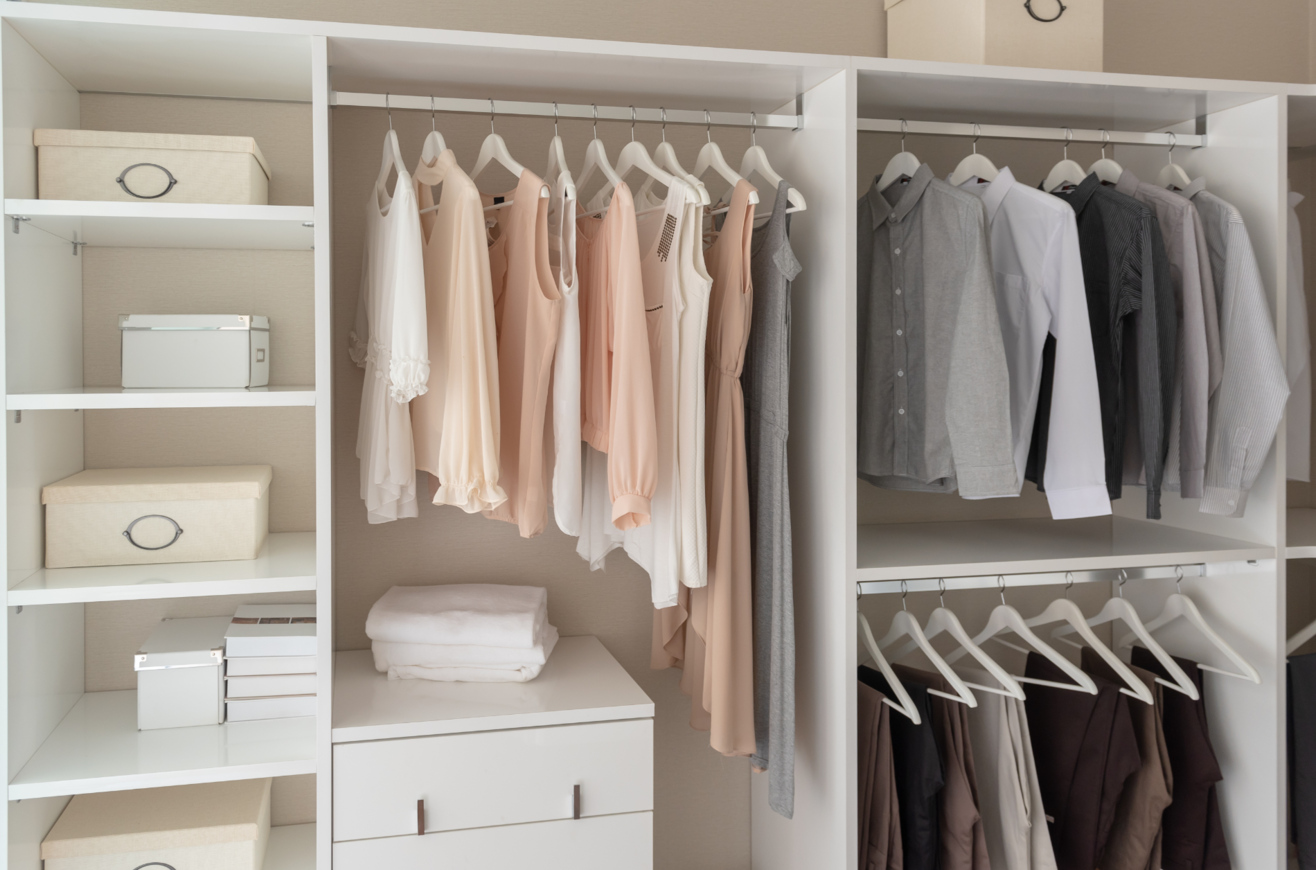
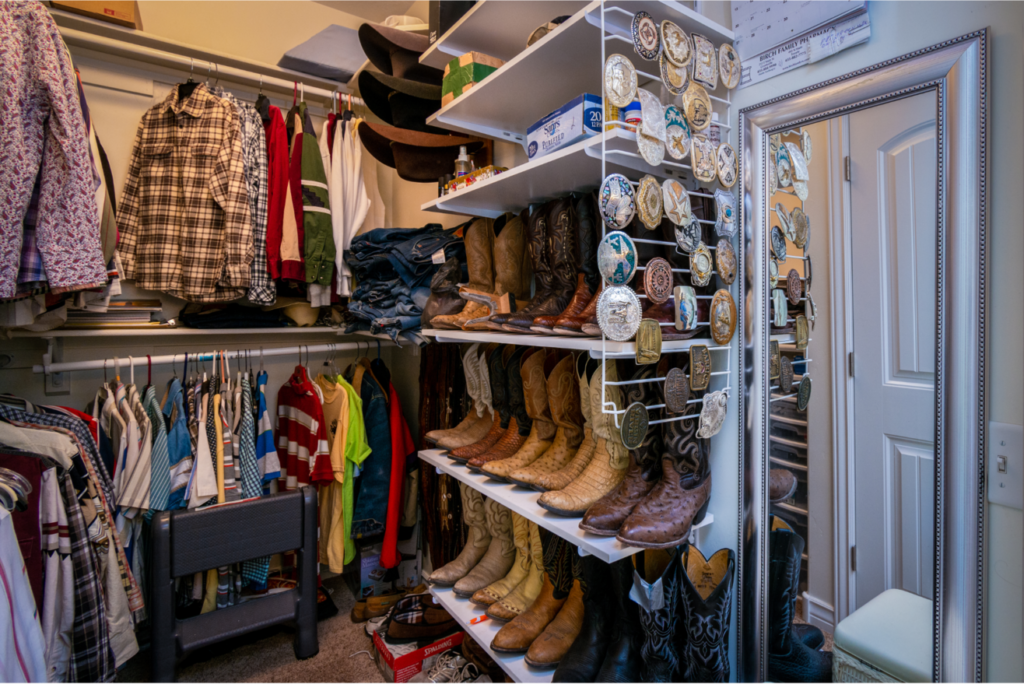
• Shelving and Cubes: Install shelves or cube organizers to store folded clothes, shoes, and accessories. Cubes are excellent for items like bags, scarves, and hats. Adjustable shelves allow customization according to your needs.
• Under-Shelf Baskets: Utilize the space beneath shelves by hanging baskets or hooks. These are great for storing accessories, belts, or small purses, keeping them within reach but not cluttering the main space.
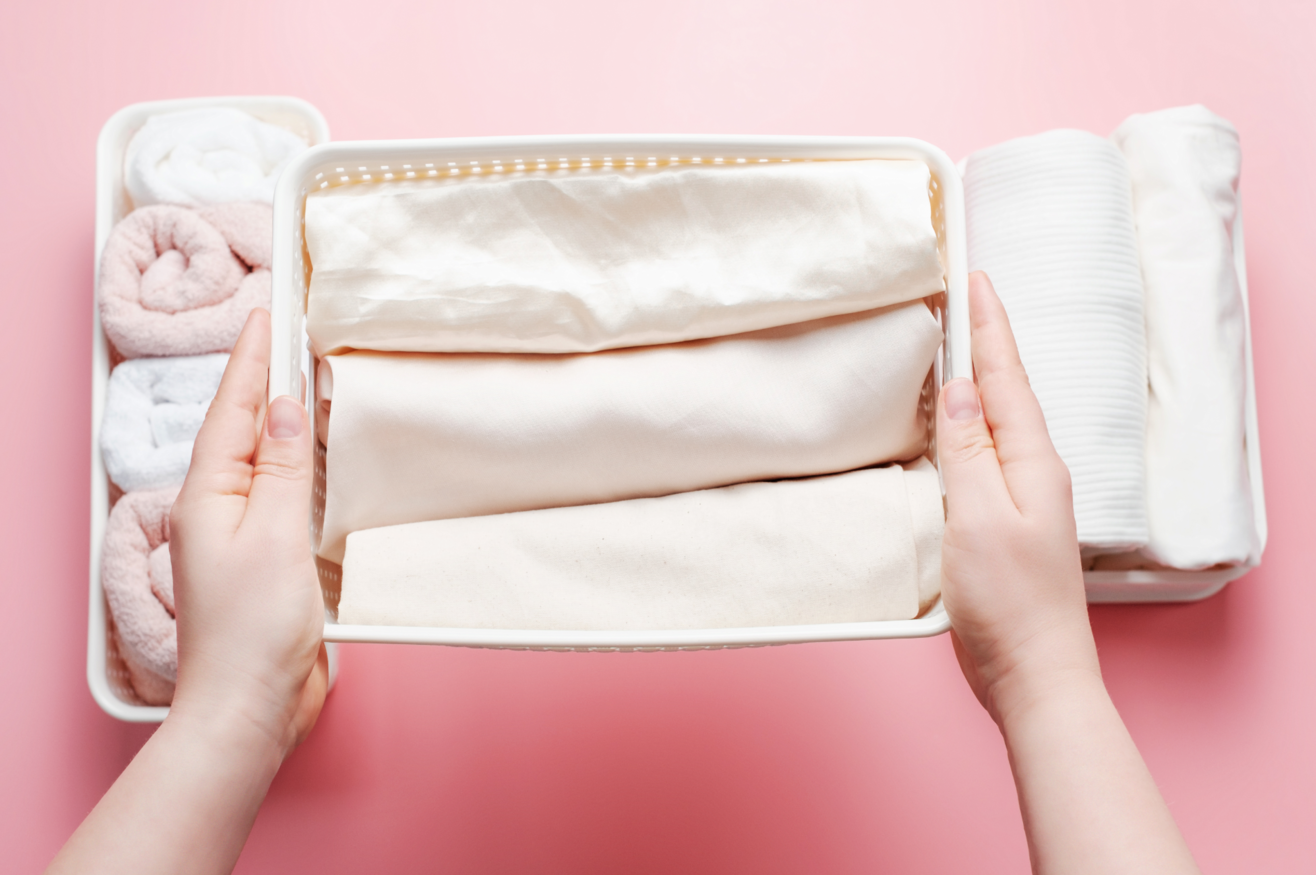
• Drawer Organizers: Use drawer dividers to keep smaller items like socks, underwear, and jewelry organized. This prevents them from getting tangled and makes the most of drawer space.
• Storage Boxes and Vacuum Bags: Store out-of-season clothes, blankets, and linens in labeled storage boxes or vacuum-sealed bags. This keeps them protected and frees up space for items you currently use.
• Door and Wall Hooks: Utilize the inside of closet doors and walls for hooks. Hang accessories, bags, or scarves to make use of every available inch of space.
• Rotate Seasonal Items: Store off-season clothes elsewhere or in harder-to-reach places in your closet. Rotate them with the changing seasons to keep your closet current and spacious.
• Be Mindful of New Purchases: Before buying new items, consider if you have space for them. A one-in, one-out rule (when you buy something new, donate or sell something old) can help maintain a balanced wardrobe.
Organizing your closet isn’t just about tidiness; it’s an art that involves understanding the unique storage needs of different items. By maintaining a systematic approach and utilizing various storage solutions tailored to specific items, you can transform your closet into a harmonious space where everything has its place.
Hanging delicate dresses, suits, and blouses can preserve their shape, while utilizing shelves or cubbies can neatly house folded items like sweaters and jeans. Utilizing hooks or hangers for accessories ensures they stay tangle-free and easily accessible. Small containers or dividers can corral accessories like belts, scarves, and jewelry, preventing them from getting lost or damaged.
By embracing these diverse storage methods, you not only optimize your closet space but also simplify your daily routine, making it effortless to find and maintain your belongings. So, invest a little time and thought into your closet organization, and you’ll enjoy a clutter-free, functional space that simplifies your life.