How to Clean the Microwave
In the bustling rhythm of our daily lives, the microwave serves as an indispensable kitchen companion, effortlessly reheating meals and speeding up our culinary endeavors. However, with this frequent use comes inevitable spills, stains, and a buildup of unsightly grime within its confines. Beyond the cosmetic concerns, maintaining a clean microwave is paramount for our health and hygiene. As the enclosed space creates an environment conducive to the proliferation of bacteria and odors, regular cleaning becomes more than a chore; it becomes a proactive step in safeguarding the well-being of our households.
This article embarks on a journey through the step-by-step process of effectively cleaning the microwave, offering insights into the importance of each action to ensure not only a sparkling appearance but also a hygienic and sanitized kitchen appliance. Join us in uncovering the secrets to maintaining a pristine and healthy microwave, transforming it from a mere convenience to a beacon of cleanliness in our culinary spaces. Read on for a detailed exploration of each cleaning step, and empower yourself with the knowledge to keep your microwave in its optimal state.
5 Easy Steps to Clean the Microwave
Embarking on the journey to a spotless microwave involves more than just a swipe with a damp cloth. In the following step-by-step guide, we unravel the intricacies of a comprehensive cleaning process that goes beyond surface-level tidiness. From the initial gathering of cleaning supplies to the meticulous attention given to the microwave’s interior and exterior, each step is a strategic move toward a hygienic and efficient kitchen appliance. Our journey will delve into creating an effective cleaning solution, utilizing the power of steam, and addressing both the interior and exterior with precision. Whether you’re dealing with stubborn stains, lingering odors, or simply aiming for a sparkling microwave, this guide is your roadmap to success. So, buckle up for a detailed exploration of each cleaning stage, and transform your microwave into a gleaming beacon of cleanliness and culinary excellence.
Step 1. Gather Cleaning Supplies
In the quest for a gleaming microwave, the first crucial step is assembling the right arsenal of cleaning supplies. This ensures we’re well-prepared for the battle against stubborn stains and lingering odors. From vinegar and water to a trusty microwavable bowl and a reliable sponge, our toolkit is designed to make the cleaning process not only effective but also safe. Let’s dive into the specifics of gathering these essentials and setting the stage for a thorough and satisfying cleaning journey.
List of Necessary Items:
• Vinegar: A potent natural cleaner with antibacterial properties, vinegar is effective in breaking down grease and stains within the microwave.
• Water: A fundamental component in creating a cleaning solution, water aids in the production of steam, which helps loosen grime and makes it easier to wipe away.
• Microwavable Bowl: Essential for the cleaning process, a microwavable bowl is used to contain the cleaning solution. Its heat-resistant nature ensures a safe and efficient cleaning experience.
• Sponge: A versatile cleaning tool, the sponge is instrumental in wiping down surfaces, scrubbing away stubborn stains, and ensuring a thorough interior cleanup.
• Gloves: Protecting your hands during the cleaning process is crucial, especially when dealing with cleaning agents. Gloves shield your skin from potential irritants, keeping your hands safe and comfortable.
• Old Brushes: Having an assortment of old brushes can be handy for reaching into crevices and corners where grime may accumulate. They offer precision in scrubbing away dirt without causing damage to the microwave.
Importance of Using Safe and Non-Toxic Cleaners:
The significance of opting for safe and non-toxic cleaners cannot be overstated. Cleaning agents like vinegar and water not only effectively eliminate dirt and bacteria but also ensure that no harmful residues linger within the microwave. Using non-toxic cleaners is particularly important as it aligns with health-conscious practices, preventing the introduction of potentially harmful substances into the kitchen environment. Additionally, it ensures the safety of the cleaning process, minimizing any risks associated with chemical exposure. As we prioritize both cleanliness and safety, the choice of safe and non-toxic cleaners becomes a cornerstone in achieving a thoroughly cleaned and health-conscious microwave.
Step 2. Prepare the Microwave
Before diving into the cleaning process, it’s essential to clear the stage. Open the microwave door and inspect the interior for any loose debris, crumbs, or food particles that may have found their way onto the turntable or the microwave floor.
Carefully remove these remnants using a dry cloth or a paper towel. Pay attention to the corners and crevices where residues commonly accumulate. This preliminary step ensures that the cleaning process can address the deeper-seated grime without interference from loose particles, providing a clean slate for the more thorough cleaning to follow.
• Wipe down the interior with a damp cloth:
Once the loose debris has been removed, it’s time to give the interior a preliminary wipe-down. Dampen a clean cloth or sponge with water, ensuring it’s not overly wet to prevent excess moisture in the microwave. Starting from the top, wipe down the interior surfaces, including the walls, ceiling, and floor. Pay special attention to areas near the microwave door and any spots where food splatters are evident. This initial wipe-down helps eliminate surface-level dirt and makes the subsequent cleaning steps more effective. It also aids in assessing any stubborn stains or dried-on residue that may require additional attention during the later stages of the cleaning process.
Step 3. Creating a Cleaning Solution
When it comes to cleaning your microwave effectively and with minimal environmental impact, crafting the right cleaning solution is key. The go-to superhero in the world of non-toxic cleaners is the vinegar-water mixture. This dynamic duo, composed of white vinegar and water, is not only effective in breaking down stubborn grime and stains but also ensures that your cleaning process remains eco-friendly.
• Vinegar-Water Mixture for an Effective and Non-Toxic Cleaner
The vinegar-water mixture operates as a natural degreaser and sanitizer, eliminating the need for harsh chemicals in your cleaning routine. Vinegar’s acidic nature not only cuts through grease but also acts as a disinfectant, making it a powerful ally in maintaining a hygienic kitchen environment. This environmentally conscious solution ensures that your microwave is not only impeccably clean but also safe for food preparation.
To prepare this potent solution, simply mix equal parts water and white vinegar in a microwave-safe container. The acidity of the vinegar works wonders in cutting through grease and dissolving food splatters.
• Adjusting Ratios for Stubborn Stains
For those particularly stubborn stains that refuse to yield, the flexibility of this cleaning solution comes to the rescue. By adjusting the ratios of vinegar to water, you can tailor the strength of the mixture to suit the intensity of the grime. Increase the vinegar concentration for tougher stains, allowing for a more potent cleaning solution that effectively tackles even the most resilient messes. This adaptability ensures that, regardless of the challenge, your cleaning solution can be fine-tuned to meet the specific demands of your microwave-cleaning mission. Adjust, experiment, and conquer those persistent stains for a microwave that not only looks pristine but is also sanitized and ready for your next culinary masterpiece.
Certainly! Let’s dive into the details of the next step in the microwave cleaning process, focusing on the use of a microwave-safe container.
Step 4. Cleaning Process for Microwave
Embark on a journey to transform your microwave into a spotless culinary haven with our step-by-step cleaning guide. As we move forward, discover the meticulous art of wiping down the interior, paying heed to accessories like the turntable, door, and control panel. Elevate your microwave to optimal cleanliness and functionality with our detailed insights.
• Choosing an Appropriate Microwavable Bowl:
Select a labeled “microwave-safe” bowl, ensuring it can withstand the cleaning process heat without harmful leaching. Opt for a safe and appropriately sized container to hold the cleaning solution, ensuring ample steam for effective grime removal.
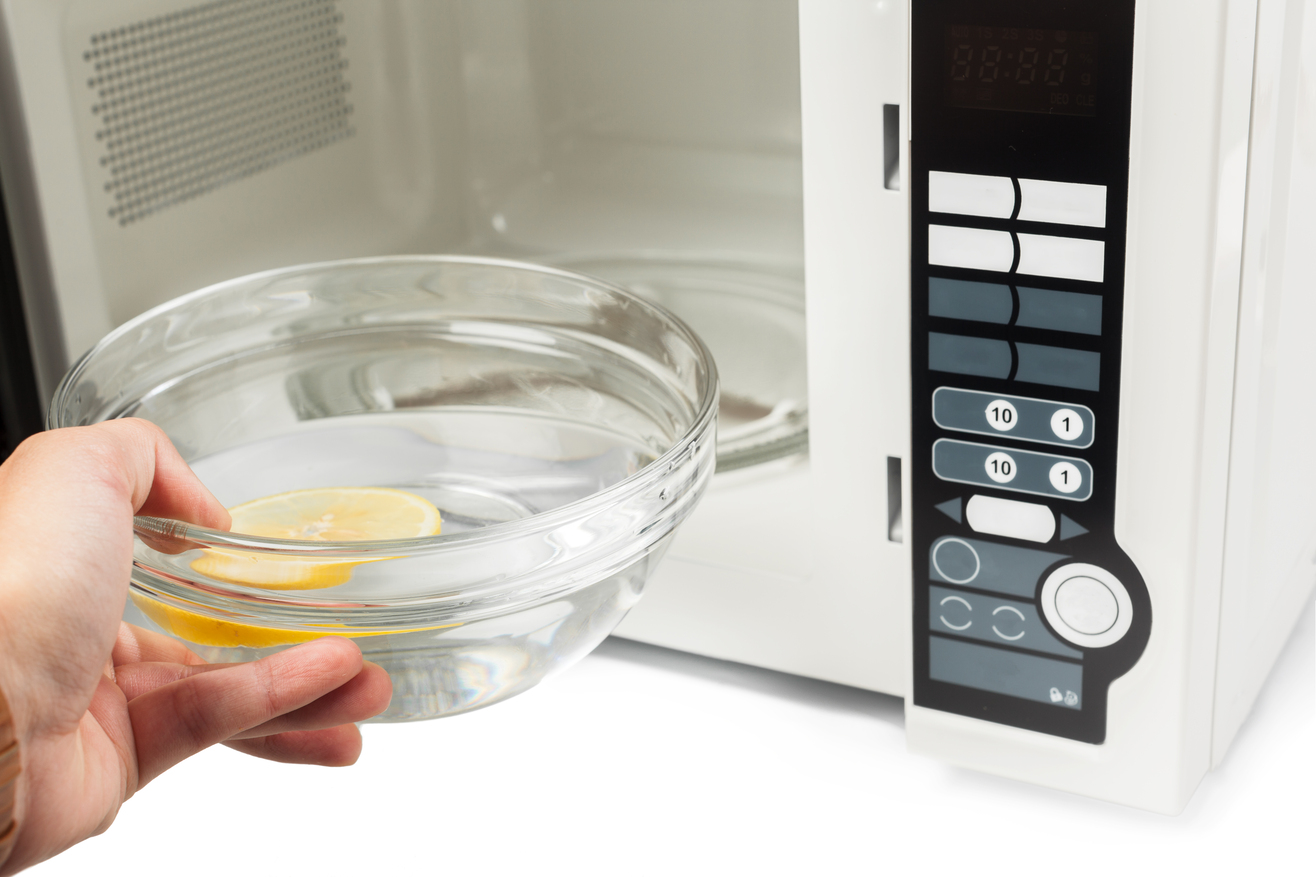
• Adding the Cleaning Solution to the Bowl:
Create a powerful vinegar-water cleaning solution in the microwave-safe bowl. Pour it in, preparing the solution to become a steam-generating cleaning agent. This sets the stage for the next step in our guide to achieving a spotless microwave.
• Placing the Bowl Inside the Microwave:
Carefully position the prepared cleaning bowl in the microwave’s center. Ensure a secure placement to avoid spills. The bowl becomes a catalyst, generating steam to soften and loosen stubborn grime and stains.
• Setting the Microwave on High for a Few Minutes:
Close the door and set the microwave to high power. Run for 3 to 5 minutes, generating steam to tackle built-up grime. Keep a watchful eye for smooth operation and pause if needed.
• Allowing the Steam to Loosen Grime and Stains:
As the microwave runs, the heated solution produces steam, creating a humid environment. Steam works on stubborn stains, making them easier to wipe away. This eco-friendly step simplifies subsequent cleaning for a thoroughly sanitized microwave.
• Carefully Removing the Hot Bowl:
After steam action, cautiously remove the hot cleaning bowl with mitts or a cloth. Safety is crucial. Place the hot bowl aside safely, preventing contact with sensitive surfaces.
• Using a Sponge or Cloth to Wipe Away Loosened Dirt:
Wipe the interior with a sponge or cloth. Loosened grime, softened by steam, comes off easily. Begin from the top, ensuring thorough coverage. Pay extra attention to corners and crevices for a clean and sanitary cooking environment.
• Paying Special Attention to Corners and Crevices:
Meticulously address nooks and crannies with a sponge or cotton swab, leaving no residue. This detailed approach ensures a pristine appearance and maintains a hygienic cooking space.
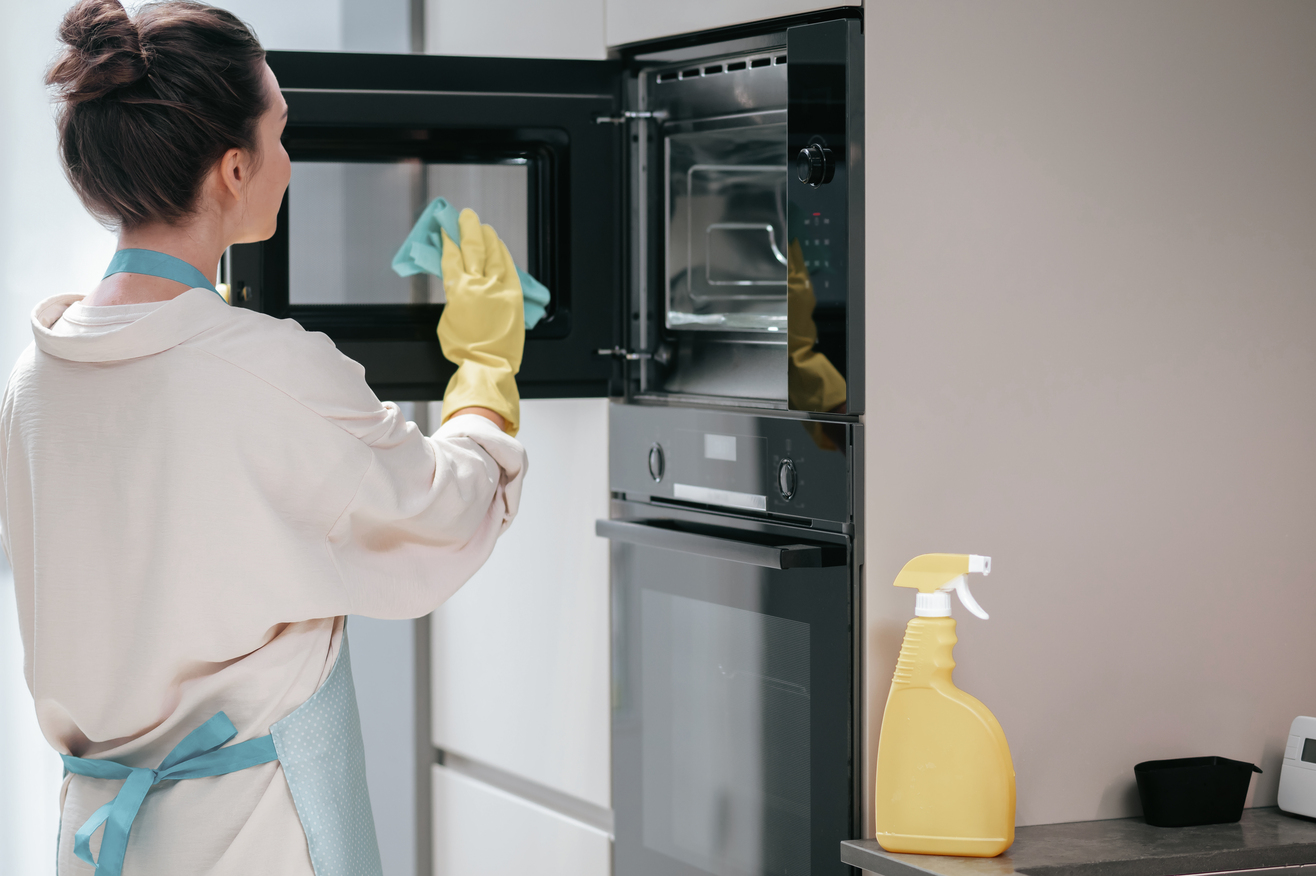
Step 5. Cleaning the Exterior Surfaces
In the culmination of our microwave cleaning journey, we turn our attention to the external surfaces, enhancing not only the appliance’s appearance but also its overall cleanliness. This final stage encompasses a meticulous approach to the exterior, ensuring a visually appealing and efficiently operating microwave.
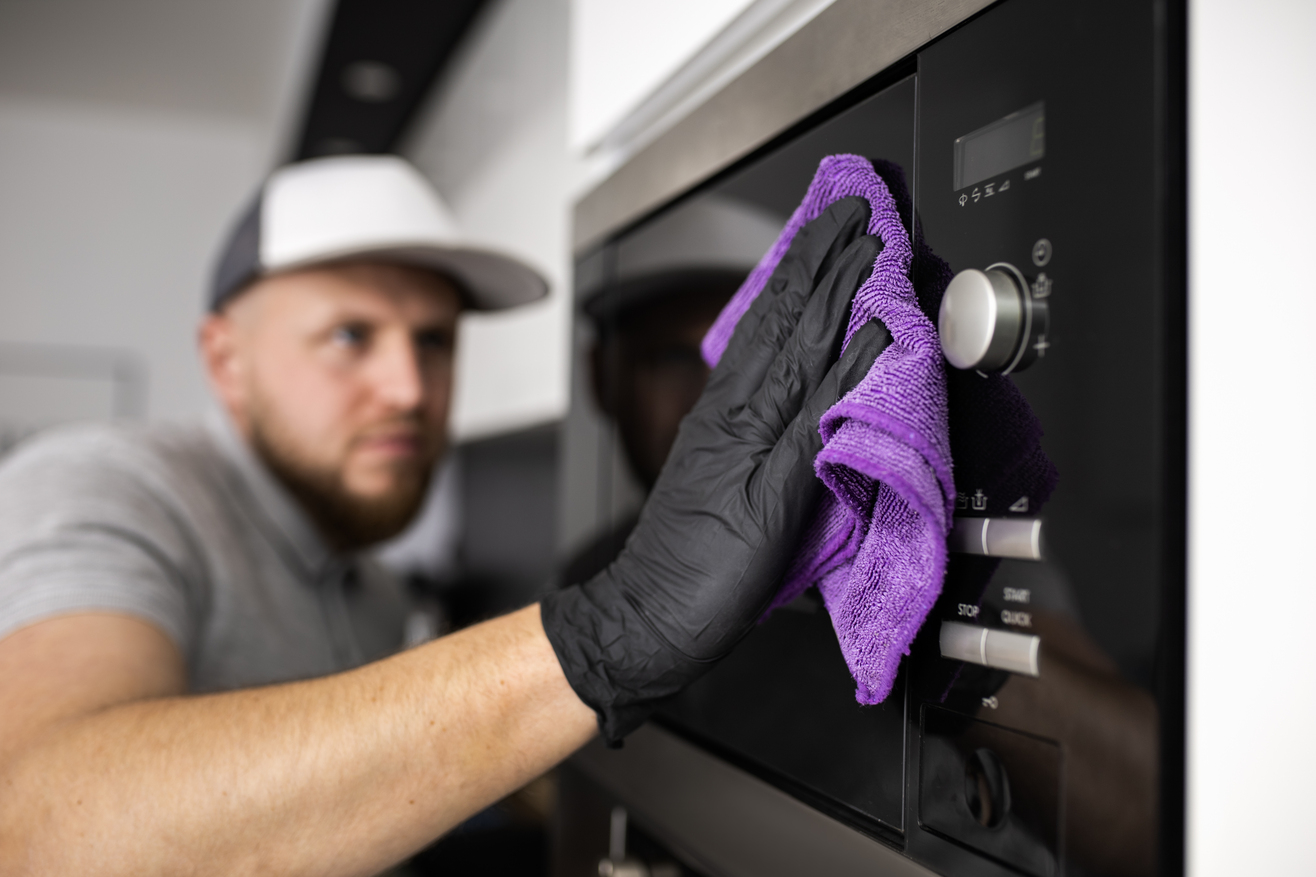
• Cleaning the Exterior Surfaces with a Damp Cloth:
Begin this phase by dampening a clean cloth with water, serving as a prelude to removing surface dust, food splatters, or general grime. This gentle yet effective approach ensures particles are lifted away without causing harm to the microwave’s finish. Be cautious not to oversaturate the cloth, preventing excess water from reaching electronic components.
• Addressing Any Stubborn Stains or Fingerprints:
For persistent stains or fingerprints, employ a mild cleaning solution, such as a mixture of mild dish soap and water. Apply the solution sparingly to stubborn areas, allowing it to sit briefly to break down grime. Gently rub the affected areas with the damp cloth, focusing on detail without applying excessive pressure. Stainless steel exteriors can benefit from a specialized cleaner for a polished, fingerprint-free appearance.
By dedicating attention to the exterior, this final phase ensures a microwave that looks as good as new, contributing to an overall sanitary and inviting kitchen environment.
• Final Touches
Once you’ve gone through the thorough process of steam-cleaning and wiping, it’s crucial to scrutinize the microwave’s interior for any stubborn stains or spots that might have resisted your initial efforts. Use a keen eye to detect any remnants of spills or grime that may have escaped notice during the cleaning process. If you spot any lingering blemishes, consider revisiting those specific areas with a targeted approach. A damp cloth or sponge can be employed for a final, focused sweep to ensure no stains are left behind, leaving your microwave looking immaculate.
Additional Tips for Maintaining a Clean Microwave:
Maintaining the cleanliness of your microwave extends beyond sporadic deep-cleaning sessions. Here are valuable tips to ensure your appliance stays in optimal condition:
1. Prompt Wipe-downs for Spills:
Address spills and splatters as soon as they occur. A quick wipe with a damp cloth prevents residues from hardening and becoming stubborn stains.
2. Cover Food Items to Prevent Splatters:
Proactively cover food items before heating to minimize the chances of messy splatters. This simple practice can save you from extensive cleaning efforts later.
3. Adopt a Regular Cleaning Schedule:
Incorporate a routine into your kitchen maintenance. Set aside specific times, whether weekly or bi-weekly, to perform quick cleanings. This proactive approach tackles minor messes before they escalate into more challenging cleaning tasks.
4. Utilize Microwave-Safe Covers:
Introduce microwave-safe covers for dishes during heating. This precaution significantly reduces the likelihood of future spills, simplifying the overall cleaning process.
Conclusion:
Transforming the seemingly daunting task of cleaning a microwave into a manageable and rewarding process involves a series of strategic steps. From the careful selection of safe and non-toxic cleaning supplies to the magic of the vinegar-water solution, each stage contributes to not only achieving cleanliness but also maintaining a sanitized and welcoming appliance. As we witness the revitalization of our microwave, the key lies in embracing a proactive approach to maintenance. Regularity is paramount in upholding the hygienic standards achieved through each meticulous step. Encouraging swift action against spills, adopting consistent cleaning habits, and integrating these practices into our routine not only ensures the appliance’s longevity and optimal performance but also elevates the overall hygiene and aesthetic appeal of our kitchen. Let this commitment to cleanliness resonate in our daily habits, fostering a healthier and happier home environment.