How to Clean Stove Top
In the bustling heart of every kitchen, the stove top stands as a workhorse, faithfully serving up our daily meals. Yet, its constant use often leaves behind a trail of stubborn grime and lingering residues, turning a once-gleaming appliance into a not-so-appetizing sight. Understanding the importance of maintaining a clean stove top goes beyond mere aesthetics; it’s about upholding a standard of hygiene essential for a healthy cooking space. Now, let’s roll up our sleeves and dive into the how-to-clean-stove-top journey. In this simple yet action-packed guide, we’ll tackle each step with determination, ensuring that your cooking haven not only looks good but also radiates cleanliness and functionality. So, let’s embark on this practical adventure and learn the ropes of transforming your stove top from greasy to gleaming.
Step by Step Procedure to Clean Stove Top
Ever wondered how to restore your oven top to its sparkling best? Well, wonder no more! In the following steps, we’ve got your back with an easy-to-follow, action-packed guide on cleaning your oven top. Say goodbye to stubborn stains and hello to a gleaming cooking surface! Let’s roll up those sleeves and dive into the transformative journey – because a cleaner oven top awaits you below!
Step 1: Gather Your Cleaning Arsenal
Before we embark on our mission to conquer grime, let’s amass our arsenal of trusted cleaning allies. Think of this as your culinary commando endeavor, and the selection of the right tools is paramount for a triumphant cleaning campaign.
• Warm, Soapy Water: This dynamic duo serves as your frontline soldier, combating everyday grease and spills. Opt for a mild dish soap or a specialized stove top cleaner diluted in warm water.
• Microfiber Cloths: These gentle giants are your scratch-free warriors, ideal for polishing surfaces without leaving behind streaks or lint.
• Baking Soda: This natural abrasive acts as a gentle scrub brush, confronting stubborn burnt-on food and grime. Create a paste with water for added potency.
• Distilled White Vinegar: This acidic knight cuts through greasy film and stubborn stains. Utilize it diluted with water or as a soak for burnt messes.
• Spatulas and Brushes: For hard-to-reach nooks and crannies, enlist the assistance of these specialized tools. A stiff brush can combat burned-on bits around burners, while a spatula can scrape away gunk from drip pans.
• Rubber Gloves: Shield your precious hands from harsh chemicals and hot water with a reliable pair of gloves.
Choosing Wisely: Material Matters:
Not all heroes wear capes, and in the stovetop cleaning realm, not all products bear the same label. Selecting the right tools for your specific stovetop material is crucial to prevent damage and achieve a gleaming finish:
• Glass Stovetops: Stick to gentle cleaners like baking soda paste or vinegar solutions. Avoid abrasive scrubbers or harsh chemicals that may scratch the surface.
• Stainless Steel Stovetops: These warriors can handle a bit more pressure. Use a dedicated stainless steel cleaner or a baking soda paste with a microfiber cloth.
• Ceramic Stovetops: Similar to glass, treat them with care. Steer clear of abrasive scrubbers and opt for mild dish soap or vinegar solutions.
• Enameled Stovetops: These beauties are prone to chipping, so be gentle. Utilize a mild dish soap solution and a soft sponge.
Remember, choosing the right tools is the first step to a shiny victory! With your cleaning arsenal assembled and material-specific knowledge in hand, you’re ready to charge into the next step – tackling the greasy gunk head-on!
Step 2. Remove Burner Grates and Drip Pans
Alright, let’s dive into the second step of our stove-cleaning adventure: saying bye-bye to those burner grates and drip pans!
• Cool Down: First things first, let your stove chill. We don’t want any accidental finger sizzles, right? So, turn off the burners and let everything cool down.
• Lift and Remove: Gently lift those burner grates. They might be a bit hefty, so be ready for a mini workout. Once they’re off, place them aside.
• Unearth the Drip Pans: The drip pans are usually hanging out beneath the burners. Give them a little wiggle, and they should pop right out. Handle them with care; they might have some grease surprises.
• Empty the Debris: Check for any crumbs, spills, or unexpected food bits that might have set up camp under the grates and pans. A quick clean-up now makes the grand finale easier.
• Soapy Soak: Grab a bucket or your sink, fill it with warm, soapy water, and let those grates and pans soak. This helps loosen up the grease and grime, making your job easier in the next act.
Now, you might be thinking, “Can’t I just clean everything together?” Well, hold your scrub brush! Cleaning the grates and pans separately is like giving them their spa day. Here’s why:
Each component has its own unique mess. The grates deal with food spills and splatters, while the drip pans catch the drips and drops. By cleaning them individually, you’re tackling the specific gunk they face.
Letting the grates soak means you’ll spend less time scrubbing and more time enjoying a clean stove. Plus, it’s easier to get into those nooks and crannies when they’re not attached to the stove.
So, there you have it! Step three is all about letting your grates and pans have their moment in the cleaning spotlight. Now, go ahead, give them a gentle scrub, and let the sparkle begin!
Step 3: Soak Grates and Drip Pans
Once you’ve gathered your trusty cleaning supplies and removed the burners and drip pans from your stove, it’s time to give them the spa treatment. Picture this as a well-deserved soak for your kitchen essentials.
Here’s how you can make them spotless:
• Create your soaking mix: Fill a sink or a basin with warm water. Add a generous amount of your chosen cleaning agent. If you’re using baking soda, a quarter cup should do the trick. Stir it around to make a nice, bubbly solution.
• Soak it up: Put the grates and drip pans into the solution. Make sure they’re fully submerged. This soaking time is like a spa day for your stove parts, helping to loosen up all that stubborn grease and gunk.
Now, you might be wondering, “How long should I let these things soak?” The answer depends on how dirty they are.
If your grates and drip pans aren’t too messy, a quick soak for about 15-30 minutes will often do the job. It’s like a power nap for your stove parts.
For those grates and pans that have seen better days, a longer soak is the way to go. Soak them for 1-2 hours or overnight. This gives the cleaning solution enough time to break down the grease and grime, making your job a whole lot easier.
Pro tip: While they’re soaking, take a break or tackle another part of your kitchen. Multitasking is the name of the game! (internal link).
There you go – a simple and effective way to give your stove top the care it deserves!
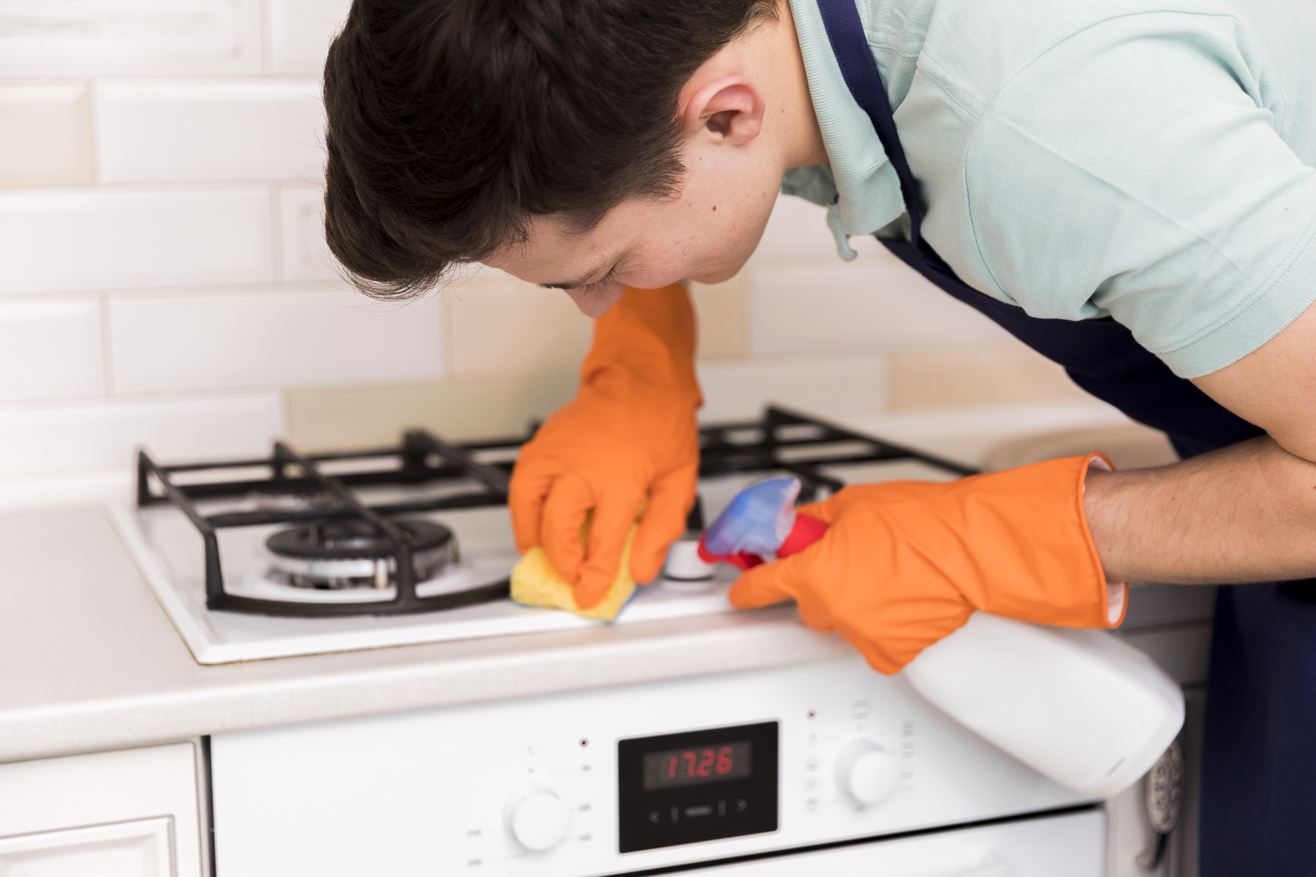
Step 4: Wipe Down the Stove Top Surface
Now that we’ve given the grates and drip pans their much-needed spa treatment, it’s time to focus on the face of the operation – the stove top surface itself. Here’s how to make it shine:
Choosing Appropriate Cleaning Agents for Different Surfaces
Not all stove tops are created equal, and they certainly don’t respond the same way to cleaning agents. If you have a glass or ceramic surface, opt for a cleaner that won’t scratch or damage. For a traditional coil or electric stove, a mild all-purpose cleaner should do the trick. Make sure to check your stove’s manual for any specific recommendations.
Now, let’s get down to the nitty-gritty. Here’s the step-by-step process for giving your stove top a thorough cleaning:
• Clear the Surface: Remove any loose debris or crumbs. You don’t want to spread them around during the cleaning process.
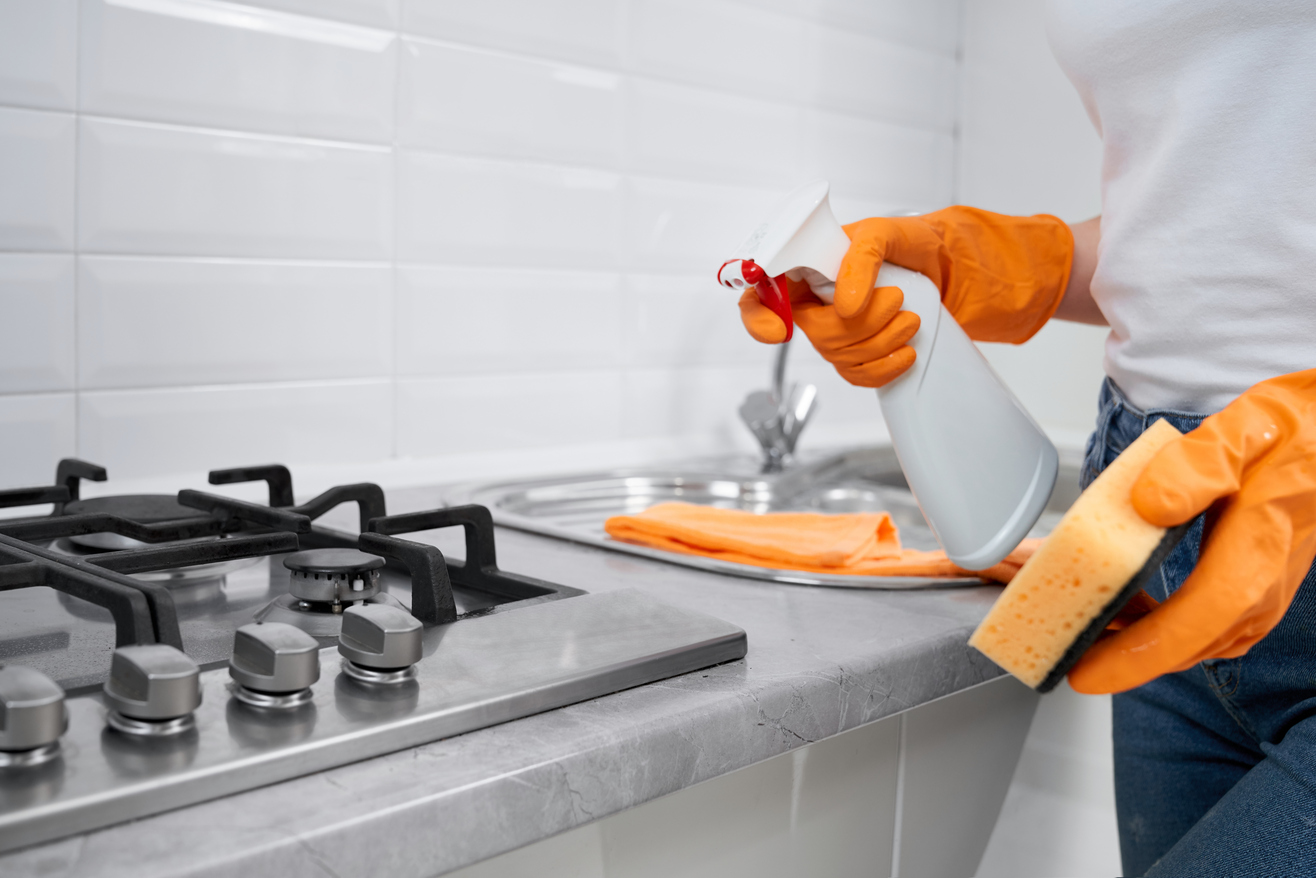
• Apply the Cleaner: Spray or apply your chosen cleaner evenly across the stove top. Don’t be shy – let it make friends with the grime.
• Let it Sit: Allow the cleaner to sit for a minute or two. This gives it time to break down the remaining dirt and grease.
• Scrub, but Not Too Hard: Armed with a non-abrasive sponge or cloth, start scrubbing in circular motions. Be gentle, especially if you have a glass or ceramic surface. No need to go all “Hulk smash” on it.
• Wipe Away: Using a clean, damp cloth or paper towel, wipe away the cleaner and the loosened grime. Make sure to get into the corners and those tricky spots.
By following these steps, you’ll have a stove top that not only cooks your meals but also looks good doing it. Remember, the key is to be gentle yet thorough, like giving your stove a warm hug after a hard day’s work.
Step 5: Tackle Stubborn Stains and Buildup
Alright, so you’ve given your stove a general cleaning, but there are always those troublemaker stains that just won’t budge. Don’t worry, we’re going to get serious with them.
For that stubborn, tomato sauce splatter, you need a different approach than you would for that mysterious burnt-on residue. So, the first step is to choose your cleaning weapons wisely.
Now, let’s talk about tough grease. To defeat it, you need to outsmart it. Try using a mixture of vinegar and baking soda; it’s a dynamic duo that cuts through grease like a hot knife through butter. If the residue is being particularly stubborn, consider using a scraper or a soft-bristle brush. These tools are your sidekicks in the battle against buildup.
Apply your grease-fighting mixture, let it sit for a bit, then grab your scraper or brush. Gently work on the stain, using small, circular motions. Don’t be too aggressive; we’re coaxing the stain into surrender, not starting a war.
Step 6: Clean Control Knobs and Buttons
Cleaning your stove top isn’t complete without paying attention to the smaller but equally crucial details – the control knobs and buttons. You might be wondering, why bother with the control knobs and buttons? Well, these seemingly tiny parts play a big role in the functionality and aesthetics of your stove.
Think of them as the commanders of your kitchen battlefield, and a dirty control panel is like sending your generals into battle without proper gear. Grime and grease can build up around these knobs, making them sticky and less responsive. Plus, a clean stove top just looks better – it’s like giving your kitchen a makeover. So, to ensure smooth operation and a kitchen that dazzles, cleaning those control knobs and buttons is a must.
Now that you understand the importance, let’s talk about how to get those control knobs and buttons back in top-notch condition. Fortunately, it’s not rocket science.
• Start by gently removing the knobs. You can usually do this by pulling them straight off. If they’re stubborn, a slight wiggle might help.
• Once off, you can clean them separately and get into the nooks and crannies.
• For cleaning, a mild soapy solution works wonders. Mix some dish soap with warm water, grab a soft cloth or sponge, and give those knobs and buttons a good wipe down.
• For stubborn spots, a toothbrush can be your secret weapon – it’s small enough to get into tight spaces. Avoid using harsh chemicals or abrasive cleaners as they could damage the finish of the knobs.
• Once everything is scrubbed and sparkling, let them air dry or use a clean, dry cloth to wipe away any remaining moisture.
• Pop the knobs back in place, and voila – your stove’s command center is now as clean and efficient as ever.
This attention to detail not only keeps your stove functioning smoothly but also adds that extra shine to your kitchen space.
Step 7. Polish and Shine
Now that your stove top is free from dirt and grime, it’s time to give it that finishing touch that will make it shine like new. Follow these steps to select the right polish and add that extra sparkle:
Selecting the Right Polish for Stove Top Materials
Choosing the right polish is crucial for maintaining the appearance of your stove top. Different materials require different treatments, so let’s match the polish to your stove’s surface:
• For glass or ceramic surfaces: Opt for a non-abrasive glass cleaner or a specialized ceramic cooktop cleaner. These are designed to clean without scratching the delicate surface.
• For stainless steel surfaces: Go for a stainless steel cleaner and polish. This not only removes fingerprints and smudges but also adds a protective layer to prevent future stains.
• For cast iron or porcelain-coated surfaces: Use a gentle cleaner suitable for these materials. Harsh chemicals can damage the finish, so choose a cleaner specifically designed for cast iron or porcelain.
Final Steps to Enhance the Stove Top’s Appearance
With the right polish in hand, it’s time for the final touches that will elevate your stove top’s appearance to a whole new level. Here’s what you need to do:
• Apply the polish: Follow the instructions on the polish bottle. Typically, you’ll need to apply a small amount to a soft, clean cloth and gently rub it onto the stove top surface.
• Buff to shine: Use a separate, dry cloth to buff the surface to a brilliant shine. Circular motions work well for this – think of it like giving your stove top a little massage.
• Check for streaks: Inspect the surface for any streaks or residue. If you spot any, a quick once-over with a clean, dry cloth should do the trick.
• Admire the shine: Step back and admire your handiwork. Your stove top is not just clean; it’s now gleaming and ready to be the star of your kitchen.
Remember, regular polishing not only enhances the appearance of your stove top but also helps protect it from future stains and wear. So, go ahead, enjoy the shine, and let your sparkling stove top take center stage in your kitchen!
Step 8: Reassemble and Final Check
Alright, we’re reaching the finishing line! The last steps are crucial to ensure your hard work pays off and your stove shines like new. Let’s dive into the details:
• Safely Putting Back Burner Grates and Drip Pans
Think of this as the puzzle’s final pieces – it’s time to reassemble your stove. But hey, safety first! Make sure the burners are cool to the touch before you start. Carefully place the burner grates back in their designated spots, ensuring they align perfectly. As for the drip pans, slide them back into position under each burner. It’s like giving your stove its wardrobe back – neat and tidy. And remember, don’t rush it; take your time to do it right.
• Quick Inspection to Ensure a Thoroughly Clean Stove Top
Now that everything is back in place, let’s do a victory lap with a quick inspection. Take a moment to admire your handiwork and, more importantly, ensure no grease or grime has managed to sneak back onto your clean stove top. Run your eyes over the burners, grates, and drip pans. If you spot any lingering dirt, give it a final wipe. Think of this like the white-glove test for your stove – perfection is the goal.
And there you have it – your stove is now a beacon of cleanliness. You’ve conquered the greasy battlefield, and your kitchen is gleaming. Give yourself a pat on the back, chef!
Maintenance Tips for Stove Top
Maintenance is all about being proactive. By incorporating following simple habits into your routine, you’ll not only prevent excessive dirt and stains but also make your overall cleaning efforts much more manageable and effective.
• Suggestions for Regular Upkeep to Prevent Excessive Dirt and Stains
When it comes to keeping your stove top in tip-top shape, prevention is the name of the game. Regular upkeep is like a shield against excessive dirt and stubborn stains. Start by making it a habit to wipe down your stove after each use. This might sound like a small thing, but it makes a world of difference. Use a damp cloth or sponge to remove any spills or splatters while they’re still fresh. Think of it as giving your stove a quick hug after every cooking adventure.
Another trick is to use stove protectors or liners. These nifty additions act as a barrier between your pots and pans and the stove surface, catching any spills before they have a chance to become stubborn stains. It’s like having a superhero cape for your stove!
• Establishing a Routine for Ongoing Stove Top Care
Now, let’s talk about routine. Establishing a regular schedule for stove top care is like having a standing date with cleanliness. Dedicate some time each week to give your stove a more thorough cleaning. This involves removing the grates and drip pans for a deeper cleanse and checking for any nooks and crannies that might be hiding crumbs or grease.
It’s not just about cleaning visible surfaces; don’t forget the knobs and buttons. These areas can collect grime over time, affecting the overall hygiene of your kitchen. A quick wipe-down with a gentle cleaning solution will keep them shining like new.
Unveiling the Crucial Role of Professional Cleaning Services
In the hustle and bustle of Miami, where the heat isn’t just in the weather but also in the heart of every home, the importance of professional cleaning services like Canes Cleaners cannot be overstated. As we narrow our focus to the pivotal task of stove top cleaning, Canes Cleaners emerges as a beacon of reliability and efficiency. Beyond the gleaming aesthetic appeal, their services play a vital role in ensuring the longevity and functionality of our kitchen appliances.
A clean stove top is not merely a visual delight; it’s a reflection of a healthier and more hygienic living space. Canes Cleaners understands that, going beyond surface-level cleanliness to tackle the intricate details, especially in a city where the kitchen is not just a place to cook but a hub of energy and cultural richness. By entrusting the task of stove top cleaning to professionals like Canes Cleaners, Miami residents are investing in the preservation of their kitchen’s heart, ensuring it continues to beat with cleanliness, efficiency, and the unmistakable rhythm of Miami living.
Conclusion:
In conclusion, after diligently following the outlined steps to clean your stove top, let’s recap the key actions that lead to a sparkling kitchen focal point. We started by assembling essential cleaning supplies and removing burners and drip pans, delving into a comprehensive process that ensures no nook or cranny is left untouched. From a thorough initial wipe-down to the magic of a soaking solution for grates and drip pans, each step played a crucial role in restoring your stove to its pristine glory. Now, as you stand back and admire the gleaming result, here’s the golden nugget of wisdom – regular maintenance is the key to keeping this kitchen centerpiece looking brand new. Don’t let the grime accumulate; instead, make it a habit to tackle spills and stains promptly. It’s not just about cleanliness; it’s about creating a welcoming and efficient kitchen space. So, take a moment to appreciate your hard work, commit to regular upkeep, and revel in the joy of a consistently sparkling stove top – the heart of your kitchen.