How to Clean Kitchen Cabinet
A clean and well-maintained kitchen is essential for both hygiene and functionality, with cabinets playing a pivotal role in achieving this delicate balance. Not only do clean cabinets enhance the aesthetic appeal of the kitchen, but they also significantly contribute to the overall health of the household. Over time, these storage units accumulate grease, food splatters, dust, and contaminants that, if neglected, can become breeding grounds for bacteria and pests, posing health risks to kitchen users. Furthermore, the accumulation of grime can lead to unpleasant odors, affecting the overall freshness of the kitchen environment. Clean cabinets not only set a standard for cleanliness throughout the kitchen but also promote a sense of order that extends to other areas. The importance of maintaining clean kitchen cabinets is underscored by its impact on hygiene, the prolonged lifespan of cabinets, prevention of pest infestations, and the enhancement of overall kitchen aesthetics. For a step-by-step guide on how to effectively clean kitchen cabinets, please continue reading below.

Step by Step Guide to Clean Kitchen Cabinets
Cleaning kitchen cabinets is essential for maintaining a hygienic and organized cooking space. Follow this step-by-step procedure to ensure a thorough cleanse. Begin by removing all items from the cabinets, then dust and wipe down surfaces with a mild detergent solution. Pay extra attention to grease-prone areas. For stubborn stains, use a mixture of baking soda and water. Finish by organizing and returning items to their designated spaces for a refreshed and clutter-free kitchen.
Step 1. Collect Supplies:
Before diving into the transformative process of cleaning your kitchen cabinets, it’s crucial to assemble the tools that will make this task efficient and effective. In this initial phase, we’ll explore the essential supplies that will ensure your cabinets receive the care they deserve, bringing a renewed sparkle to your culinary haven.
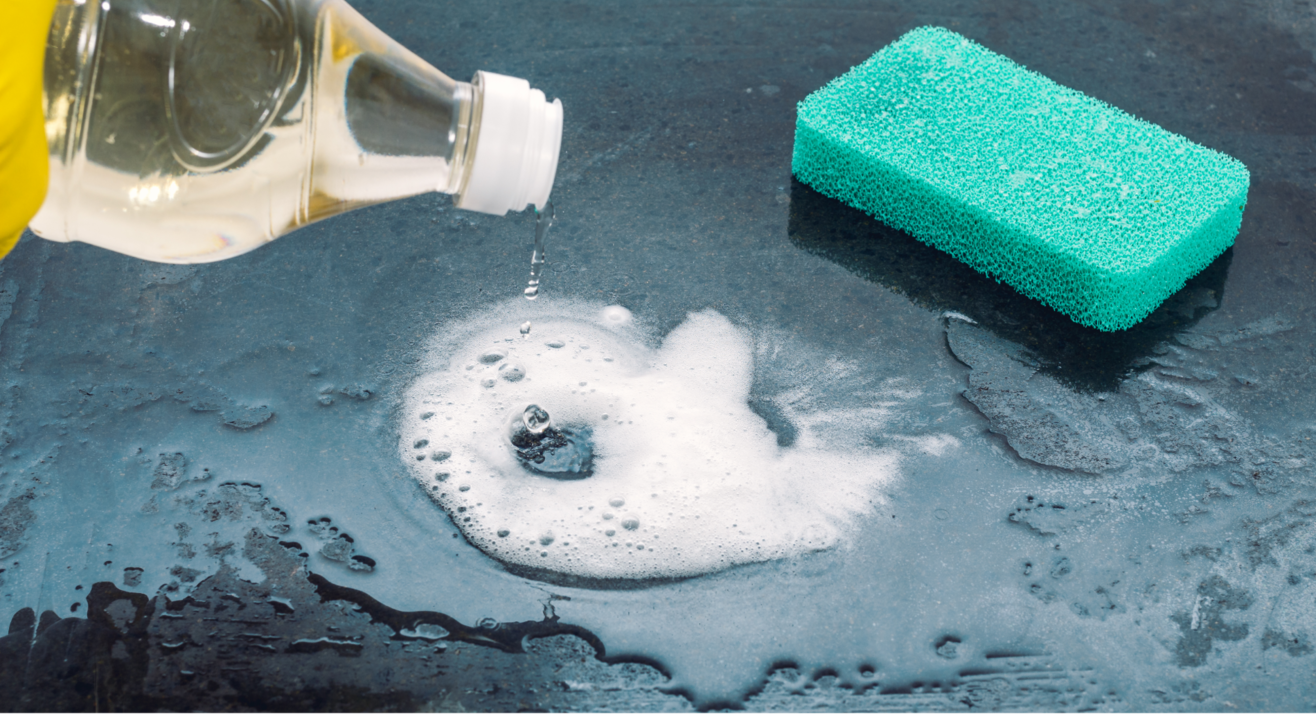
• Mild Dish Soap: Mild dish soap is effective for cutting through grease and grime without causing damage to the cabinet finish. It serves as a gentle yet powerful cleaning agent.
• Warm Water: Warm water helps in diluting the cleaning solutions, making them more effective. It also aids in loosening sticky residues and makes the cleaning process easier.
• Microfiber or Soft Cleaning Cloth: Microfiber or soft cleaning cloths are non-abrasive and ideal for wiping down cabinet surfaces. They prevent scratches and streaks, ensuring a smooth and polished finish.
• Baking Soda: Baking soda is an excellent abrasive cleaner that helps to remove stubborn stains and grease buildup. It also acts as a deodorizer, neutralizing any odors inside the cabinets.
• White Vinegar: White vinegar is a natural disinfectant and degreaser. It effectively breaks down grease, removes stains, and disinfects surfaces. It is especially useful for tackling grime in hard-to-reach areas.
• Olive Oil or Wood Cleaner (for Wooden Cabinets): Olive oil or a specialized wood cleaner is essential for wooden cabinets. It helps nourish and protect the wood, restoring its natural shine and preventing it from drying out or cracking.
• Old Toothbrush or Small Brush: An old toothbrush or a small brush is handy for reaching tight corners, crevices, and intricate details on cabinet surfaces. It allows for precise cleaning in areas that may be difficult to access with a cloth.
• Bucket or Basin: A bucket or basin is useful for preparing cleaning solutions and easily transporting them around the kitchen. It also provides a convenient container for soaking and rinsing cleaning cloths or small brushes.
These supplies are carefully chosen to cater to different types of cabinets and the variety of substances that may accumulate on their surfaces. Combining these items will ensure a thorough and effective cleaning process, leaving your kitchen cabinets looking refreshed and well-maintained. In the following sections, we will guide you on how to use these supplies to clean your kitchen cabinets step by step.
Step 2: Prepare the Area
When embarking on the task of cleaning kitchen cabinets, proper preparation of the surrounding area is essential to ensure a smooth and efficient process. By taking these preliminary steps given below, you set the stage for a thorough and hassle-free cleaning experience for your kitchen cabinets.
Remove Items from the Cabinets:
Before starting the cleaning process, empty the cabinets of all contents. Take out dishes, pots, pans, and any other items stored inside. This not only makes the cleaning process more efficient but also allows you to assess the condition of the cabinets more thoroughly.
Lay Down Protective Materials:
To protect your kitchen surfaces from drips, spills, and cleaning solutions, lay down old towels, newspapers, or any other absorbent material. Place these materials on countertops and the floor beneath the cabinets you are cleaning. This step helps prevent any damage to surfaces and makes cleanup easier.
Open Windows for Ventilation:
Proper ventilation is crucial during the cleaning process, especially if you are using cleaning agents. Open windows and doors to ensure a well-ventilated space. This helps disperse fumes from cleaning solutions and provides fresh air circulation, creating a more comfortable environment for the cleaning process.
If you have ceiling fans or portable fans, turn them on to enhance air circulation. This helps in speeding up the drying process and reduces the concentration of cleaning fumes in the kitchen.
By taking these preparatory steps, you set the stage for a more effective and safe cleaning process. Removing items from the cabinets ensures that you can clean every nook and cranny, while protective materials and ventilation help maintain a clean and safe kitchen environment. Once the area is prepared, you can proceed to the actual cleaning of the kitchen cabinets.
Step 3: Clean the Cabinets:
Now that you’ve tackled the initial tasks, it’s time for the ultimate step in sprucing up your kitchen cabinets. In this final phase, the focus shifts to cleaning – a straightforward yet essential endeavor. With the groundwork complete, this step ensures your cabinets gleam with a renewed freshness, making your kitchen a welcoming space. Let’s dive into the uncomplicated process of giving those cabinets the finishing touch they deserve.

• Remove Loose Dust and Debris:
Begin the cleaning process by using a dry, clean cloth to gently wipe away any loose dust and debris from the surfaces of the kitchen cabinets. Pay special attention to the tops of the cabinets, corners, and any intricate details.
• Prepare a Cleaning Solution:
Dampen the cloth by creating a cleaning solution. Mix warm water with a small amount of mild dish soap. This combination is effective in cutting through grease and grime without harming the cabinet finish.
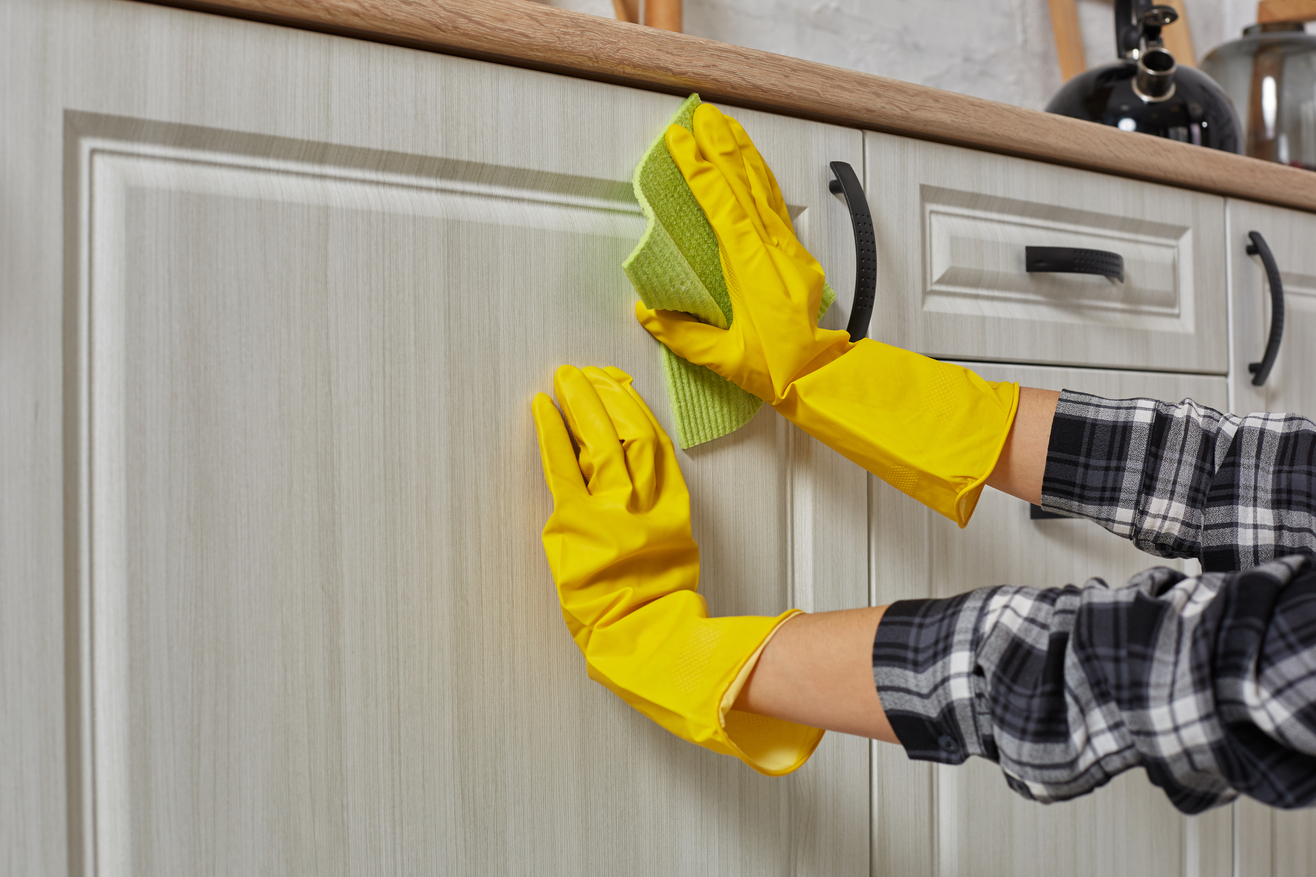
• Wipe Down All Surfaces:
With the dampened cloth, thoroughly wipe down all cabinet surfaces. Ensure that you reach both the exterior and interior parts of the cabinets. Don’t forget to clean the handles, knobs, and any other hardware attached to the cabinets.
• Create a Paste with Baking Soda and Water:
For stubborn stains, especially those caused by grease or food splatters, create a cleaning paste by mixing baking soda with water. The abrasive nature of baking soda helps break down tough stains without damaging the cabinet surface.
• Apply the Paste to Stains:
Using a soft cloth or sponge, apply the baking soda paste directly onto the stained areas of the cabinets. Ensure an even application and focus on spots that require extra attention.
• Let it Sit and Work its Magic:
Allow the baking soda paste to sit on the stains for a few minutes. This dwell time allows the paste to penetrate and lift the stains effectively. Meanwhile, the baking soda’s natural deodorizing properties will help eliminate any unwanted odors.
• Wipe Away the Paste:
After the dwell time, use the damp cloth to wipe away the baking soda paste. Apply gentle pressure, especially on stained areas, to ensure thorough cleaning. For hard-to-reach areas or intricate designs, an old toothbrush can be used to scrub away the paste.
• Rinse and Dry:
Rinse the cloth and wipe down the cabinets once more to remove any remaining residue. Finally, ensure that all surfaces are completely dry. This step is crucial to prevent water damage and maintain the integrity of the cabinet materials.
By following these steps for basic cleaning, you’ll not only remove surface dust and dirt but also effectively tackle stubborn stains, leaving your kitchen cabinets looking refreshed and well-maintained. This process sets the foundation for a more detailed cleaning of your kitchen cabinets.
Polishing and Protecting Kitchen Cabinets
It is crucial for maintaining their aesthetic appeal and structural integrity. Regular polishing helps enhance the cabinet’s natural luster, preserving its appearance and preventing dullness over time.
Choosing the right polish for cabinet material ensures that the cleaning product is compatible, preventing damage to the cabinet’s surface. Different materials like wood, laminate, or metal may require specific polishes for optimal results.
Applying protective finishes provides a shield against stains, moisture, and daily wear and tear, contributing to long-lasting cleanliness. This step adds an extra layer of defense, extending the lifespan of your cabinets and keeping them in pristine condition.
Maintaining a routine for ongoing cabinet care is essential to uphold the polished and protected state. Regular cleaning and protective measures not only preserve the cabinets’ beauty but also simplify future cleaning tasks, ensuring a consistently well-maintained kitchen environment.
FAQs: Clean the Kitchen Cabinets
A1: The frequency of cleaning depends on factors like cooking habits and household traffic. As a general rule, aim for a thorough cleaning at least once a month, with routine spot cleaning as needed.
A2: For wooden cabinets, use a mild solution of soap and water or a specially formulated wood cleaner. For other materials like laminate or metal, gentle all-purpose cleaners are usually suitable. Always check manufacturer recommendations.
A3: Grease stains can be challenging. Try a mixture of vinegar and water or a baking soda paste for a natural approach. For tougher stains, consider commercial degreasers, ensuring they are safe for your cabinet material.
A6: It's essential to choose a polish specifically designed for kitchen cabinets. Some furniture polishes may contain ingredients that can leave a residue or damage cabinet surfaces. Opt for a product recommended for your cabinet material.
A7: Yes, it's advisable to remove the contents of your cabinets before cleaning. This allows for a more thorough cleaning of both the interior and exterior surfaces. Take the opportunity to declutter and organize as you restock your cabinets.
Professional Cleaners in Miami
Professional cleaners play a pivotal role in ensuring a spotless and hygienic kitchen, especially when it comes to cleaning kitchen cabinets. Their expertise guarantees a thorough and efficient cleaning process, addressing hidden dirt, stubborn stains, and hard-to-reach areas that might be overlooked in DIY efforts. For a hassle-free and impeccable kitchen transformation, consider availing the services of Canes Cleaners Cleaning Services in Miami. Entrust your kitchen and cabinets to the professionals, and experience the difference of a professionally cleaned space. Your kitchen deserves the best care – contact Canes Cleaners for a pristine and welcoming culinary environment today!
Wrapping it Up
In conclusion, mastering the art of “how to clean kitchen cabinets” not only enhances the visual appeal of your culinary space but also contributes to a healthier and more organized home. By following the outlined steps, from preliminary actions to the final polishing touches, you ensure that your cabinets not only shine but also withstand the test of time. Regular maintenance, appropriate cleaning products, and a touch of professional care when needed guarantee that your kitchen cabinets remain a focal point of cleanliness and functionality. With these insights, embark on a journey to transform your kitchen cabinets into a showcase of cleanliness, making your daily cooking and dining experiences more enjoyable and aesthetically pleasing.