How to Clean Gas Stove Top
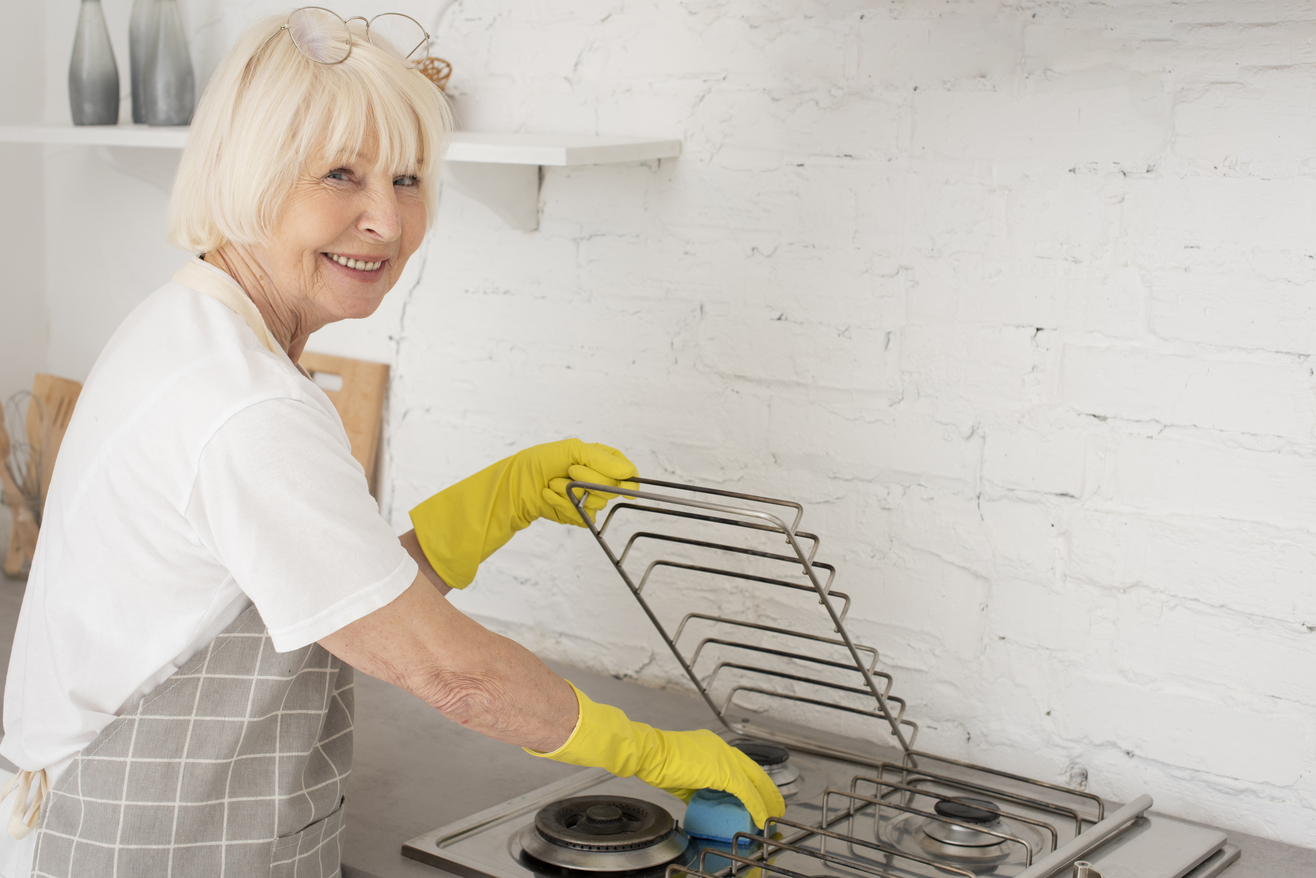
In the bustling heart of any home, the kitchen, the gas stove top stands as an indispensable companion in the culinary journey. Beyond its functional significance, the cleanliness of this kitchen workhorse plays a pivotal role in shaping not only the hygiene of our cooking environment but also the overall aesthetics of the space. In this comprehensive guide, we delve into the process on how to clean the stove top and the importance of maintaining a clean gas stove top. We will be exploring not only the visible benefits of a sparkling appliance but also the crucial health and safety considerations that come with it. As we navigate through each step of the cleaning process, we aim to equip you with practical insights and tips to ensure not only the longevity and efficiency of your gas stove top but also the wellbeing of those who gather around it. Let’s embark on this journey to unveil the secrets of a spotless and safe kitchen, where the art of cooking seamlessly intertwines with cleanliness and care.
A Step by Step Guide on How to Clean Gas Stove Top
In this guide, we will go through a step by step procedure designed to demystify the process of cleaning a gas stove top. From dismantling and cleaning individual components to addressing stubborn stains, our aim is to provide a clear and accessible roadmap for achieving a sparkling and well maintained appliance. Let’s dive into the details, ensuring that each step not only enhances the aesthetics of your kitchen but also contributes to the safety and longevity of your gas stove top.
Step 1. Gather Supplies
Before moving on the journey to clean your gas stove top, it’s essential to assemble the right arsenal of cleaning supplies.
The following items will prove invaluable in restoring your stove to its pristine state:
• Mild Dish Soap: Choose a gentle, nonabrasive dish soap that will effectively cut through grease and grime without damaging the stove’s surfaces.
• Warm Water: Hot water is a versatile ally in breaking down stubborn stains and residue, making the cleaning process more efficient.
• Soft Cleaning Cloths or Sponges: Opt for soft, microfiber cloths or nonabrasive sponges to avoid scratching the stove’s surface while effectively wiping away dirt and spills.
• Baking Soda: This kitchen staple acts as a natural abrasive cleaner, ideal for tackling tough stains without causing damage.
• White Vinegar: A powerful and natural degreaser, white vinegar helps cut through grease, disinfect surfaces, and eliminate odors.
• Small Brush or Toothbrush: Use a small brush or an old toothbrush to reach tight spaces and clean burner ports thoroughly.
• Disposable Gloves: To protect your hands from any chemicals or grease, consider using disposable gloves throughout the cleaning process.
• Soft Towels or Paper Towels: Have some soft, absorbent towels or paper towels on hand for drying and polishing the stove after cleaning.
Gas stoves require special care and attention when it comes to cleaning, and using the right materials is crucial to maintain their functionality and appearance. Abrasive cleaners, scouring pads, or harsh chemicals can damage the stove’s enamel, grates, and burners. By choosing mild and nonabrasive cleaning agents, you ensure that your gas stove top stays in peak condition without compromising its performance. Additionally, being mindful of the materials you use helps prevent scratches, corrosion, and other issues that may arise from using inappropriate cleaning supplies. As we move forward in this cleaning journey, remember that a gentle touch with the right tools is the key to preserving the beauty and efficiency of your gas stove top.
Step 2. Prepare the Area
Before diving into the cleaning process, prioritizing safety is paramount. Turning off the gas supply to the stove is the initial and crucial step. This not only safeguards against potential gas leaks but also ensures a secure environment for the cleaning operation.
• Turn off the Gas Supply: Locate the gas shutoff valve, typically positioned behind or beneath the stove. Rotate the valve clockwise to the “off” position to cut off the gas flow.
• Remove Grates and Burner Caps: Grates, robust cast iron supports, uphold cookware above the burners. Burner caps cover the burner elements and are secured by clips or screws. Lift grates carefully to avoid damage and detach burner caps for unobstructed access.
• Disassembly Precautions: Safely set aside grates and burner caps for separate cleaning. Check for any clips or screws, ensuring proper detachment. Ensure components are fully dry before reassembly.
Step 3. Clean the Grates and Burner Caps
Cleaning the grates and burner caps is a crucial aspect of maintaining a spotless gas stove top. These components, subjected to constant exposure to heat and cooking residues, require thorough cleaning to ensure optimal performance and a hygienic cooking environment.
• Soaking in Hot, Soapy Water:
The initial step in rejuvenating grates and burner caps involves soaking them in hot, soapy water. This process helps to loosen and dissolve stubborn grease and food residues that may have adhered during cooking. By allowing the components to soak, the soapy water works to break down the built-up grime, making subsequent cleaning more effective.
• Scrubbing Away Grease and Debris:
Once adequately soaked, the grates and burner caps are ready for a more hands-on approach. Using a brush with firm bristles or a non-abrasive scrubbing pad, gently scrub away the softened grease and debris. Pay special attention to corners and crevices where residue tends to accumulate. This step not only restores the appearance of the components but also ensures the removal of any potentially harmful contaminants that may compromise the stove’s functionality.
• Drying Thoroughly Before Reassembly:
After a thorough cleaning, it is imperative to allow the grates and burner caps to dry completely before reassembly. Air-drying is effective, but a quick towel-dry can expedite the process. Ensuring that these components are entirely dry before returning them to their places on the stove prevents the risk of rusting and maintains the efficiency and longevity of the gas stove top.
Step 4. Clean the Burners
Maintaining the efficiency of gas stove burners is integral to ensuring a seamless cooking experience. Cleaning the burners not only enhances their performance but also contributes to the overall cleanliness and safety of the kitchen environment. So, in the fourth step of cleaning the stove top, we will clean the burners.
• Remove Burners for Better Access:
To initiate the cleaning process effectively, start by removing the burners from their positions. This step allows for better access to both the burner surface and the surrounding areas. Carefully detach the burners, following the manufacturer’s guidelines to avoid any damage. This disassembly facilitates a thorough cleaning, reaching areas that may otherwise be challenging to access.
• Wipe Away Surface Debris:
Once the burners are removed, focus on wiping away surface debris accumulated over time. Use a damp cloth or sponge to gently clean the burner surfaces, removing grease, food particles, and any other residues. Pay special attention to stubborn stains, ensuring that the entire burner area is free from any visible grime. This step not only improves the aesthetics of the burners but also plays a crucial role in maintaining their functionality.
• Clear Burner Ports with a Small Brush or Pin:
For a meticulous cleaning process, go beyond the visible surfaces and address the burner ports. Use a small brush or pin to clear any clogs or obstructions in the tiny openings of the burners. This ensures that gas can flow freely, promoting an even and efficient flame. Regularly clearing burner ports prevents issues such as uneven heating and potential gas buildup. By incorporating these steps into your cleaning routine, you contribute to the longevity and optimal performance of your gas stove burners.
Step 5. Clean the Stove top Surface
To maintain the aesthetic appeal and functionality of your gas stove top, a meticulous cleaning of the surface is imperative. This process involves several steps aimed at removing accumulated grime and ensuring a pristine cooking area.
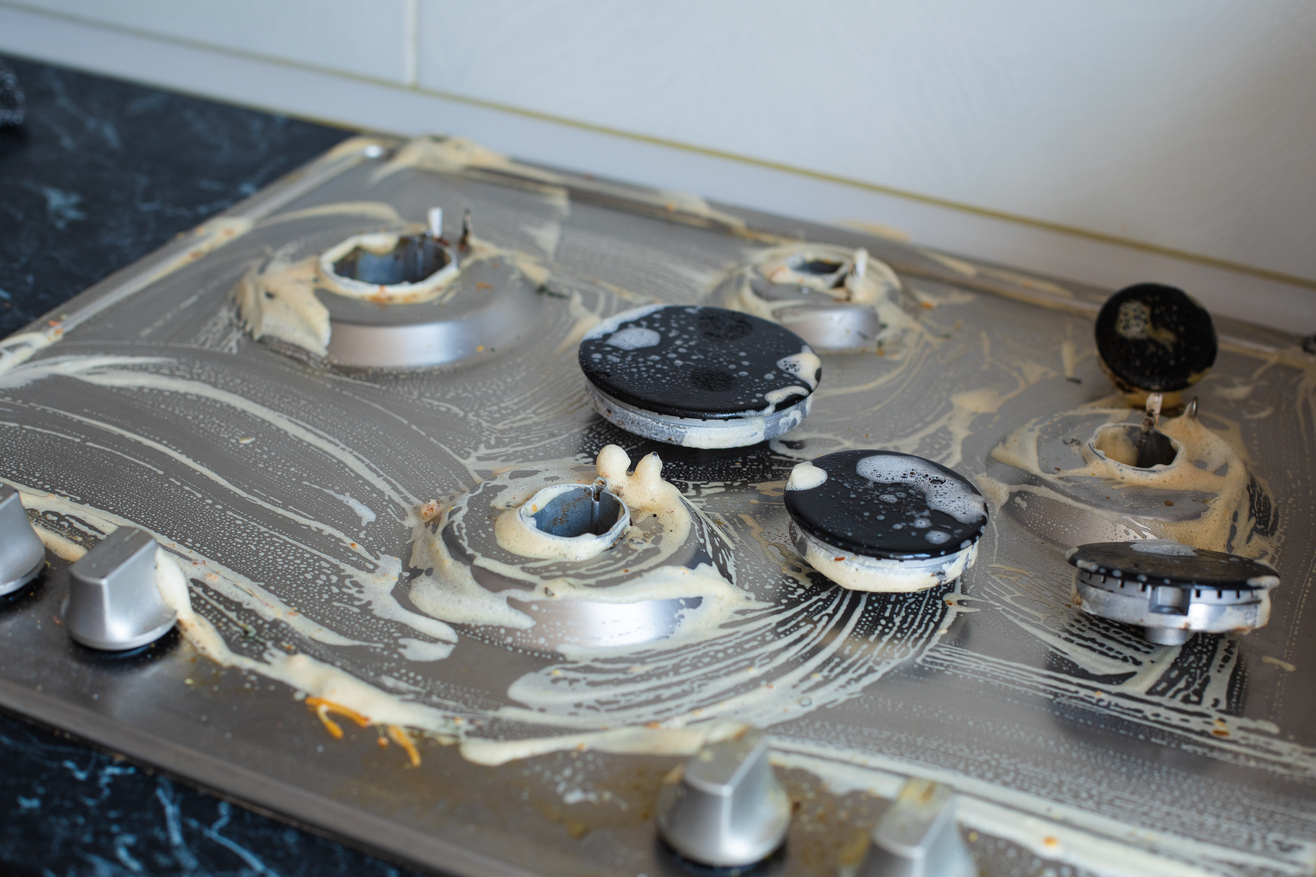
• Wipe Down with a Mild Cleaner or Soapy Water:
Begin the cleaning process by wiping down the entire stovetop surface with a mild cleaner or a mixture of soapy water. This helps in removing surface-level dirt, grease, and general residue. Ensure that the cleaner is suitable for your stove’s material to avoid any damage.
• Remove Stubborn Stains with a Non Abrasive Cleaner:
For more persistent stains and grime, opt for a nonabrasive cleaner specifically designed for stove tops. Apply the cleaner to the affected areas and let it sit for a few minutes to loosen the stains. Use a soft scrub brush or sponge to gently scrub away the stubborn residue without causing damage to the surface.
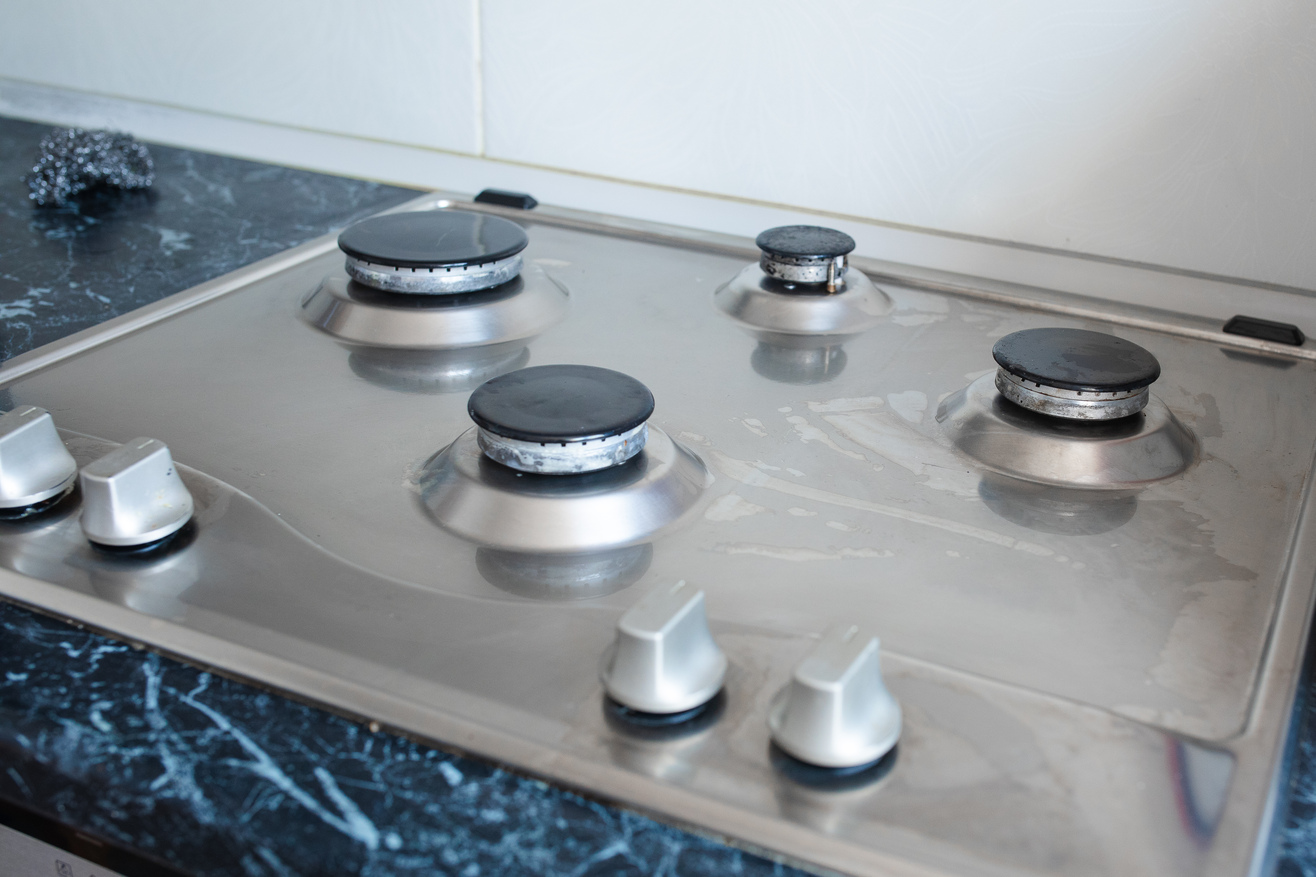
• Dry the Surface to Prevent Streaks:
Once the cleaning process is complete, thoroughly dry the stovetop surface using a clean, dry cloth. This step helps prevent streaks and water spots, leaving the surface gleaming. It is essential to ensure the stovetop is completely dry before proceeding with the next steps or cooking to avoid any potential hazards.
• Deal with Burnt-on Food or Grease:
Burnt-on food and grease can be particularly challenging to remove. To tackle these stubborn stains, gently scrape off any loose debris using a soft brush or scraper. Follow up by using a degreaser or a mixture of vinegar and water to dissolve and lift the remaining residue. Wipe the area clean with a damp cloth.
• Use Baking Soda and Vinegar for Stubborn Spots:
For particularly stubborn spots, a paste made from baking soda and vinegar can work wonders. Apply the paste to the affected areas, let it sit for a while, and then scrub with a nonabrasive sponge. The combination of baking soda and vinegar helps break down tough stains, making them easier to remove without harming the stovetop surface.
Step 6. Final Touches
As the cleaning journey of your gas stove top nears its conclusion, the focus shifts to the finishing touches that elevate both the appearance and functionality of this essential kitchen appliance. Begin by reassembling the disassembled components—grates, burner caps, and burners—with precision to ensure proper alignment and functionality. Take a moment to inspect each part, confirming a secure fit. Once reassembly is complete, put the final flourish on your efforts by polishing the stovetop surface. Use a designated stovetop polish or a mild stainless steel cleaner to achieve a gleaming, shiny finish. This not only enhances the overall aesthetic appeal but also provides a protective layer, making future cleaning endeavors more manageable. With these final touches, your gas stove top is not only hygienically pristine but also radiantly ready for your next culinary adventure.
Tips for Regular Maintenance
Maintaining the cleanliness of your gas stove top is not just a one-time task but an ongoing process that can be simplified with regular maintenance. Establishing a routine for upkeep not only preserves the aesthetic appeal of your kitchen but also ensures the efficiency and longevity of your stove. Here are some essential tips to guide you in maintaining a spotless gas stove top.
• Encouraging Frequent Cleaning Habits:
Regularity is key when it comes to keeping your gas stove top in pristine condition. Make it a habit to wipe down the surface after each cooking session, addressing spills and stains promptly. Simple tasks like removing crumbs and splatters immediately can prevent the accumulation of stubborn grime over time. By incorporating quick cleaning habits into your daily routine, you contribute to the overall cleanliness of your kitchen and reduce the effort required during more extensive cleaning sessions.
• Preventing Buildup for Easier Future Cleaning:
Prevention is often more manageable than cure, and this holds true for maintaining a clean gas stove top. To make future cleaning endeavors more straightforward, take proactive steps to prevent the buildup of grease and food residues. Use burner liners to catch spills, making them easy to remove and clean. By adopting preventive measures, you minimize the likelihood of stubborn stains and ensure that your regular cleaning efforts remain efficient and effective.
Elevate Your Space with Professional Cleaning Services in Miami
Maintaining a clean and hygienic kitchen is crucial for both the aesthetic appeal of your home and the health of your family. When it comes to the intricate task of cleaning a gas stove top and the entire kitchen, the importance of professional cleaning services cannot be overstated. Professional cleaners bring expertise, efficiency, and a keen eye for detail to ensure that every nook and cranny is spotless. They not only eliminate stubborn stains and grease buildup but also employ safe and effective cleaning agents. In Miami, Canes Cleaners stands out as a reliable choice for those seeking top-notch and affordable cleaning services. Specializing in home cleaning, office cleaning, commercial building maintenance, and Airbnb cleaning, Canes Cleaners brings a commitment to excellence, leaving your space not just clean, but truly transformed. Entrusting your cleaning needs to professionals like Canes Cleaners guarantees a pristine and welcoming environment that enhances the overall quality of your living or working space.
Wrapping Up: How to Clean Gas Stove Top
In wrapping up our guide, let’s take a moment to revisit the essence of why a clean gas stove top is not just about aesthetics but an essential ingredient in the recipe for a functional and welcoming kitchen. A spotless stove top not only elevates the visual appeal of your cooking space but also contributes to a healthier and safer culinary environment. As we bid adieu, consider this a friendly nudge to embrace the habit of regular maintenance, transforming your gas stove top into a beacon of cleanliness. By consistently keeping it spick and span, not only do you ensure an efficient appliance that performs at its best, but you also create a kitchen that radiates warmth and comfort. So, here’s to safe and satisfying cooking adventures in your sparkling kitchen – where every meal is prepared with care and enjoyed in the heart of cleanliness!