How to Clean Electric Stove Top
A sparkling and well maintained electric stove top is not merely a testament to the aesthetics of your kitchen but plays a pivotal role in ensuring optimal kitchen hygiene. Beyond the allure of a gleaming appliance, a clean electric stove top contributes to the overall health and safety of your culinary space. As we delve into the step by step cleaning process of how to clean an electric stove top, it becomes evident that the journey is more than just about removing grease and grime – it’s a commitment to creating a pristine cooking environment. Each meticulous step is designed not only to restore the stove top’s visual appeal but also to eliminate potential health hazards associated with accumulated residue. Join us on this transformative cleaning journey, where we will guide you through the essential stages, emphasizing the significance of a spotless electric stove top for both the eye and the wellbeing of your kitchen.
A Step by Step Guide on How to Clean Your Electric Stove Top
Embarking on the journey to maintain a pristine electric stove top is more than a chore; it’s a commitment to a kitchen that radiates both cleanliness and efficiency. In this comprehensive guide, we unveil a step by step procedure that transcends the mundane task of cleaning, elevating it to a transformative experience for your culinary space. From the initial clearing of the stage to the final touches that ensure a spotless finish, each step is meticulously crafted to not only enhance the aesthetic appeal of your electric stove top but also prioritize kitchen hygiene. So, let’s dive into the details of this cleaning adventure, where we promise not just a gleaming stove top but a revitalized kitchen centerpiece ready to serve up both style and functionality.
Step 1. Gather Cleaning Supplies
Cleaning an electric stove top requires the right set of tools and supplies to ensure efficiency and safety. Here’s a detailed breakdown of the essential supplies and the importance of using safe and nonabrasive cleaners.
• Mild Dish Soap: Use a gentle dish soap to break down grease and food residues on the stove top. This is especially important for routine cleaning.
• White Vinegar: White vinegar is excellent for cutting through grease, disinfecting surfaces, and removing stubborn stains. It also helps eliminate any lingering odors.
• Baking Soda: A versatile and nonabrasive scrubbing agent, baking soda helps lift away grime without scratching the surface of your electric stove.
• Microfiber Cloths: Opt for microfiber cloths to avoid leaving lint or scratches on the stove top. They are effective at capturing and holding onto dirt and debris.
• Soft Scrubbing Pad or Sponge: Choose a soft scrubbing pad or sponge to apply cleaning solutions without damaging the surface of the stove top.
• Plastic or Wooden Scraper: Use a plastic or wooden scraper to gently lift off any dried on or burnt food particles. Avoid metal scrapers, as they can scratch the glass or ceramic surface.
• Spray Bottle: Fill a spray bottle with a homemade cleaning solution for easy application and even coverage.
Importance of Using Safe and Non Abrasive Cleaners for Electric Stove
Electric stoves often feature glass or ceramic surfaces that can be easily scratched. Using nonabrasive cleaners ensures that the cleaning process does not compromise the integrity of the stove top. Safe and gentle cleaners help maintain the sleek and polished appearance of your electric stove. Harsh chemicals can cause discoloration or damage over time. Some cleaning agents contain harsh chemicals that may leave a residue on the stove top. This residue can affect the taste and safety of your food when you cook. Using mild and safe cleaners helps prevent this issue.
As electric stoves are powered appliances, it’s crucial to avoid using cleaners that could potentially interfere with electrical components. Safe, non abrasive cleaners eliminate the risk of electrical malfunctions.
Gathering the right cleaning supplies and understanding the importance of safe and nonabrasive cleaners is key to maintaining the cleanliness and longevity of your electric stove top. Follow these guidelines to ensure effective cleaning without compromising the safety and appearance of your appliance.
Step 2. Clear the Stove Top
To begin the process of cleaning your electric stove top, it’s essential to start by disassembling the removable components. Start by carefully lifting and removing the grates, burners, and any other detachable parts from the stove. This step allows for thorough cleaning without any hindrance, reaching all the nooks and crannies where grease and grime tend to accumulate.
While handling these parts, take note of any accumulated grease or residue on them. If needed, gently scrub the grates and burners with a soft brush or sponge to loosen any stubborn stains.
With the removable components safely removed, shift your focus to the stove top surface. Before applying any cleaning agents, it’s crucial to dispose of loose debris and food particles that may have accumulated. Utilize a dry cloth or paper towel to wipe away any loose dirt, crumbs, or other debris that may be present on the stove top.
Additionally, consider using a small handheld vacuum or a soft brush to reach into the crevices around the burners and controls. This preliminary step ensures that the cleaning process is more efficient and prevents the spread of dirt while using cleaning solutions.
Step 3. PreTreat Stubborn Stains
Cleaning your electric stove top is a crucial aspect of kitchen maintenance, ensuring not only a pristine appearance but also optimal functionality. Stubborn stains can be a challenging part of this cleaning process, requiring specialized attention. In this section, we will delve into the identification of common stains on electric stove tops and the application of appropriate pretreatment solutions for effective stain removal.
Identification of Common Stains on Electric Stove Tops
• Grease and Oil Residue: These are common culprits on electric stove tops, resulting from cooking oils and greasy foods. Grease and oil stains typically appear as sticky, yellowish brown residues.
• Burnt on Food: Overcooked or spilled food can adhere to the stove surface, forming stubborn burns on stains. Burnt on food stains manifest as dark, crusty patches on the electric stove top.
• Water Stains: Mineral deposits from hard water can leave unsightly marks on the stove surface. Water stains often appear as white, chalky spots on the electric stove top.
• Metal Scorch Marks: Metal utensils or pots can leave metal marks on the stove, marring its appearance. Metal scorch marks are usually dark and may have a metallic sheen.
Application of Appropriate Pretreatment Solutions for Effective Stain Removal
• Degreasing Agents for Grease and Oil Residue: Use a degreasing solution or a mixture of vinegar and water to break down and lift grease and oil stains. Apply the solution to the stained areas and let it sit for 1015 minutes before wiping it away with a clean cloth.
• Baking Soda Paste for Burnt on Food: Create a paste using baking soda and water, applying it to burnt on food stains. Allow the paste to sit for at least 20 minutes to loosen the burnt residues, then scrub gently with a nonabrasive sponge.
• Vinegar Soak for Water Stains: Soak a cloth or paper towel in white vinegar and place it on water stains for 15 to 20 minutes. The acidic properties of vinegar will help dissolve mineral deposits, making it easier to wipe away the stains.
• Citrus Based Cleaners for Metal Scorch Marks: Citrus Based cleaners can effectively break down and lift metal scorch marks. Apply the cleaner to the affected areas, let it sit briefly, and then wipe away the stains with a soft cloth.
By identifying common stains and applying the appropriate pretreatment solutions, you can ensure a thorough and effective cleaning process for your electric stove top. Regular maintenance using these techniques will not only enhance the stove’s appearance but also contribute to its longevity and optimal performance.
Step 4. Cleaning the Stove Top Surface
Cleaning the surface of your electric stove is a crucial step in maintaining both its appearance and functionality. To begin, select a cleaning solution that is specifically formulated for electric stove surfaces. Avoid abrasive or corrosive cleaners that could damage the stove’s finish.
• Selecting the Right Cleaner: Choose a cleaner that is safe for glass or ceramic stove tops, ensuring it is free from harsh chemicals that may cause discoloration or scratches. Commercial stove-top cleaners or DIY solutions made with a mixture of water, vinegar, and a gentle dish soap are often suitable.
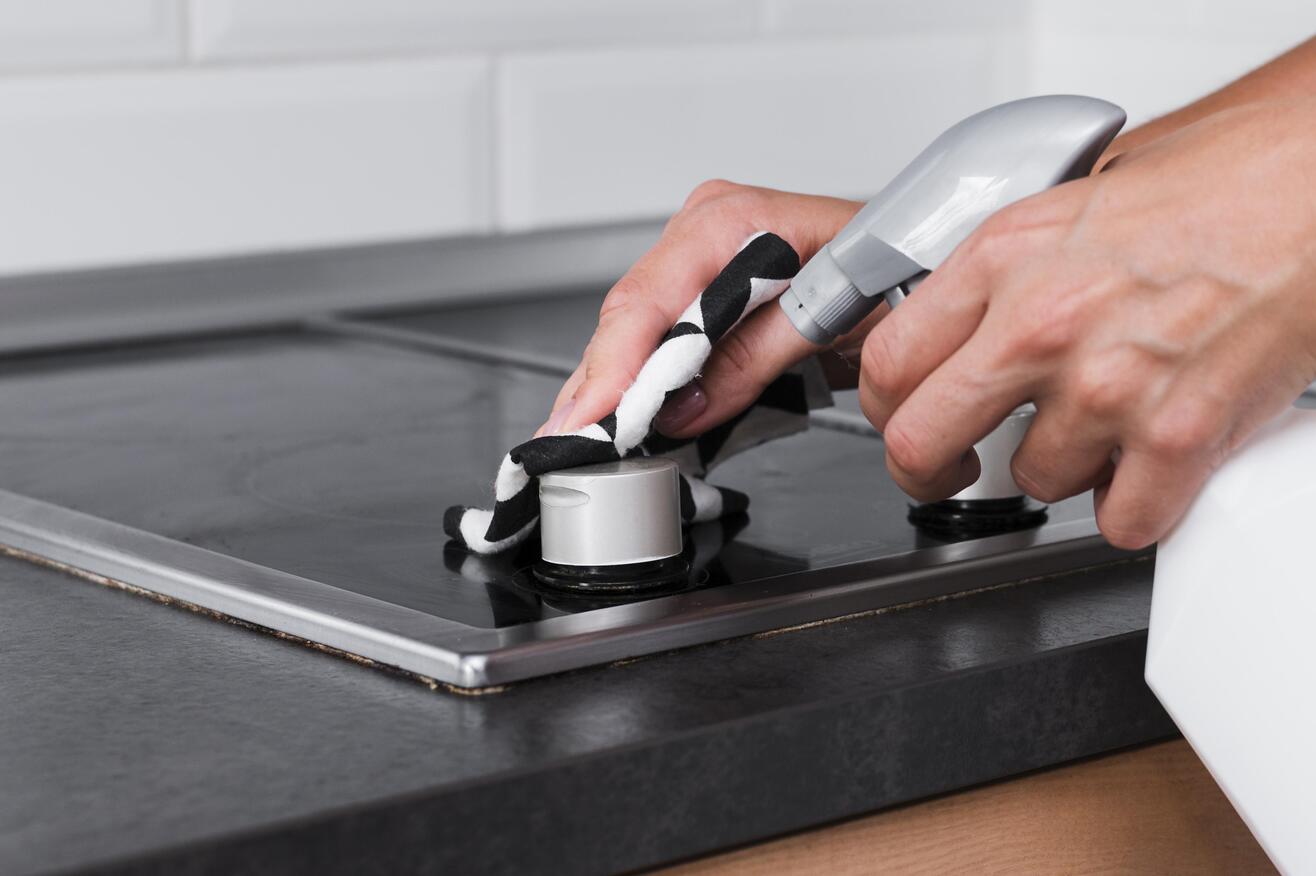
• Spraying and Wiping: Apply the chosen cleaner evenly across the stove top surface. Allow it to sit for a few minutes to break down grease and stains. Then, using a soft cloth or sponge, gently wipe the surface in circular motions. This will help remove debris and leave the stove top looking clean and polished.
• Detailing Edges and Control Knobs: Pay attention to the edges of the stove and control knobs, as these areas often accumulate grime. Use a cotton swab or a soft brush dipped in the cleaning solution to detail these hard-to-reach spots.
• Choose the Right Scrubber: Opt for non-abrasive scrubbers such as nylon brushes or soft scouring pads. Avoid using metal scouring pads or abrasive brushes that could leave scratches.
• Circular Motion Scrubbing: For stubborn stains, gently scrub in circular motions. Apply even pressure to lift the grime without scratching the surface. Continue until the stain is lifted, periodically wiping away excess cleaner and debris.
• Final Wipe Down: Once scrubbing is complete, give the stove top a final wipe down with a clean, damp cloth to remove any remaining cleaning solution. This ensures that no residue is left behind, providing a streak-free and polished finish.
Step 5. Clean Burners and Grates
The burners and grates of an electric stove can accumulate grease and food residue over time. A soaking solution is an effective way to break down these deposits, making them easier to clean.

• Removal of Burners and Grates: Carefully remove the burners and grates from the stove. This makes it easier to clean and ensures a thorough job.
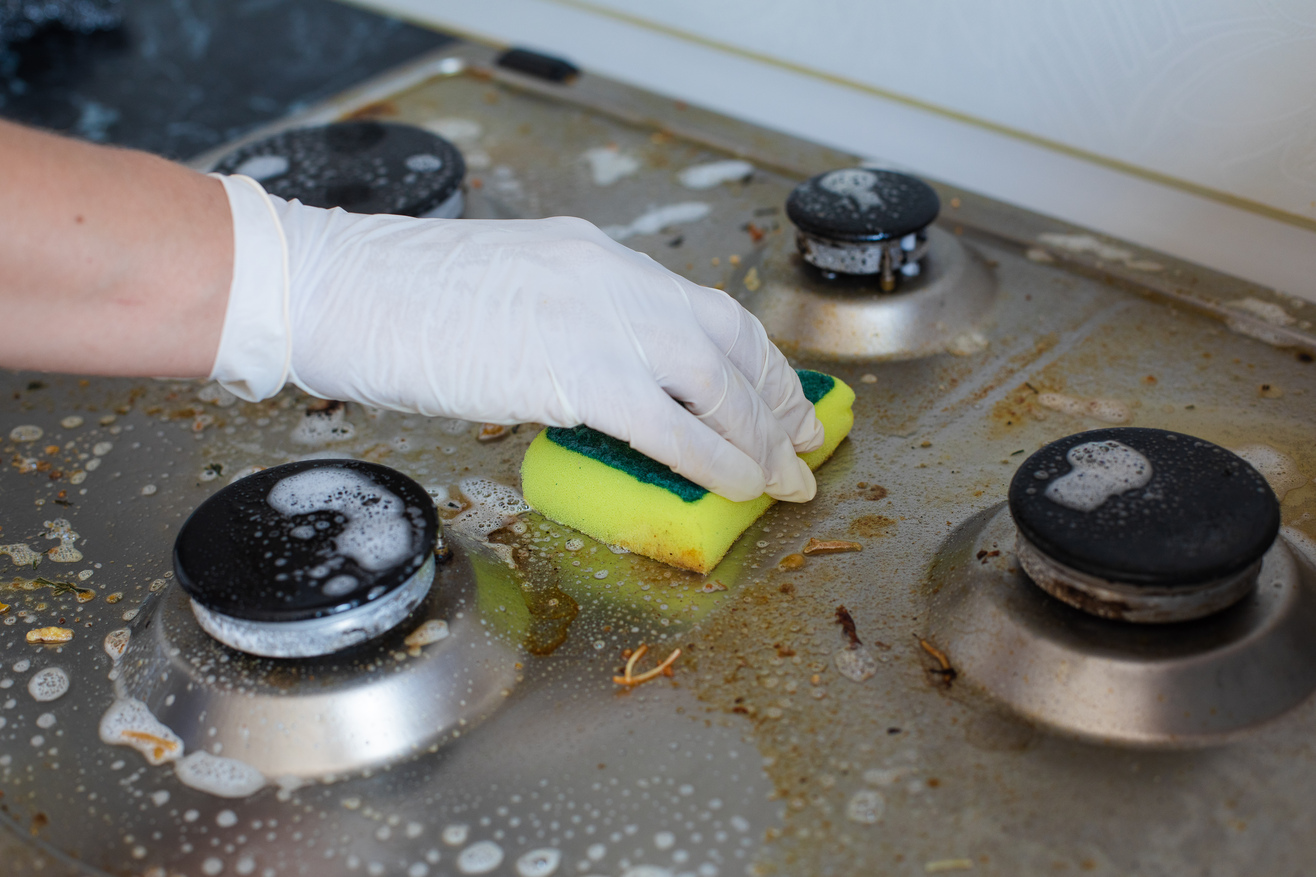
• Soaking in a Cleaning Solution: Prepare a soaking solution using warm water and a mild dish soap or vinegar. Submerge the burners and grates in this solution for at least 15-20 minutes. This helps to loosen and soften the built-up grime.
• Scrubbing with a Soft Brush: Use a soft brush or sponge to scrub away the loosened grime from the burners and grates. Pay attention to crevices and corners where residue may be more stubborn.
• Detailing with a Toothbrush or Cotton Swab: For intricate parts or hard-to-reach areas, a toothbrush or cotton swab dipped in the soaking solution can be used for detailing. This ensures that every nook and cranny is cleaned effectively.
• Rinsing and Drying: Rinse the burners and grates thoroughly with water to remove any remaining cleaning solution. Allow them to air dry completely before placing them back on the stove.
By following these steps, you ensure not only a clean stove top surface but also well-maintained burners and grates, contributing to the overall efficiency and longevity of your electric stove.
Step 6. Final Touches
In the final step of cleaning an electric stove top , attention to detail is crucial for achieving a spotless and functional cooking surface. Begin by meticulously inspecting the stove top for any lingering spots or stains that may have eluded previous cleaning efforts. This involves a thorough visual examination and tactile assessment to ensure that no stubborn residues or blemishes remain.
Utilize a soft cloth or sponge to gently address any persistent spots, employing targeted cleaning agents if necessary. Once satisfied that the surface is pristine, shift focus to ensuring the stove top is completely dry. Moisture can interfere with the stove’s performance and potentially cause electrical issues, making this a critical step. Use a clean, dry cloth to carefully wipe away any residual dampness, leaving the stove top immaculate, dry, and ready for immediate use. These final touches not only enhance the aesthetic appeal of the appliance but also contribute to its optimal functionality.
Maintenance Tips
Regular maintenance is crucial for ensuring the longevity and optimal performance of your electric stove top. By implementing simple upkeep practices, you can prevent stubborn buildup and keep your appliance looking and functioning like new. In this section, we will explore some effective suggestions for regular maintenance, focusing on both preventative measures and daily or weekly routines to uphold the cleanliness of your electric stove top.
• Suggestions for regular upkeep to prevent future buildup
To prevent the accumulation of grime and grease on your electric stove top, it is essential to incorporate regular upkeep into your kitchen routine. Firstly, consider placing protective liners or covers over burners when not in use to minimize direct contact with spills and splatters. Additionally, wiping down the surface with a damp cloth after each cooking session can prevent residue from hardening over time. Regularly inspect and clean the control knobs and surrounding areas to eliminate any potential for buildup. By adopting these simple practices, you can significantly reduce the likelihood of stubborn stains and make the cleaning process more manageable in the long run.
• Recommendations for daily and weekly maintenance routines
Establishing a consistent daily and weekly maintenance routine is key to preserving the cleanliness and functionality of your electric stove top. On a daily basis, promptly address any spills or splatters to prevent them from adhering to the surface. Use a mild, non-abrasive cleaner or a mixture of vinegar and water to wipe away surface stains. Ensure that the control knobs are cleaned regularly, as they can be prone to accumulating grease and dirt. For a more thorough clean, set aside time each week to remove burner coils and drip pans, if applicable, and clean them separately. This comprehensive approach to maintenance will not only enhance the aesthetic appeal of your electric stove top but also contribute to its efficient operation over time.
Conclusion:
So, there you have it! Your electric stove top is gleaming like a brand new penny, ready to cook up another culinary masterpiece. But remember, a clean stove top needs regular upkeep to keep it looking its best. A quick wipe-down after every meal with a damp cloth is all it takes to keep those splatters and crumbs at bay. And for those deeper dives, schedule a monthly deep clean with your favorite baking soda and vinegar magic, or a store-bought cleaner specifically formulated for electric stoves.
Regular maintenance not only keeps your stove looking spiffy, but it also prevents stubborn grease and grime buildup that can be a pain to tackle later. Plus, a sparkling clean kitchen ensures a healthy meal, and who doesn’t want to cook in a space that feels fresh and hygienic? So grab your sponge, roll up your sleeves, and give your stove top the love it deserves. It’ll reward you with delicious meals and a happy-place kitchen that shines as bright as your culinary skills!