How to Clean an Iron Inside and Out in 8 Steps
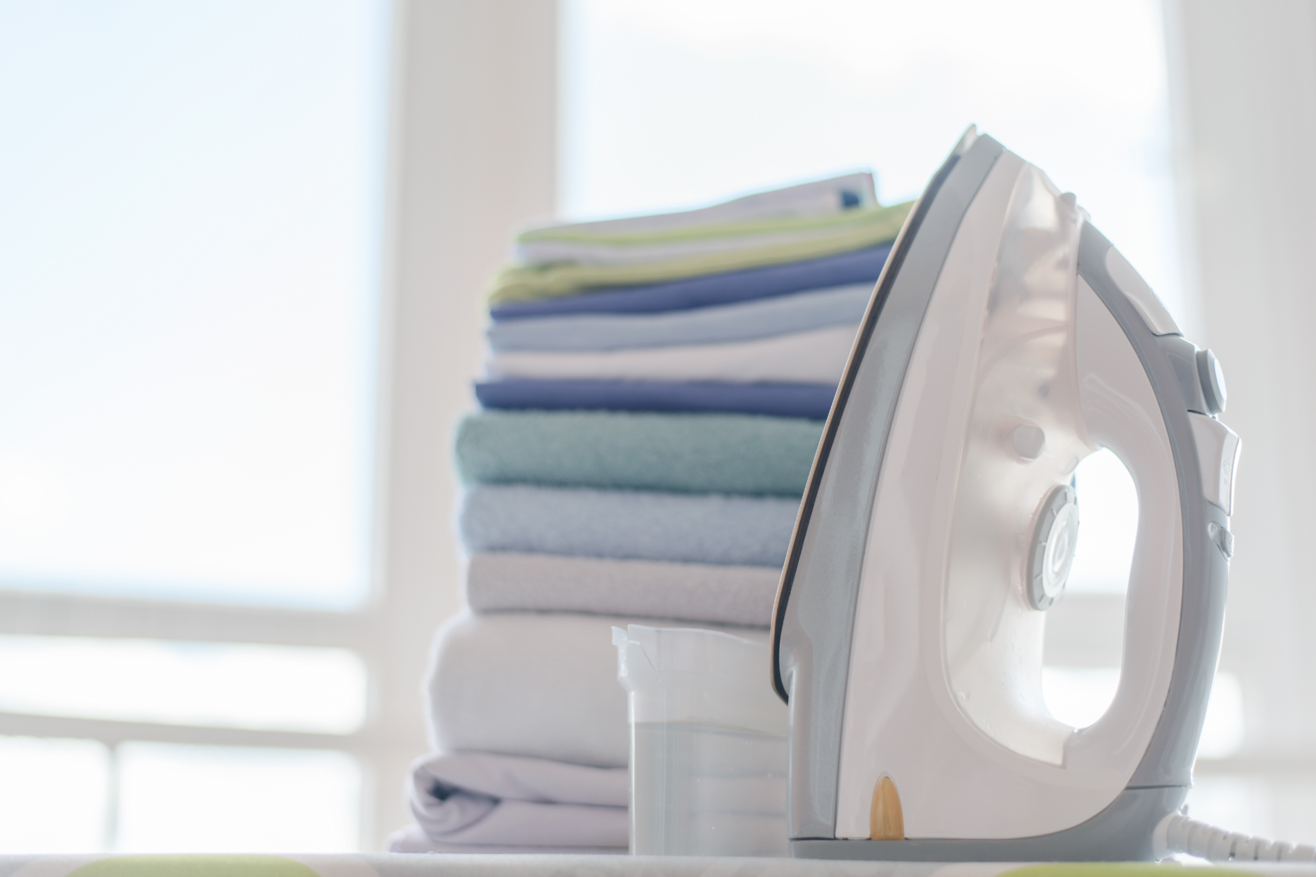
Ironing is an art that transforms wrinkled, rumpled garments into smooth, polished pieces ready to make a statement. Yet, even the most skilled hands can be thwarted by a stubborn, sticky iron. If you’ve ever found your iron dragging on clothes, leaving behind mysterious stains, or emitting steam sporadically, fear not – you’re not alone. Your iron, much like any other trusty tool, requires care and attention to perform its best.
In this guide, we unveil the secrets to reviving your iron’s glory, offering you a step-by-step journey into “how to clean an iron”. Whether you’re a novice or an experienced homemaker, mastering the art of keeping your iron pristine is essential for effortless, efficient, and safe ironing. Say goodbye to stubborn residues and hello to a wrinkle-free world as we delve into the techniques that will have your iron gleaming and your clothes looking impeccable. It’s time to make ironing not just a chore but a satisfying, smooth experience – one perfectly maintained iron at a time.
Understanding the Anatomy of Your Iron: Let's Dive In!
Have you ever wondered what goes on inside your trusty iron? Or perhaps, how and where all that gunk and grime accumulate over time? In the quest for wrinkle-free, perfectly pressed clothes, it’s crucial to know your iron inside out.
We’re about to embark on a journey into the very heart of your iron, dissecting its various parts and uncovering the hidden culprits behind those pesky clothing stains. In this article, we’ll unravel the mysteries of your iron’s anatomy, so you can fully grasp how to clean it effectively. So, without further ado, let’s roll up our sleeves and dive into the world of iron maintenance, starting with the basics – understanding your iron’s anatomy!
• Know the Components of Your Iron
Certainly! Understanding the components of your iron is a fundamental step in the process of learning how to clean it effectively. Imagine your iron as a complex yet vital tool for keeping your clothes wrinkle-free, and each component plays a unique role in its functionality.
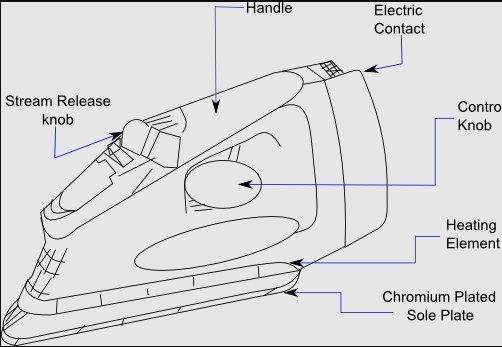
1. Soleplate:
The soleplate is the flat, heated surface that comes in direct contact with your clothes. It’s usually made of materials like stainless steel or ceramic. Over time, residue and fabric fibers can accumulate on the soleplate, affecting its smooth gliding motion and the neatness of your ironing.
2. Steam Vents:
Steam vents are the tiny holes on the soleplate from where steam is released. They play a crucial role in removing stubborn wrinkles. However, these vents can get clogged with mineral deposits and debris from the water you use, hindering the steam flow and efficiency of your iron.
3. Temperature Settings:
Most irons come with adjustable temperature settings to accommodate different fabrics. Understanding these settings is essential, as using the wrong temperature can lead to burns or ineffective ironing. The right temperature ensures efficient and safe ironing for various types of fabrics.
By knowing these components intimately, you gain insight into the areas where dirt, residues, and mineral deposits can accumulate. This knowledge forms the foundation for mastering the cleaning process. Once you’re familiar with the anatomy of your iron, you can proceed to clean each part effectively, ensuring your iron remains in excellent condition, ready to give your clothes that polished, professional look.
Pre Step: Gather Tools and Read the Instructions
Before diving into the process of cleaning your iron, it’s essential to start with the pre-step: Gather Tools and Materials and read the manufacturer’s instructions thoroughly. Collect items like vinegar, baking soda, cotton swabs, and a soft cloth, ensuring you have everything on hand.
Additionally, take a few moments to carefully read the manufacturer’s guidelines specific to your iron model. Understanding their recommendations guarantees you approach the cleaning process effectively and safely, ensuring your iron remains in excellent condition. Now, armed with the right tools and knowledge, you’re ready to begin revitalizing your iron!
Collect Essential Supplies: Your Cleaning Allies
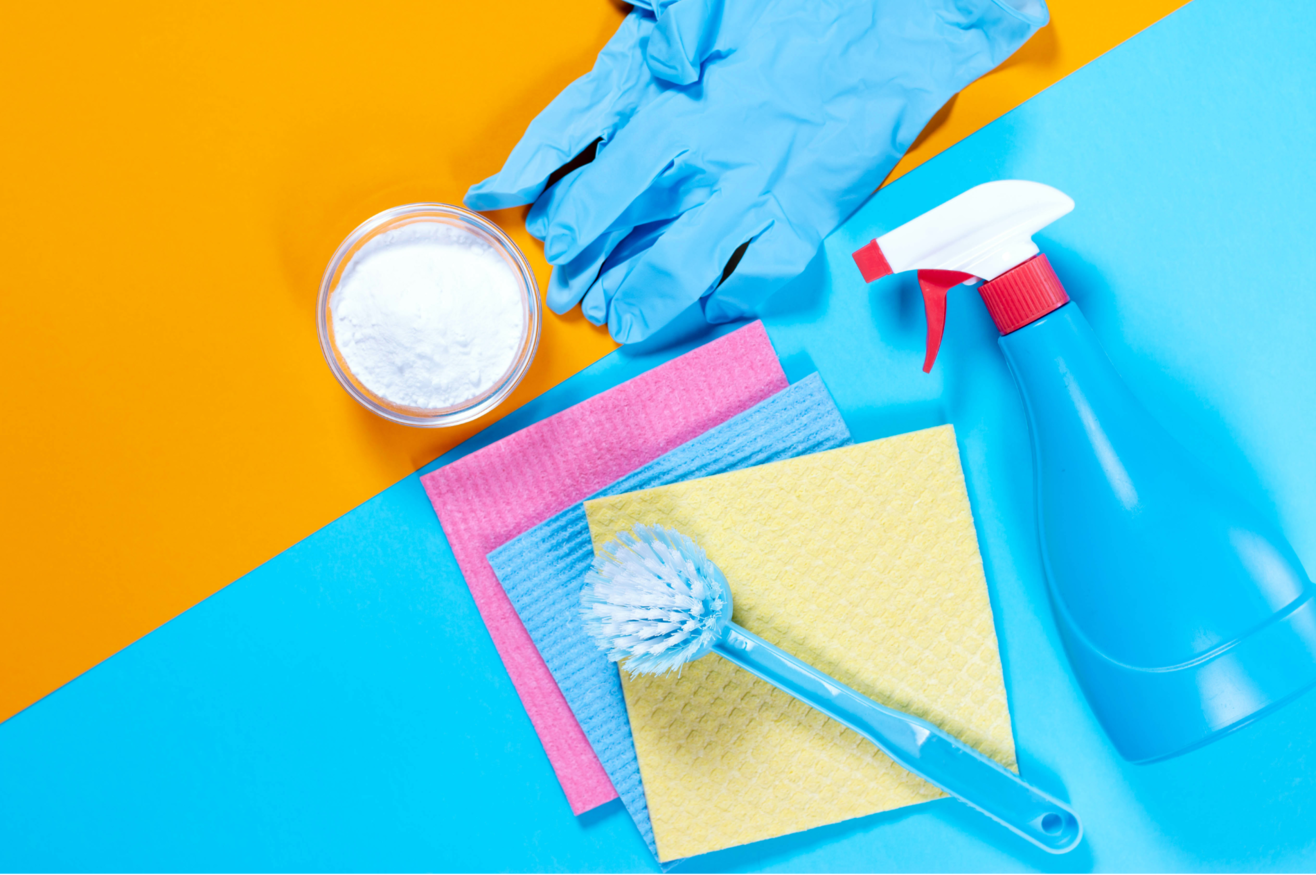
Vinegar:
As our star player, vinegar cuts through tough mineral deposits, making your iron’s interior sparkle. Its acid breaks down even the most stubborn residues, ensuring your iron heats up evenly and steams like a champ.
Baking Soda:
This mild abrasive agent is excellent for tackling stains on the soleplate. When mixed with water, it forms a paste that scrubs away grime gently, revealing the pristine surface beneath.
Cotton Swabs:
These slender wonders are perfect for reaching those tricky steam vents and crevices, ensuring no residue is left uncleaned.
Soft Cloth:
Think of it as your iron’s cozy blanket. A soft cloth gently polishes the soleplate, making it shiny and smooth again.
Water:
Pure, distilled water is your go to for rinsing and ensuring no mineral deposits linger behind.
Now that you know your tools and materials inside out, it’s time to roll up your sleeves and give your iron the pampering it deserves! With these cleaning allies and safety precautions, you’re all set to make your iron shine and your clothes wrinkle free.
Reading Between the Lines: Manufacturer's Guidelines
Hold on, there’s more! Understanding your iron’s type and heeding the manufacturer’s guidelines are golden rules in the world of iron cleaning. We’ll guide you through why this knowledge is crucial, ensuring you’re armed with all the essential details to clean your iron effectively and safely.
Gear up, folks! It’s time to transform your iron into a gleaming, wrinkle fighting machine. Let’s embark on this cleaning adventure together—your clothes will thank you, and your ironing sessions will never be the same!
When it comes to reviving your trusty iron, having the right tools and materials at your fingertips can make all the difference. Let’s take a peek into your cleaning arsenal and understand why each item is your iron’s best friend.
Start The Cleaning Process: Get That Iron Sparkling Again
Is your trusty iron looking a bit worse for wear, leaving those unsightly stains on your clothes? Fear not! It’s time to roll up your sleeves and give your iron a spa day. In this step by step guide, we’ll show you how to clean an iron like a pro, so you can get back to crisp, wrinkle free outfits in no time. Let’s dive right in!
Step 1: Prepare Your Iron: Safety First!
Before diving into the nitty-gritty of cleaning your iron, it’s crucial to prepare your appliance properly. Safety should always be your top priority, ensuring a smooth and risk-free cleaning process.
First things first, double-check that your iron is unplugged from the power source. We’re about to get up close and personal with its various parts, and safety always comes first. Once you’re certain it’s unplugged, exercise a bit of patience and let your iron cool down completely. Nobody wants to deal with a hot iron while tackling cleaning tasks. So, take a breather and let it chill – your fingers will thank you!
Step2: Empty the Water Reservoir:
If your iron comes with a water reservoir, now’s the time to give it a little attention. Empty out any water that might be lingering inside. This simple step is more important than you might think. By emptying the reservoir, you’re preventing any water-related accidents during the cleaning process.
After all, nobody wants a surprise spray of water mid-cleaning – it can be both startling and messy. So, avoid the hassle and ensure your iron is water-free before you start cleaning. Safety and a hassle-free experience? Now, that’s the way to begin your iron-cleaning adventure!
Step 3: Clean the Soleplate: Let's Tackle That Gunky Soleplate!
One of the key areas that often requires attention when cleaning an iron is the soleplate. Over time, residues can build up, hindering your iron’s performance. Here’s how you can effectively clean it:
Removing Residues with a Soft Cloth and Mild Detergent:
First, gather a soft, clean cloth and a mild detergent. Create a soapy solution by mixing a small amount of detergent with warm water. Dip the cloth into this soapy mix, ensuring it’s damp but not dripping.
Next, gently wipe the soleplate with the damp cloth. The soapy solution works wonders in breaking down grime and residues. For stubborn stains, you might need to apply a little extra pressure, but be careful not to overdo it. Too much pressure can potentially damage the delicate surface of the soleplate.
Remember, the key here is to be both thorough and gentle. Take your time to clean every inch of the soleplate, ensuring no residue is left behind. By doing so, you’ll be amazed at how quickly your iron’s performance improves, giving you the ability to effortlessly glide through your ironing tasks. Just a bit of care and attention can make a world of difference in how smoothly your iron operates!
Step 4: Use Baking Soda Paste to Tackle Stubborn Stains
When faced with those persistent, seemingly immovable stains on your iron’s soleplate, it’s time to employ the powerful cleaning properties of baking soda. Creating a baking soda paste is your secret weapon in the battle against stubborn marks.
- • Start by mixing baking soda with a small amount of water, forming a thick paste. Carefully spread this paste onto the stained areas of the soleplate, ensuring full coverage.
- • Allow the paste to sit for a few minutes, letting the baking soda work its magic. This natural abrasive gently loosens and lifts the stubborn stains.
- • After the short waiting period, take a soft cloth and begin to scrub the stained areas with gentle, circular motions.
- • The baking soda acts as a magic eraser, effectively removing those tough marks and leaving your iron’s soleplate clean and smooth.
This method not only ensures a pristine iron but also showcases the power of simple, eco-friendly cleaning solutions in tackling even the most stubborn of stains.
Step 5: Cleaning Steam Vents with Cotton Swabs
One often overlooked but crucial part of iron maintenance is cleaning the steam vents. Over time, these vents can become clogged, hampering your iron’s performance. But worry not, clearing them out is simpler than you think.
Grab a few cotton swabs and dip them in a mixture of soapy water. With gentle precision, carefully clean out the steam vents, ensuring no residue is left behind. This quick task ensures that your iron can produce steam efficiently, giving you the power to tackle even the most stubborn wrinkles with ease.
With these straightforward steps, your iron is not only clean but also performing like it’s fresh out of the box. Remember, a well-maintained iron doesn’t just make your clothes look pristine; it also extends the life of your trusty appliance. Don’t delay—your clothes are eagerly waiting for that crisp, wrinkle-free finish. So, grab those cotton swabs and get your iron back in tip-top shape!
Step 6: Descaling with Vinegar
Descale your iron with vinegar to make it look and work like new!
• Creating a Vinegar Solution:
Let’s start by making a simple and effective vinegar solution. Mix equal parts of water and vinegar in a small bowl. Vinegar’s acidic nature works wonders in breaking down mineral deposits and stubborn stains inside your iron.
• Applying the Solution and Allowing it to Sit:
Now, grab a clean cloth or sponge and soak it in the vinegar solution. Gently apply the soaked cloth or sponge onto the soleplate of your iron. Ensure the iron is unplugged, and be careful not to let any liquid seep into the iron’s interior. Let the solution sit there for about 30 minutes. This allows the vinegar to penetrate and dissolve those pesky mineral deposits and residues that hinder your iron’s performance.
• Wiping Away the Vinegar and Residues:
After the solution has worked its magic, take a clean, damp cloth and wipe away the vinegar and loosened residues. You’ll be amazed at how easily the grime comes off, revealing a shiny, clean soleplate. Make sure to thoroughly wipe until there are no traces of vinegar left.
Step 7: Cleaning the Exterior:
Your iron’s exterior deserves some love too.
Grab a clean, damp cloth and gently wipe down the exterior of the iron. This helps remove dust, dirt, and any residue that might have accumulated on the surface. Don’t forget the handle and the buttons; these areas can harbor grime too. A quick wipe will make your iron look instantly refreshed.
While cleaning the exterior, always prioritize safety. Ensure that the iron is unplugged throughout the cleaning process to avoid any accidents. Be cautious not to let water or moisture get into the electrical components. A gentle touch and a dry cloth are your best friends here.
Step 8: Final Checks:
A few last steps to ensure your iron is in top notch condition! Take a moment to inspect both the interior and exterior of the iron. Check the soleplate, steam vents, and all the nooks and crannies. If you spot any remaining residues, give them a final wipe with your damp cloth until everything is squeaky clean.
Now that your iron is gleaming, it’s time to put it back together. Reassemble any detachable parts you might have removed earlier. Once assembled, refill the water reservoir with clean, distilled water. This ensures that your iron is ready to use the next time you tackle your laundry pile.
There you go! Your iron is now clean, inside out, and ready to press your clothes to perfection.
Preventive Measures and Maintenance Tips: Ensuring Longevity for Your Iron
• Regular Cleaning Schedule: A Habit That Makes a Difference
Maintaining a regular cleaning schedule for your iron is akin to giving it a breath of fresh air. It’s simple: after every few uses, take a few minutes to wipe down the soleplate with a damp cloth. This swift action prevents the buildup of grime and ensures smooth gliding, making your ironing tasks faster and more efficient.
• Proper Usage Guidelines: Iron Smarter, Not Harder
Let’s talk about ironing etiquette. Avoid unnecessary strain on your iron by adhering to a few simple guidelines. Always check the fabric’s recommended temperature before setting your iron. Start with fabrics requiring lower heat and gradually move up. This not only preserves your clothes but also prevents your iron from overheating and accumulating burnt residues.
• Using Distilled Water: Your Iron’s Best Friend
Picture this: you’ve just finished ironing your favorite shirt, and suddenly, your iron spurts out water, leaving unsightly stains. To prevent such disasters, opt for distilled water instead of tap water. Distilled water lacks minerals, reducing the risk of deposits in your iron’s steam vents. Your iron will thank you for the smooth steam flow, and your clothes will be pristine.
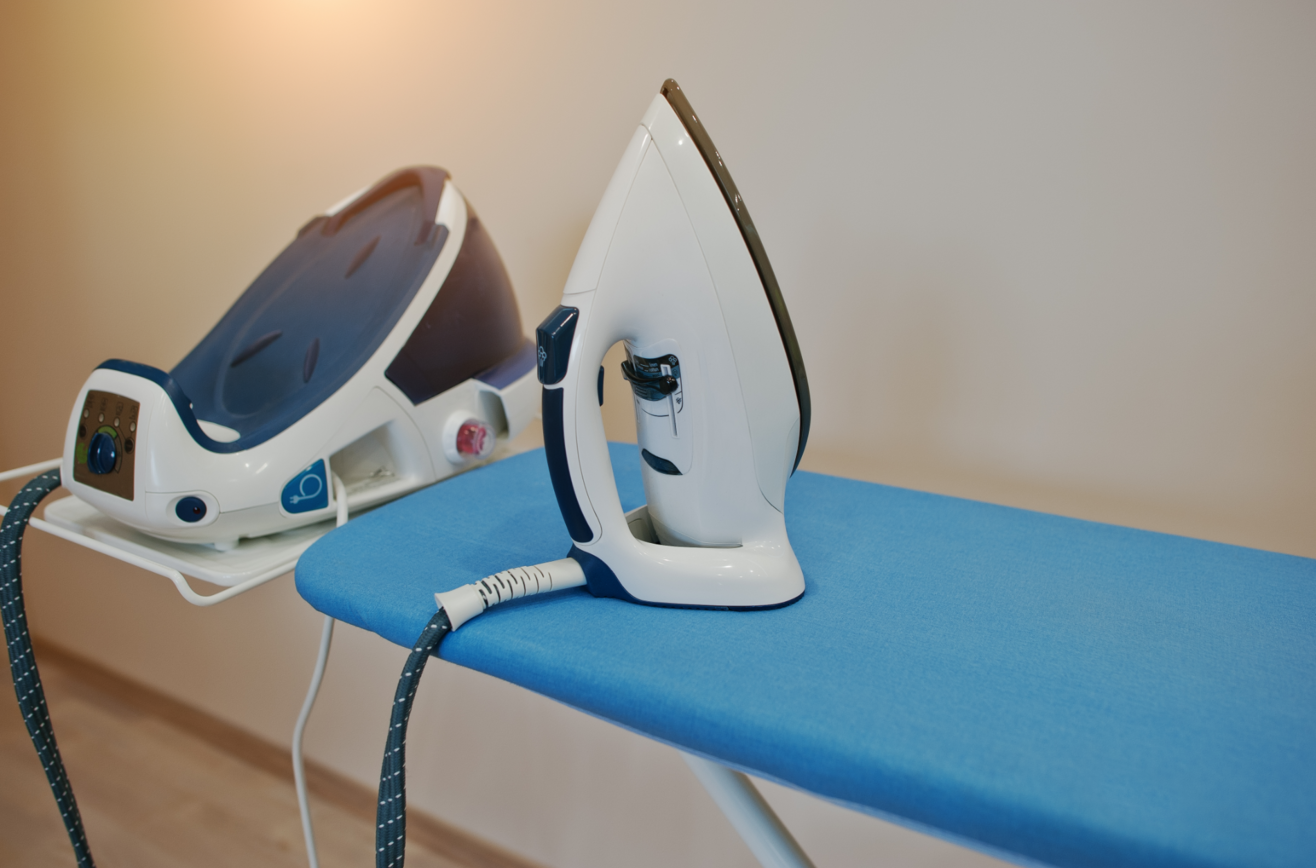
• Storing the Iron Correctly: A Little Care Goes a Long Way
When your iron has worked its magic and it’s time to bid adieu, store it properly. First, ensure the iron is completely cool. Then, wrap the cord neatly to prevent tangling, and place the iron on a heat resistant surface. Avoiding abrupt movements and jostling ensures the internal components stay intact, extending your iron’s lifespan significantly.
Leave it to the Pros: Why Hiring Professionals for Iron Cleaning is Worth It
If the thought of cleaning your iron feels overwhelming or you simply want a hassle free solution, consider hiring professionals to handle the task for you. A professional iron cleaning service like Canes Cleaners takes the stress out of the process, ensuring your iron receives expert care and attention. These professionals have the right tools, knowledge, and experience to thoroughly clean your iron, leaving it spotless and functioning at its best.
By entrusting the task to skilled hands, you not only save time and effort but also guarantee a job well done. So, why wrestle with cleaning solutions and cotton swabs when you can have your iron impeccably cleaned without lifting a finger? Give yourself the luxury of perfectly maintained appliances and the peace of mind that comes with it. Reach out to professionals today and let them revitalize your iron, ensuring it’s always ready to deliver flawless, wrinkle free results. Your perfectly pressed clothes await!
Final Words
Remember, a clean iron isn’t just about appearances; it’s about efficiency and safety. When your iron’s soleplate is gunked up with residue, it can drag on your clothes, making the ironing process more tedious and less effective. What’s worse, those sticky residues can transfer onto your clothes, leaving unsightly marks. In the worst case scenario, a neglected iron can even start acting up or spewing out mineral deposits. Cleaning your iron is the key to effortless, wrinkle free results, ensuring your clothes look sharp and professional.
Don’t let the thought of cleaning your iron gather dust like those forgotten corners of your closet. We’ve provided you with a simple, step by step guide to make this process painless. So, what’s stopping you? It’s time to roll up your sleeves and give your iron the care it deserves.
With these tips and the steps we’ve outlined, you’re well on your way to becoming an iron cleaning pro. Now, go forth and iron with confidence, knowing that your trusty appliance is at its best, ready to make your clothes look crisp, and your ironing tasks a breeze. Your clean iron is your secret weapon in the battle against wrinkles!